Workbench Weight Capacity Calculator
Estimate a practical safe working load from benchtop size, material strength, leg count, apron stiffness, fasteners, load style, tool weight, and safety factor.
Choose a starting build, then adjust the dimensions and load assumptions for your bench.
0 lb
0 kg after safety factor0 lb
after fixed tool weight0 psf
0 kg/m²-
weakest calculated check| Top material | Density | Bending base | Best use in calculator |
|---|---|---|---|
| Baltic birch plywood | 43 lb/ft³ | 1,100 psi | General shop benches and layered tops |
| MDF panel | 48 lb/ft³ | 700 psi | Flat assembly surfaces with light point loads |
| Solid pine | 30 lb/ft³ | 1,200 psi | Light benches with moderate spans |
| Hard maple | 44 lb/ft³ | 2,000 psi | Vise work and compact heavy-duty tops |
| Birch butcher block | 43 lb/ft³ | 1,700 psi | Durable tops with good screw holding |
| Laminated 2x strips | 35 lb/ft³ | 1,600 psi | Thick benches where stiffness matters |
| Load style | Bending model | Connection factor | When to use it |
|---|---|---|---|
| Evenly distributed | Uniform beam load | 1.00x | Boxes, parts bins, wide machines |
| Mixed storage and tool | Blend of uniform and point | 0.78x | Common garage bench loading |
| Center point load | Single central point | 0.62x | Drill press, vise, anvil pad |
| Front-edge point load | Point with edge penalty | 0.52x | Vise work or clamp force near front |
| Impact or hammering | Point with dynamic penalty | 0.45x | Chiseling, beating, sudden loads |
| Apron size | Typical height | Stiffness effect | Span note |
|---|---|---|---|
| No apron | 0 in | Top carries most bending | Keep spans short and loads light |
| 1x3 rail | 2.5 in | Light improvement | Best under 48 in support bays |
| 1x4 rail | 3.5 in | Moderate improvement | Useful for 48-72 in bays |
| 2x4 rail | 3.5 in | Better fastener area | Good for garage benches |
| 2x6 rail | 5.5 in | Large stiffness jump | Useful for long assembly benches |
| Example build | Top size | Support layout | Typical limiting check |
|---|---|---|---|
| Compact repair bench | 48 x 24 x 1.25 in | 4 legs, 1x4 apron | Fasteners or point load |
| Garage workbench | 72 x 30 x 1.5 in | 4 legs, 2x4 apron | Apron span or joints |
| Long assembly bench | 96 x 32 x 1.5 in | 6 legs, 1x4 apron | Middle support bay |
| Machine bench | 48 x 30 x 2.25 in | 4 legs, bolted frame | Point contact area |
| Mobile shop island | 72 x 36 x 1.5 in | 6 legs or casters | Caster and joint rating |
There is a specific moment of silence in every shop when you realize your new drill press are too heavy for the bench you spent a weekend building and it bows the top under the weight. Sometimes that’s not a bad thing; sometimes it just shows where the structure give under weight.
But what if you want a bench that doesn’t feel like a spring board? What if you wanted one that felt solidy? That gets into weight capacity, which include the concept of both stiffness and distribution. And that’s how force travels through steel and wood.
How to Make a Strong Workbench
Builders most often build towards the top. They think if they make it thick enough, it’ll be strong enough. That makes sense, the top has to be rigid. But that’s only half of the equation. If your legs bow out or your apron twists, your two inch maple top won’t do anything.
The calculator does calculation for you. It explains how each part contribute and why some parts is weaker than others. It measures the stiffness of the top compared to the legs’ strength. Then it look at how well the fasteners will hold everything together.
That’s important, because there are actualy three possible failure modes with a bench. You could build one where the frame is fine but not so good at keeping things from falling over when you’re leaning into your cut. Or maybe you’ve got a great set of legs but the top isn’t attached firmly enough to keep the middle from sagging and making a ramp for tools to slide onto floor.
One variable people most commonly fail to consider is size of their apron. The apron is simply the horizontal board that connect the legs to the bottom of the top. The apron accomplishes two tasks simultaneously. It holds the legs in place to prevent them from spreading apart under weight. This maintains a square bench. And it creates an additional support beam.
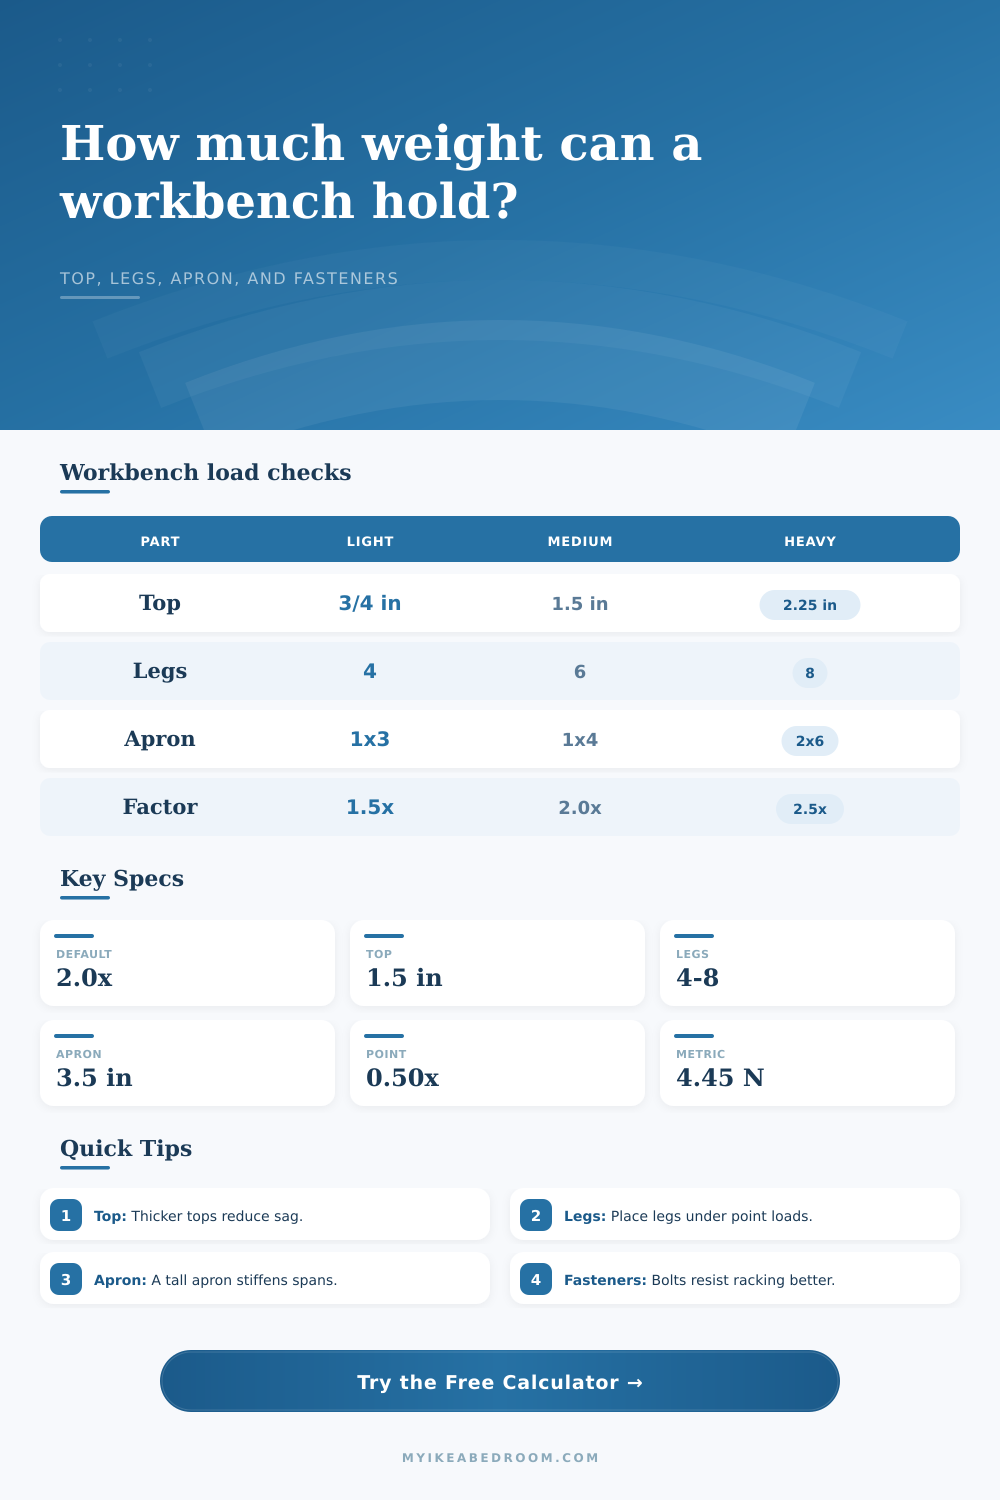
By using a two-by-six standing on end versus a one-by-four, you dramatically increase the overall stiffness of that span. What this means is the legs can be spaced further apart without causing top to start to sag. As you can see in table of references on the page, going from a one-by-four to a two-by-six rail will change how stiff it is. This turns what would of been a simple leg attachment into a true beam that takes some of the load based off the top.
The strength of the material isn’t all that’s important; how it’s loaded up is also significant. A bench can support a hundred pounds distributed evenly across its broad base. The same hundred pounds concentrated on the sharp edge of a vice or the narrow foot of a lathe create a high-stress point. This pulls fasteners loose and cracks the wood. Point loads are enemy of distributed strength. Run your numbers and take note of the contact width. If you’re mounting a really big tool, add a little plywood pad under it so that it spreads that force across a bigger area. It’s a small modification but can greatly increase the effective capacity of the top without adding bulk to frame.
This brings us to safety factors. The places where personal judgment come into play in the engineering equation. For a lightweight electronics bench holding small parts and soldering iron, a safety factor of 1.5 may suffice. If, however, you’re pounding on it with a mallet, hammering it with a hand plane, or chopping wood on it, you’ll want some additional margin. A safety factor of 2.5 or perhaps 3.0 will allow sudden shocks and dynamic impacts while staying well clear of the failure point. It is the difference between a tool that works and one that feels dangerous. This isn’t about merely building it for the static weight of whatever sits on the bench. It’s about what happens when you drop a heavy bag of ball bearings onto it or swing a mallet into it by mistake.
So in conclusion, a workbench is a compromise between function, space and cost. If you want a workbench that can hold all of the world’s weight, well then you’d better build something with foundation for a base. Make sure the workbench can support what you’re going to use it for. Find out what your heaviest tool is. Where does it go? Build up from there. Everything else is insurance. If the workbench feels like it won’t move under your grip, well then you’ve done it. That silent, solid stability makes a table a workbench. You can concentrate on making stuff instead of wondering if the stand will stay up.