Garage Door Track Clearance Calculator
Estimate door track headroom, side room, backroom, opener rail reach, ceiling obstruction limits, and a planning high-lift option from real opening measurements.
1Garage opening presets
Choose a common layout as a starting point, then replace every measurement with the actual clear opening, ceiling, side wall, and rail path values.
2Door and track measurements
Clearance result
3Track clearance grid
4Headroom reference
| Track type | Planning headroom | Side room to check | Best use |
|---|---|---|---|
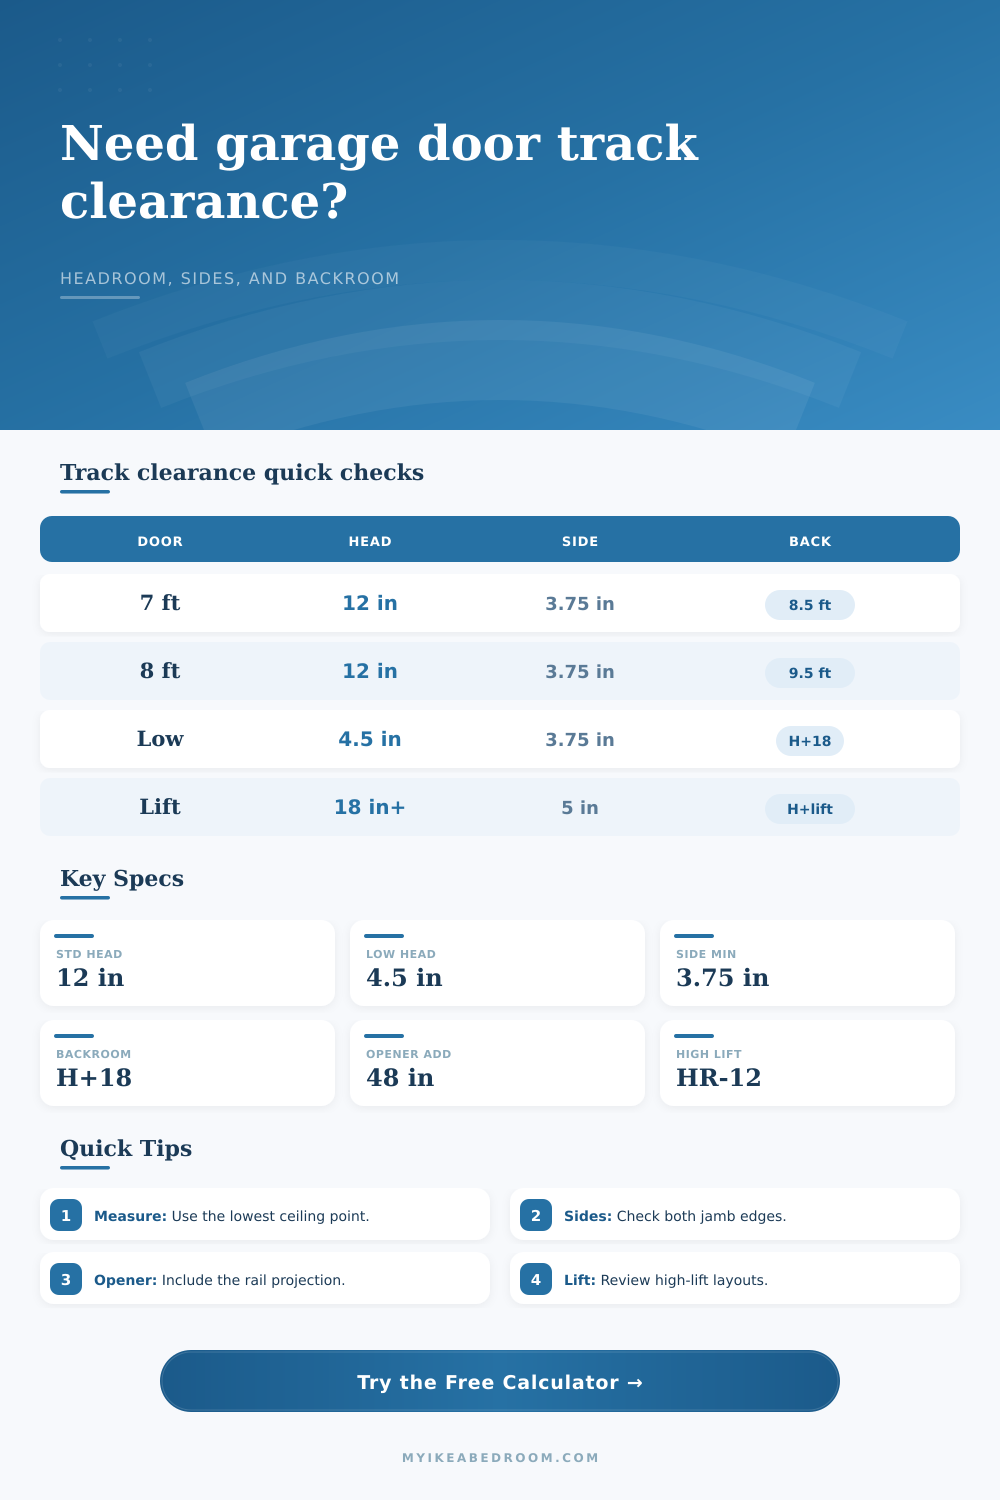
| Standard lift, 12 inch radius | About 12 inches | 3.75 to 5.5 inches | Most residential sectional doors with normal ceiling height |
| Standard lift, 15 inch radius | About 14 to 15 inches | 3.75 to 5.5 inches | Smoother curve when extra headroom exists |
| Low-headroom rear spring | About 4.5 to 6 inches | 3.75 to 5.5 inches | Ceiling is tight above the header and springs can sit behind track |
| Low-headroom front spring | About 9 to 10 inches | 5.5 inches or more | Front spring hardware must fit above the opening |
| High-lift planning | Standard headroom plus vertical lift | Often 5 inches or more | Tall ceilings where the horizontal track should sit higher |
5Backroom and opener reference
| Door height | Track only estimate | With trolley opener | Metric track only |
|---|---|---|---|
| 6 ft 6 in | 8 ft 0 in | 10 ft 6 in to 11 ft 0 in | About 2.44 m |
| 7 ft 0 in | 8 ft 6 in | 11 ft 0 in to 11 ft 6 in | About 2.59 m |
| 7 ft 6 in | 9 ft 0 in | 11 ft 6 in to 12 ft 0 in | About 2.74 m |
| 8 ft 0 in | 9 ft 6 in | 12 ft 0 in to 12 ft 6 in | About 2.90 m |
| 9 ft 0 in | 10 ft 6 in | 13 ft 0 in to 13 ft 6 in | About 3.20 m |
6Side room and hardware reference
| Hardware area | Typical space | What to measure | Clearance flag |
|---|---|---|---|
| Vertical track at jamb | 3.75 inches minimum | Inside edge of opening to nearest obstruction | Less than 3.75 inches needs a tighter hardware review |
| Torsion spring end bearing | 5.5 inches or more | Both left and right sides above the opening | One tight side can drive the whole layout |
| Wall-mount opener | 8 inches or more on one side | Preferred opener side near torsion shaft | Check outlet, shaft exposure, and side-wall depth |
| Double door center support | Clear center bracket area | Header, shaft, opener bracket, and strut clearance | Wide doors need careful centerline obstruction checks |
7Obstruction review table
| Obstruction | Measurement | Track effect | Opener effect |
|---|---|---|---|
| Ceiling beam | Drop below ceiling and distance from opening | Reduces clear headroom or open-door space | May block trolley rail brackets |
| Duct or pipe | Lowest hanging point plus side offset | Can interrupt horizontal track path | May require opener offset or jackshaft review |
| Storage shelf | Shelf depth, height, and backroom overlap | May conflict with open door section | Can shorten safe opener rail reach |
| Light fixture | Drop below ceiling and distance from header | Check vibration and door travel clearance | Keep away from rail, arm, and emergency release path |
8Measurement tips
It’s one thing to measure a door opening for width and height; it’s quite another to factor in the unseen variables, the headroom clearance above the door header, the backroom clearance behind the door, and the side room next to the doorjamb. Unfortunatley, most homeowners neglect the behind-the-scenes geometry. They buy their door, pay someone to install it, and then realize down the road there was no way to fit the track because of a storage shelf or ceiling beam. All too often, this means an expensive change order (or a door they can’t get open).
Enter your own measurements into the calculator and it will do all the math for you. This avoids the guesswork of whether your ceiling height is high enough for a standard lift, or if you’ll have to pay for a special low-headroom kit.
How to Measure Your Garage Door Space
How do the tracks work? When the door is closed, the door will lay flat on the ceiling. And then as the door starts to open, those vertical tracks becomes horizontal tracks. So there’s this whole curved area in between. That takes up space. Typically a normal home track would require a dozen inches of radius to be able to make that curve without having any issue with binding. This means that if you have a ceiling that’s only ten inches above your door header, you’ve got no room for that twelve-inch curve. That is why available headroom matters. It’s not simply about clearance; it’s about how does this thing make that turn? So it compares your actual measured headroom versus what the various kinds of tracks take to install. Does this mean you’re looking at an easy installation, or are you going to have to plan on a low-headroom rear-spring deal? Those low-headroom deals cost a bunch of money and they alter where the springs sit. You wouldn’t wanna know that after you order the hardware.
The other frequent snag is side room. For some reason people think about the width of the opening, but not that there are vertical tracks within the opening while all of the torsion springs and mounting hardware sits outside it. Just to mount the track brackets on the wall requires at least three and three-quarter inches on either side. Torsion spring systems, which most new doors use today, typically require around five and a half inches. That is where the shaft and the end bearings is located. From the inside of your door jamb, measure to the first obstruction: a wall, maybe, or a light switch or perhaps a piece of conduit. One side might be tight, in which case the entire layout has to shift. The calculation looks at both sides and flags whichever is the tighter one since it’s that one constraint that will determine what you can install.
Don’t ignore the backroom. That’s the distance between the face of the door and the back wall. Behind those horizontal tracks on the ceiling are the door panels that stack up. Even with a seven-foot door, that requires roughly eight feet of backroom, simply for the door plus the track. Then add four feet or so more for the rail and motor of an automatic opener. And if your garage is shallow, the door could strike the back wall before closing all the way. Or even worse, the rail on which the opener trolley rides could collide with a beam in the ceiling.
How far can the opener reach? What about other obstacles? The tool considers both the type of opener and measures the overall reach. It also considers any obstructions you list. A beam hanging down three feet from the opening may seem harmless, but if it dips 12 inches below the ceiling, it could be blocking the trolley’s path.
If your ceilings are high and you’d like to lift all the way out of the doorway, you’ll want a high-lift system. However, there are certain limitations on length of vertical tracks needed. For planning purposes, the high-lift number returned in the results is just an estimate. It will tell you approximately how far more vertical track you may wish to add so that your door can be lifted above the normal arc. It is great for storing stuff up under the door and is also good if you are having trouble clearing over tall vehicle. Just keep in mind that the high-lift does increase the cable length as well as the spring tension.
The downfall of so many projects is measuring. Don’t measure the best place. Measure the worst one. In older houses ceilings are never all the same height, the floors aren’t flat. There’s drywall, there’s more drywall. Measure the smallest space. So if the middle of the header is 14″ from the ceiling but the left side is 12″ due to a slanting joist, go with 12″ as your number. Accounting for that margin of error can be the difference between a headache and a smooth install. And that’s why there’s a buffer option in the calculator. Bump up those numbers by.5, 1″ to allow for human error, settling, and vibration. A little bit goes a long way. You don’t want the system to feel cramped. You want it to breathe.
Finally, remember that the garage door is a large, moving machine hanging from your ceiling. It requires clearance to operate. Before you begin, check the space behind, beside, and above the door to save yourself both money and sanity. Use the reference tables as guidelines but the ultimate judge is your own garage. Measure thoroughly. Account for any obstructions. Follow the math and let geometry be your guide.