Garage Floor Tile Quantity Calculator
Estimate garage floor tiles, full boxes, expansion gap deductions, cut waste, vehicle bay zones, border rows, and leftover tiles from your measured floor layout.
1Garage presets
Pick a starting layout, then replace the values with your exact garage and tile measurements.
2Garage and tile inputs
Garage tile quantity result
3Tile planning snapshot
4Tile size coverage reference
| Tile size | Coverage each | Tiles per 100 sq ft | Typical garage use |
|---|---|---|---|
| 12 in × 12 in | 1.00 sq ft | 100 tiles before waste | Detailed borders, many color patterns |
| 15.75 in × 15.75 in | 1.72 sq ft | 59 tiles before waste | Metric modular garage floors |
| 18 in × 18 in | 2.25 sq ft | 45 tiles before waste | Two-car garages with faster field coverage |
| 24 in × 24 in | 4.00 sq ft | 25 tiles before waste | Large open garages with fewer seams |
5Waste and border planning table
| Layout condition | Base waste | Extra check | Calculator treatment |
|---|---|---|---|
| Straight grid, open rectangle | 8% to 10% | Few obstacle cuts | Uses entered waste percentage only |
| Running bond or staggered rows | 10% to 12% | More half-tile starts | Adds a small layout reserve |
| Diagonal or turned grid | 12% to 18% | Many perimeter triangles | Adds the largest layout reserve |
| One or two border rows | 10% to 15% | Separate accent counts | Counts perimeter tiles inside the total grid |
6Box rounding examples
| Tiles needed | Tiles per box | Boxes to get | Leftover tiles |
|---|---|---|---|
| 245 tiles | 20 | 13 boxes | 15 tiles after rounding |
| 312 tiles | 24 | 13 boxes | 0 tiles after rounding |
| 426 tiles | 16 | 27 boxes | 6 tiles after rounding |
| 668 tiles | 20 | 34 boxes | 12 tiles after rounding |
7Common garage layout table
| Garage type | Typical floor area | Bay zone assumption | Planning note |
|---|---|---|---|
| Single bay | 216 to 264 sq ft | One 8.5 ft × 18 ft bay | Border cuts may be a large share of total tiles |
| Standard two-car | 380 to 440 sq ft | Two parking bay rectangles | Check the door threshold and side wall taper |
| Deep two-car | 480 to 560 sq ft | Two bays plus storage strip | Separate the bay count from rear workshop area |
| Three-bay | 600 to 760 sq ft | Three vehicle bay zones | Confirm box rounding before splitting colors |
8Measurement tips
To order tile, most DIYers simply calculate floor area, divide it by size of one tile, and order that many boxes. Not only does this method almost guarantee you’ll run out of material halfway through, it completely disregards any gaps for expansion, if you don’t leave room for tiles to expand, they’ll buckle when the heat comes on.
Once you enter your measurement into the calculator above, it’ll do all the math for you. You won’t need to figure out the conversions or coefficients, but knowing what these numbers actualy mean is the key.
How to Calculate Tile Quantity Correctly
The first item is usable space. What is usable? It is finished wall to finished wall minus the edge of your baseboards and the threshold of your door. Most folks counts those in their measurement. That’s why they come up short.
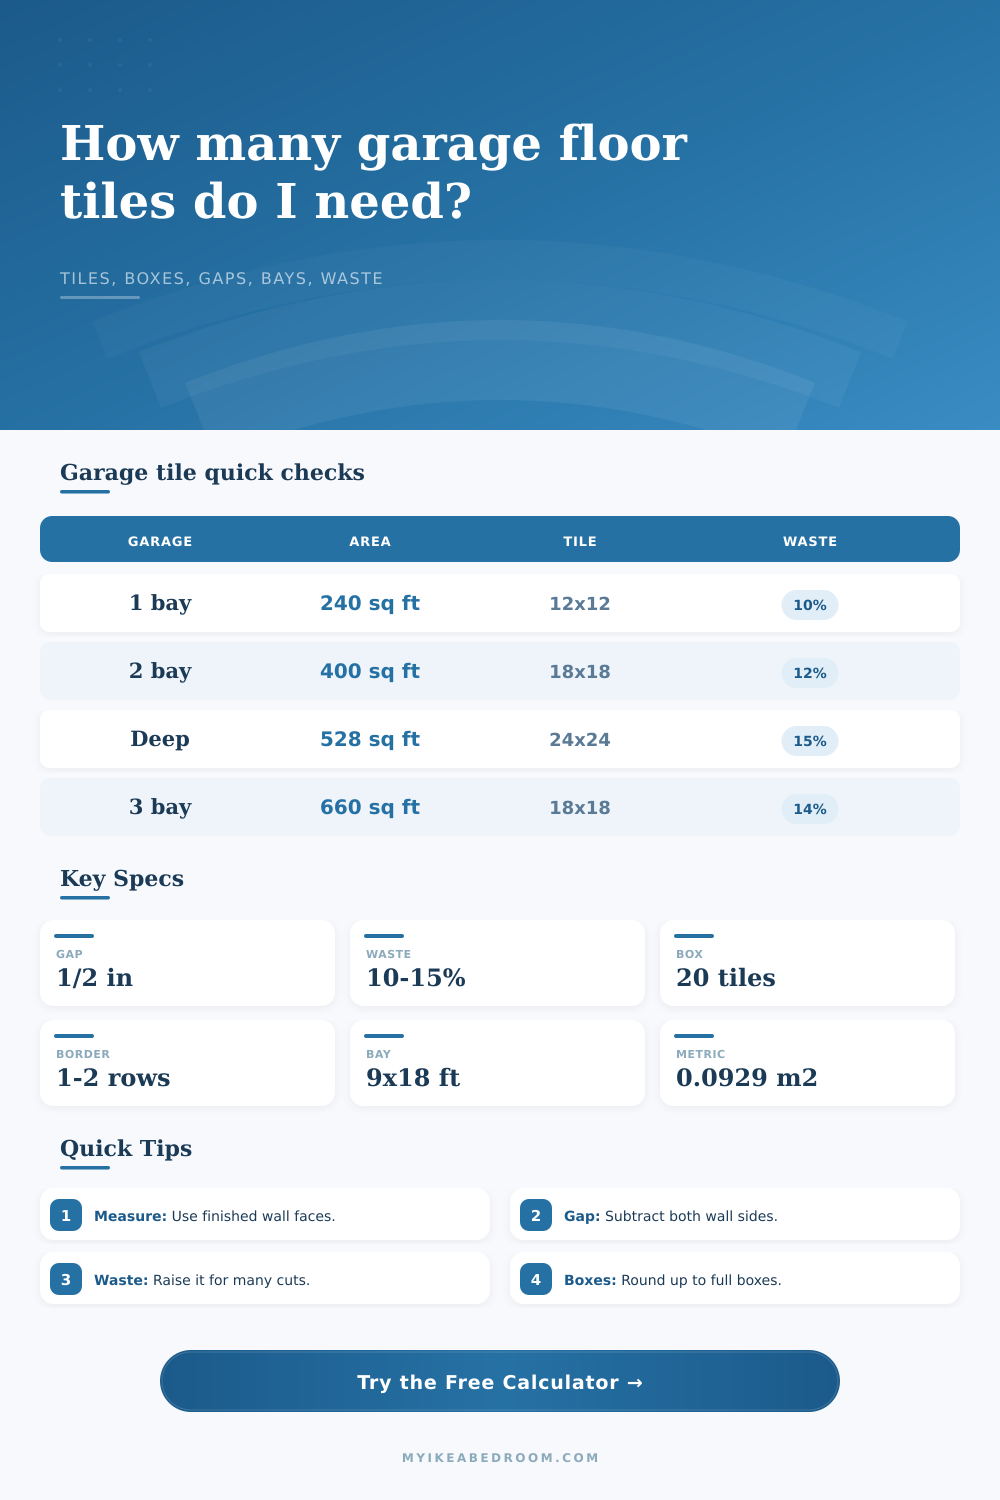
Then the tool ask for half an inch expansion gap on every side of the wall (the reason is that cement floors expands and contract seasonally). It then subtracts that amount from the width and length times two, then calculates the field size.
Why does this matter? Because if you tile all the way to the walls there’s no place for floor to go but up when the cement expands and contracts with seasonal temperature changes. You’re left with a rippling looking floor that feels even worse underneath feet.
Secondly, let’s talk about waste. If your tile is a simple rectangle and you’re laying a straight grid, you can expect to use just 10 percent more for cuts. If you’ve got electrical conduits, drains, pillars. Anything that forces you to work around irregularities (or if you’re laying diagonally), that number go up. Diagonal patterns are beautiful, but at each corner, you get a triangular cutout which adds up quickly. This variable depend on how complex your layout is; the calculator lets you adjust it to match. It won’t save your budget any huge sum of money, but it insulates you from a surprise trip to hardware store.
Consider how it is used. In addition, consider how you’ll be using the room. There’s an input for the vehicle bay zones. This is where your tires spends their days, every day. You can define those zones to help you choose heavier-duty options or a different color tile for those areas. This sets them apart from the rest of floor. This will allow you to visualize the project prior to unpacking first tile, as well as make sure you have plenty of the patterned/tile you’re planning to use on the bay area (a mistake many make when mixing patterns).
There’s also something called box counts that can’t be done with simple math. How many boxes do I need? Many tiles comes only in certain numbers of pieces per box. For example: twenty four, or twenty. So if you think you need one hundred and five tiles, then how would you buy exactly one hundred and five? You won’t be able to. You’d have to round up to the next whole box and end up with some left over. The calculator does that rounding for you as well.
It even allows you to include a few extras for spare tile. Store them somewhere dry. One day years down the road when a heavy tool falls to floor, it’ll be nice to have matching spares to fix things so they’re no longer visible.
On page, there’s also this table of reference showing what sort of coverage you get with various tile sizes: Eighteen-inch by eighteen-inch tiles are bigger, so installation will be faster (fewer joints) but your floor has to be flatter. Twelve-inch by twelve-inch tiles can hide more flaws in your subfloor, though they result in more seams/interlocking lines to deal with (more grout lines). It’s a balance between the work required in preparing the floor versus amount of time it takes for installers.
At the end of the day, a garage floor isn’t decorative. It’s a working surface: it should hold heavy loads, withstand oil and tire marks, and get the quantity right so the job gets finished in one go.
To do this, start by getting the quantity correct. That way you get it done in one shot, no awkward seams or mismatched colors. Round up when measuring, add for spaces between, and take care to measure carefully. Your Future Self (standing on a completed, clean and smooth floor) would of thanks you for taking the time.