3D Print Filament Quantity Calculator
Estimate how many grams and meters of filament a print needs from slicer volume, material density, infill change, supports, copies, spool size, and filament diameter.
1Print presets
Choose a starting point, then replace the slicer volume with your own cm3 value for the most accurate estimate.
2Filament inputs
Filament estimate
3Material density quick cards
4Reference tables
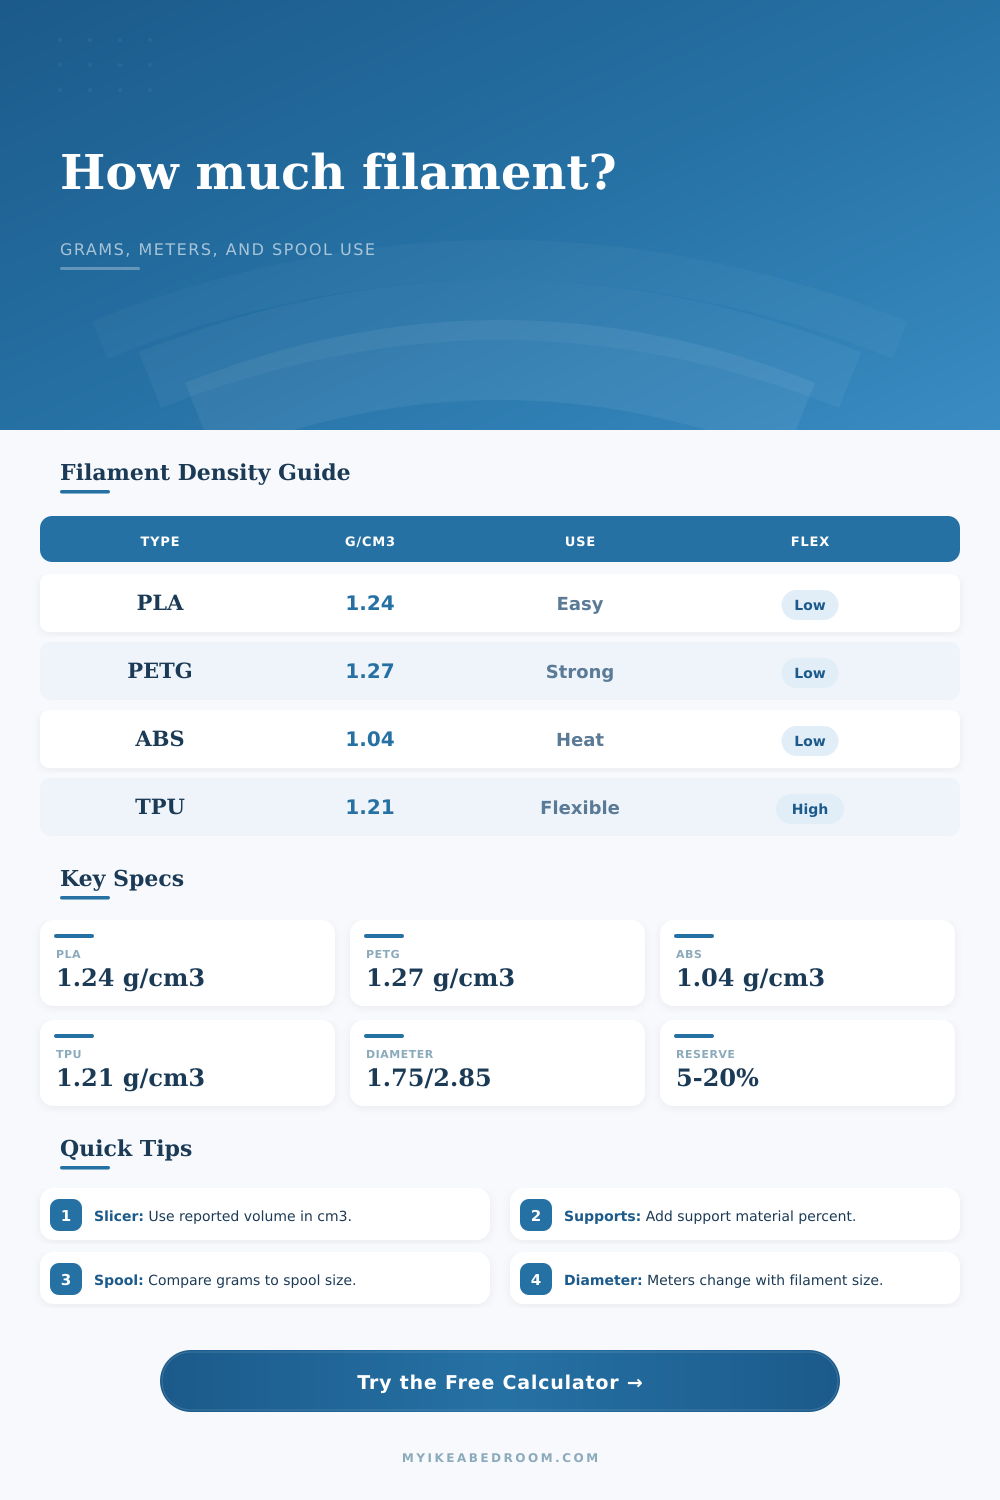
These tables use standard filament density and diameter math, so they are useful for checking slicer estimates by hand.
| Material | Density | Best estimate use | Notes |
|---|---|---|---|
| PLA | 1.24 g/cm3 | General prints | Reliable default for models, decor, and prototypes |
| PETG | 1.27 g/cm3 | Functional parts | Slightly heavier than PLA at the same print volume |
| ABS | 1.04 g/cm3 | Heat tolerant parts | Lighter per cm3 than PLA and PETG |
| TPU | 1.21 g/cm3 | Flexible parts | Close to PLA by weight, but often printed slower |
| Material | 1.75 mm per 100 g | 2.85 mm per 100 g | 1000 g spool length |
|---|---|---|---|
| PLA | 33.5 m | 12.6 m | 335 m at 1.75 mm |
| PETG | 32.7 m | 12.4 m | 327 m at 1.75 mm |
| ABS | 40.0 m | 15.1 m | 400 m at 1.75 mm |
| TPU | 34.4 m | 13.0 m | 344 m at 1.75 mm |
| Print preset | Slicer volume | Infill | Support add |
|---|---|---|---|
| Keychain set | 7.5 cm3 each | 20% | 4% |
| Phone stand | 68 cm3 | 25% | 12% |
| Drawer divider | 92 cm3 | 15% | 2% |
| Cosplay shell | 310 cm3 | 12% | 18% |
| Adjustment | Typical range | Calculator input | Planning note |
|---|---|---|---|
| Infill change | 10% to 50% | Slicer and target % | Scales the slicer cm3 estimate up or down |
| Supports | 0% to 40% | Supports and brims % | Use the slicer support preview for a better percent |
| Reserve | 5% to 20% | Extra reserve % | Add more for long prints and near-empty spools |
| Purge and tests | 1 g to 20 g | Purge and test grams | Useful for color swaps and calibration pieces |
5Filament planning tips
Hit start, queue up a print that looks solid on screen, and then watch with concern as extruder works its way through those last few layers. Beep, beep. The nozzle begins grinding in empty air. Halfway through, you ran out of plastic. It is not due to a bug or a warping bed. Your spool are empty. This is a common experience for makers. A single project can deplete a spool that looked full in the box, wasting hours of your time.
The issue isn’t the printer… It’s almost never the printer. It’s a blind spot in your planning. There is a gap between what you assumed and reality. You see a spool labeled in grams, a model listed in cubic centimeters, and assume the conversion is trivial. It’s not. That is where you make your mistake. Slicer estimates is optimistic. It’s the nature of the beast. They spit out the ideal, hypothetical path of nozzle. It doesn’t factor in support structures (which contribute mass you can’t see). It doesn’t consider the failed calibration test you just ran, or those pesky purge lines up front.
Stop Running Out of Plastic
This calculator fills that hole. You input the slice number from slicer; you then modify the infill percentage and such according to how you actualy print. Maybe you did a preview run at 20% infill, but intend to build this thing at 40% infill because it needs to be strong? The tool will scale weight based off that. So it does the density math for you, because who remembers that PETG has a higher density (heavier by the cm3) than PLA? Just enter dimensions of what you want to print, and the calculator above will do the math for you, converting those vague volume measurements into real-world meters and grams.
Every print have another variable: density (though it is subtle). Because PLA is easy to print and feels light, it’s the go-to option for most hobbyists. You can rely on it. But when you swap out PLA for heat-resistant PETG for a functional piece, then you’re working with something a little more dense. A small change in density compounds across a big print. The chart on the page explain it clearly. You could of had something that appears quite heavy but actualy weighs less because it is made from ABS, which is even lighter by volume. You need an enclosure and heated bed for ABS. However, TPU falls somewhere between two; it is close enough in density to typical PLA but flexible as well.
This knowledge prepares you to estimate how many meters of a spool your project will eat through before you hit that Start button. Wasted filament also come from support structures. That little model may only have overhangs. However, it may require twice as much material to produce because of all the support structure necessary to keep it standing. Include a buffer on the support structure and brim. Overestimating here is preferable to running out midway through a forty-hour print.
Consider copies too. Is this one prototype or a run of ten? Multiply weight of the base item by the number of copies to get the actual batch amount. Then include extra for safety (ten or fifteen percent). There, you’ve got a plan for handling both machine quirkiness and human error.
And then there’s length. How much filament do I have left? If I know how many meters remain, that helps me visualize my remaining spool size. Even though two spools may weigh the same amount, that thick 2.85 mm strand will go farther in length than a thin 1.75 mm strand. Depending on your chosen diameter, the calculator calculates meters from grams. It may not be a big deal, but it’s another little thing that make sense when comparing spools of varying diameters.
Printing is all about resource management. Get your object out of machine without wasting plastic or time. Adjusting for material density, support structure, and infill changes turns guessing into knowing. No more empty spool failures. You make steady progress from the first layer to the last layer.