Polymer Clay Bake Time Calculator
Estimate a label-based bake schedule from the thickest part of the clay, minutes per 1/4 inch, oven temperature, piece count, tray capacity, tenting, and cooling method.
📌Clay project presets
⚙Thickness, label, oven, and tray inputs
Polymer clay bake time is normally based on the thickest section, not the number of pieces. Piece count affects tray batches and total oven occupancy.
Polymer clay bake time estimate
📊Bake setting quick checks
📘Reference tables
| Label setting | Calculator input | Time for 1/2 in | Reminder |
|---|---|---|---|
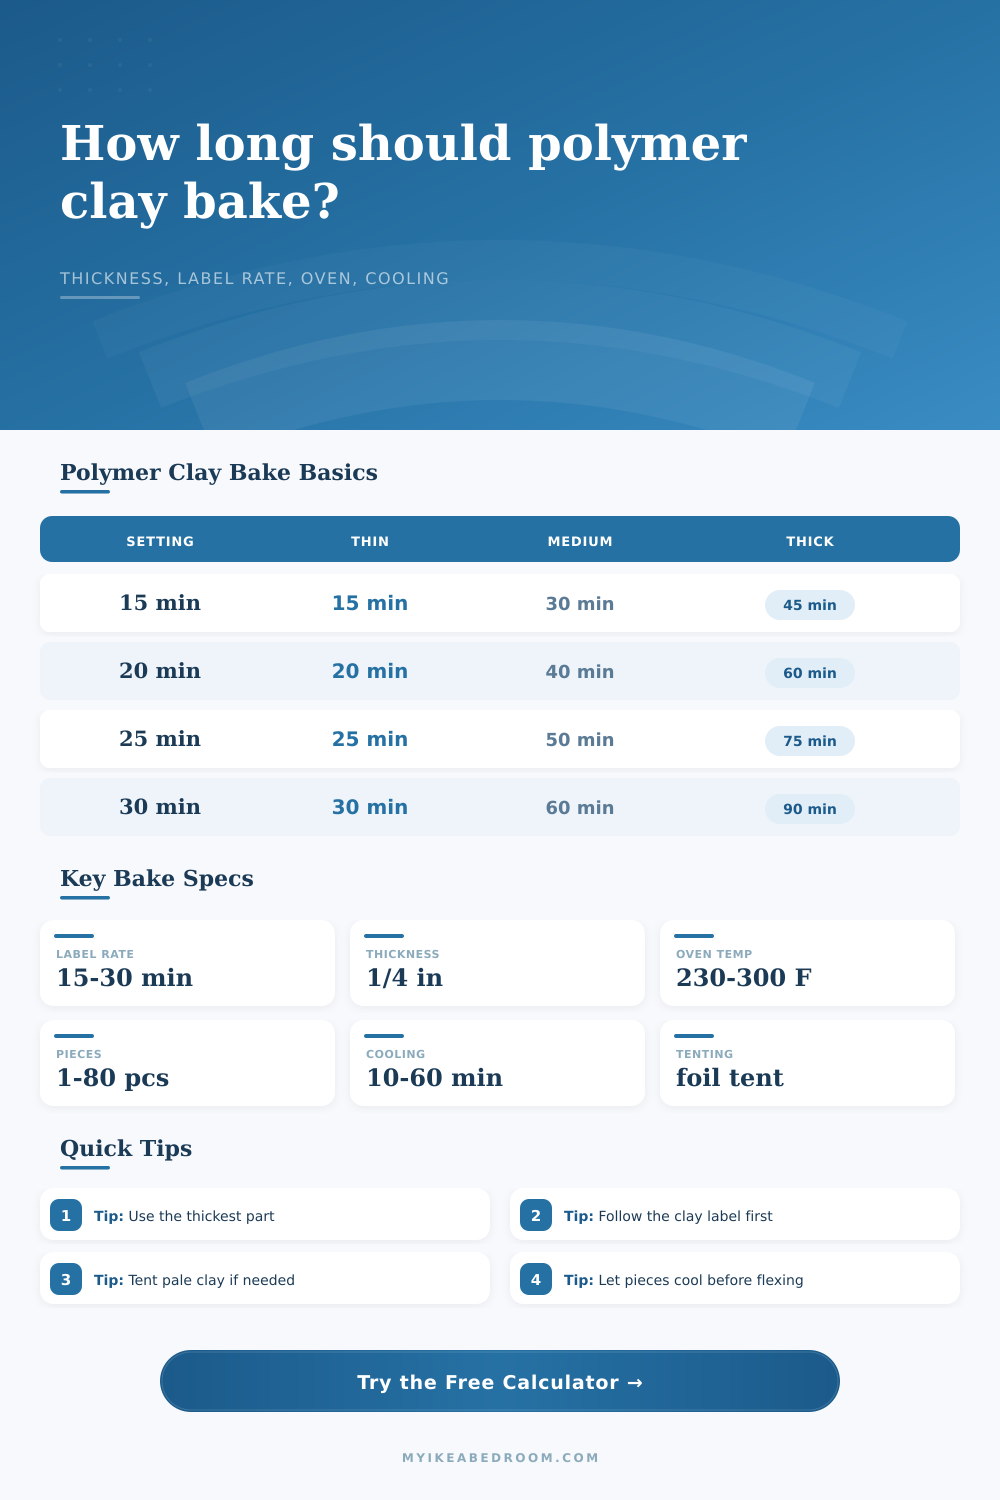
| 15 minutes per 1/4 inch | Select 15 minutes | 30 minutes before buffer | Use only when that rate is printed on the clay label. |
| 20 minutes per 1/4 inch | Select 20 minutes | 40 minutes before buffer | Good for packages that specify a middle bake rate. |
| 25 minutes per 1/4 inch | Select 25 minutes | 50 minutes before buffer | Useful when the label calls for a longer cure per layer. |
| 30 minutes per 1/4 inch | Select 30 minutes | 60 minutes before buffer | Common for firm cure schedules; keep temperature on label. |
| Unusual package direction | Use custom rate | Calculated from your entry | Enter the exact minutes per 1/4 inch from the label. |
| Max thickness | Metric thickness | At 15 min per 1/4 in | At 30 min per 1/4 in |
|---|---|---|---|
| 1/8 inch | 3.2 mm | 15 minutes minimum display | 30 minutes minimum display |
| 1/4 inch | 6.4 mm | 15 minutes | 30 minutes |
| 3/8 inch | 9.5 mm | 23 minutes | 45 minutes |
| 1/2 inch | 12.7 mm | 30 minutes | 60 minutes |
| 3/4 inch | 19.1 mm | 45 minutes | 90 minutes |
| 1 inch | 25.4 mm | 60 minutes | 120 minutes |
| Choice | How it affects estimate | Best used for | Calculator note |
|---|---|---|---|
| Piece count | Sets number of tray batches | Charms, tiles, beads, multiples | One tray bakes by maximum thickness, not by total piece count. |
| Tray capacity | Rounds batches upward | Busy trays with airflow gaps | Total occupancy includes all batches and the selected cooling time. |
| Loose foil tent | Adds a small handling allowance | Pale, translucent, or detailed clay | Keep foil from touching delicate raised surfaces. |
| Covered pan | Adds a larger handling allowance | Very light colors or scorching-prone ovens | Do not use the cover to justify a hotter oven setting. |
| Slow cooling | Adds cooling occupancy | Curved, thicker, or fragile pieces | Cooling helps pieces firm before handling or flex testing. |
| Project | Typical max thickness | Piece count | Planning detail |
|---|---|---|---|
| Earring charms | 1/8 inch / 3 mm | 8 to 24 pieces | Use the thickest raised decoration, not just the flat slab. |
| Flat ornament | 1/4 inch / 6 mm | 1 to 6 pieces | Tenting can help protect pale surfaces from browning. |
| Bead batch | 3/8 inch / 10 mm | 12 to 40 pieces | Allow space around beads so air can circulate evenly. |
| Bracelet cuff | 1/2 inch / 13 mm | 1 to 3 pieces | Cool on the form if the curve needs support. |
| Foil figurine | 3/4 inch / 19 mm | 1 to 2 pieces | Measure only the clay thickness over the armature where possible. |
| Thick base | 1 inch / 25 mm | 1 piece | Consider building over foil so clay sections are not overly thick. |
💡Polymer clay bake tips
There’s no guesswork with either curing chemistry or thermal mass, because that all gets figured out by the calculator, based off how thick your clay is. Just measure, punch it into the calculator, and let the calculator do the math for you. It provides an estimate for how long to bake them for, which helps reduce the stress of discovering you baked pale pink charms but they turned out the color of burnt toast.
This always happens because you underestimate the thickness or believe the oven dial instead of reading the temperature with a thermometer. Unlike bread, which bakes, polymer clay also “cures.” That’s an important difference: Bread grows and then settles as it bakes; polymer clay go through a chemical cross-linking reaction and the plastic particles hardens.
How to Bake Polymer Clay Perfectly
It can cure if the heat is insufficient, but it will remain soft and brittle. Or it can cure with cracking or discoloration if the heat are excessive. Correct heat is gentle, even heat that doesn’t scorch the surface but penetrates into the thickest section of each piece.
The one thing that makes all the difference in this process? Thickness. Because heat only transfers so far, the max thickness is the basis for calculating time. A thin earring will require less time than a half-inch thick base sitting right beside it. I can’t throw all my earrings on a baking sheet at once and set it for 20 minutes (the length of time the base needs) and then 3 minutes (the amount of time the earrings need), because I’d burn either the base or the earring.
Even though this means some of the earrings will be hotter than others, you’ve got to bake it based on the thickness of the thickest piece. The label usually indicates a rate, fifteen to thirty minutes per quarter-inch thickness. And the best thing to do is follow that advice. I ask the calculator for the label rate because there’s no “one size fits all” formula; some brands are denser and require more time, while others are softer and cure faster. Baking everything for twenty minutes if the label doesn’t say so is taking a chance.
Compare the fifteen minute rate against the thirty minute rate in the reference table at the bottom of the page. It’s a simple multiplication. Do it wrong and you’ll end up with either yellowing on top or a soft center.
The other issue is the oven temperature. Home ovens vary; some run hot, others has hot spots (often in more than one location). Enter your actual oven temperature into the tool, not just the temperature on the label, to change what this device produces. Why? Because if your oven is ten degrees off, you should of known that, and make adjustments either way, to the heat or the time. The tool won’t over-ride safety limits. It’ll estimate the time, yes…but not know how odd your appliance might be, meaning that having a dedicated oven thermometer are necessary for serious use. Accuracy is worth paying for.
Count of pieces is confusing. More pieces equals more time? Nope. More pieces equals more batches. And the thing about batches is that the calculator will tell you how many batch to run based on your tray capacity. So, for example, maybe you have twenty piece but only five fit on a tray without touching… well you’re running four cycles. Even though the bake time might be the same for each cycle, the total amount of time in the oven has increased a lot. That’s the part no one talks about. It’s just a logistical headache. There’s a lot more lost time resetting thermometers and cleaning out trays than there is baking.
Then there’s the last part: cool it. A lot of people don’t cool it and then their pieces gets all crackled when they’re not looking. Polymer clay is still flexible when it is hot. If you bend, sand, or drill it while it is still hot right out of the oven, you are going to mess with it. This can cause cracks, sometimes even days later. I’ve included cooling times in the calculator from super fast (on the counter) to slower (in the oven). Slower cooling time also means less thermal shock, which reduces the stress on the molecular makeup.
You think I’m crazy opening the oven door for half an hour? That minute of waiting is all that stands between your favorite creation and a nice big crack running right down the center tomorrow. You don’t want to heat it too much. You want to keep the clay intact, but you also want it hardened.
How do you balance that? Well…here’s the deal. Respect the thickness. Trust the label. And allow for full cooling of each piece. This way you will preserve your charms, protect their structural integrity, and prevent them from cracking or discoloring. Happy claying!