Beading Wire Length Calculator
Estimate necklace, bracelet, anklet, and multi-strand beading wire from finished wearable length, bead count, bead diameter, clasp and crimp allowance, loops, tails, strands, and waste.
📌Jewelry presets
⚙Wire inputs
Beading wire results
| Strand | Finished length | Hardware and tails | Cut length |
|---|
📐Wire planning specs
📊Jewelry length reference
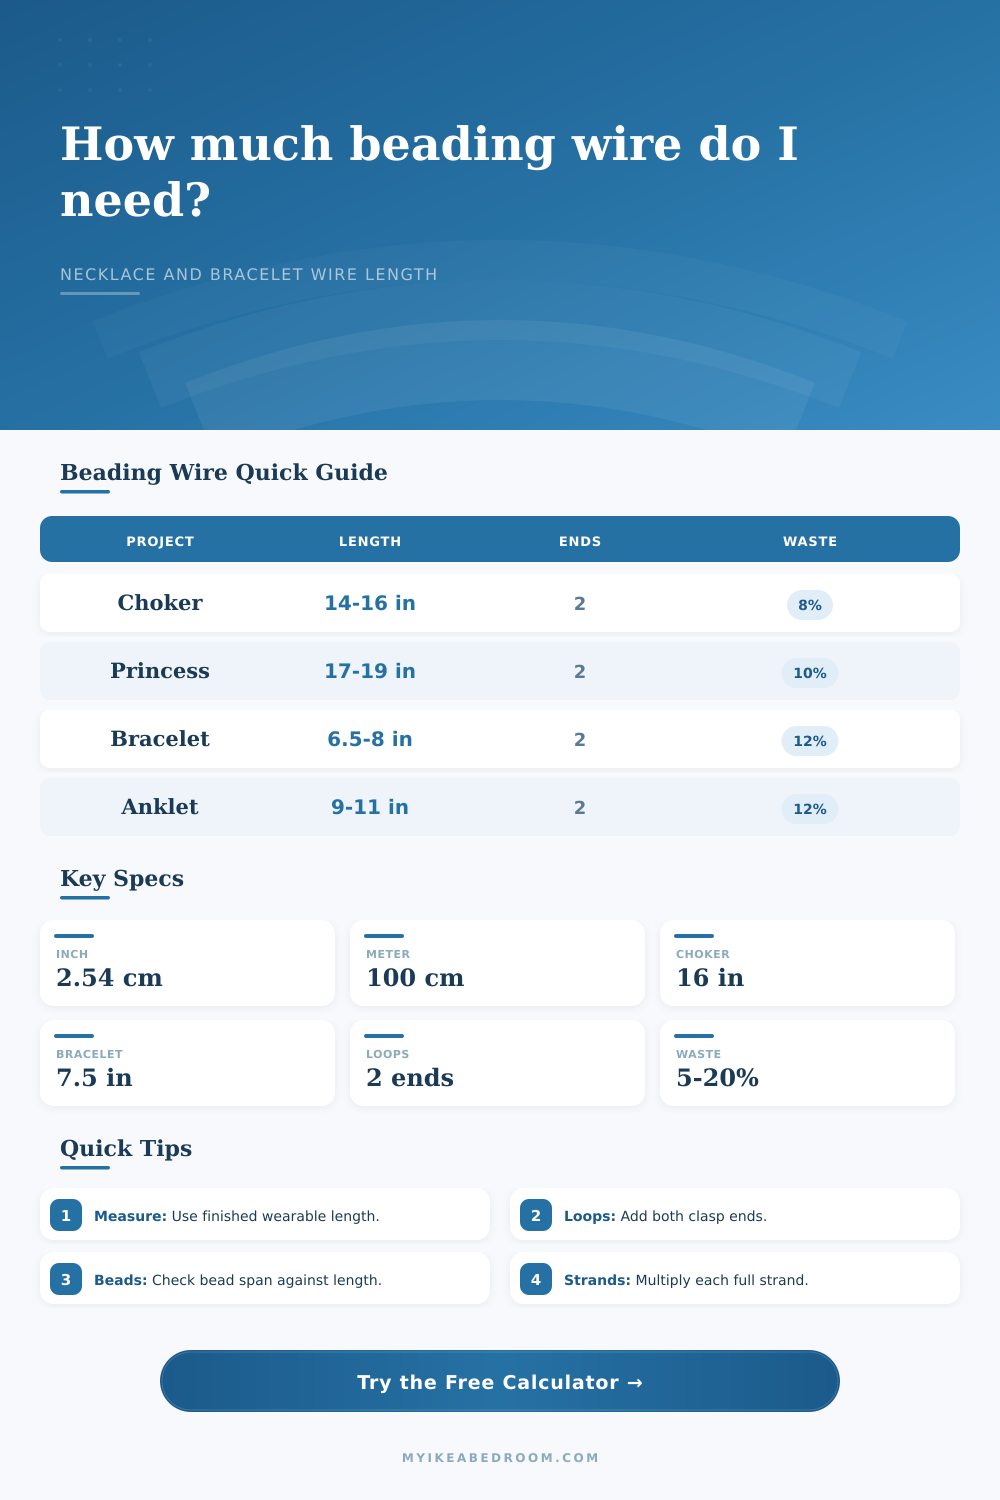
| Jewelry type | Typical finished length | Metric equivalent | Common clasp allowance | Planning note |
|---|---|---|---|---|
| Collar necklace | 12 to 14 in | 30.5 to 35.6 cm | 1 to 1.5 in | Short designs need careful clasp and tail planning. |
| Choker necklace | 14 to 16 in | 35.6 to 40.6 cm | 1 to 1.5 in | Measure neck fit before adding hardware allowances. |
| Princess necklace | 17 to 19 in | 43.2 to 48.3 cm | 1.25 to 2 in | Common single-strand necklace length for pendants. |
| Matinee necklace | 20 to 24 in | 50.8 to 61.0 cm | 1.5 to 2 in | Longer drape gives more room for larger beads. |
| Opera necklace | 28 to 36 in | 71.1 to 91.4 cm | 2 to 3 in | Use a higher buffer for long strands and restringing. |
| Bracelet | 6.5 to 8 in | 16.5 to 20.3 cm | 1 to 1.5 in | Add ease for bead diameter and wrist movement. |
| Anklet | 9 to 11 in | 22.9 to 27.9 cm | 1.25 to 2 in | Use stronger allowance when beads sit near the clasp. |
| Bead diameter | 7.5 in bracelet | 16 in choker | 18 in necklace | 32 in necklace |
|---|---|---|---|---|
| 3 mm seed or small beads | 63 beads | 135 beads | 152 beads | 271 beads |
| 4 mm rounds | 48 beads | 102 beads | 114 beads | 203 beads |
| 6 mm rounds | 32 beads | 68 beads | 76 beads | 136 beads |
| 8 mm rounds | 24 beads | 51 beads | 57 beads | 102 beads |
| 10 mm feature beads | 19 beads | 41 beads | 46 beads | 81 beads |
| Finding setup | Clasp and crimp allowance | Loop and tail per end | Typical ends | When to use it |
|---|---|---|---|---|
| Lobster clasp with jump ring | 1 to 1.5 in | 2 to 3 in | 2 | Standard necklaces, bracelets, and anklets. |
| Toggle clasp | 1.5 to 2.25 in | 2.5 to 3.5 in | 2 | Bulkier bars and rings need more room. |
| Magnetic clasp | 1 to 1.75 in | 2 to 3 in | 2 | Works well for lightweight short strands. |
| Crimped connector strand | 2 to 3 in | 2.5 to 4 in | 4 | Use when a strand has connector ends on both sides. |
| Charm drop or pendant section | 0.5 to 1 in | 1.5 to 2.5 in | 1 | Short decorative sections with one finished end. |
| Project situation | Suggested waste | Strand count | Extra check |
|---|---|---|---|
| Simple single strand necklace | 5% to 10% | 1 | Confirm clasp allowance and bead span. |
| Bracelet or anklet | 10% to 12% | 1 | Short pieces lose proportionally more in loops. |
| Wrap bracelet | 12% to 15% | 1 | Long wire is easier to kink while loading beads. |
| Two or three strand necklace | 15% to 20% | 2 to 3 | Stagger strand lengths if they nest together. |
| Rework or first sample | 15% to 20% | Any | Extra wire covers trimming and restringing. |
💡Beading wire tips
Measure your wrist, get your clasp, and buy enough wire to cover all the beads. Complete the bracelet, secure the last knot, and then discover you can’t quite get the wire into the crimping tool. We’ve all been there more than once. Most projects hits this snag: The difference between how long your beads are and how long the finished piece needs to be. This has nothing to do with skill. It usually means you failed to account for tails and hardware, as well as extra waste from using string and metal.
Once you know how long you want your wearable part to be, just plug it into the calculator (above) and let it do all of math for you. No more converting or fiddling with coefficients and guessing. But how does he know WHAT to put into the calculator? That’s the trick!
How to Measure Wire for Your Jewelry
The bead count is usually where most folks begin, as if the beads are the only thing the wire has to support. Not true. You have to support the beads, the clasp, and the crimp covers. You also have to support the extra tail that you pull through after wrapping it around and cutting it off. If you ignore the tails, your crimps will be loose.
Forget about the tails. If you ignore the clasp width, your necklace will be tight. Forgot about the clasp width. What about clasp allowance? Allow an inch or so for a basic lobster clasp. A toggle clasp need two inches or more for the larger ring plus bar size. The calculator allow you to account for this. Just remember that the bigger the finding, the more wire it takes just to hold its place at the end of the string. This is especially true on something small like a bracelet. Losing two inches of space to hardware is a quarter of your bracelet’s total length when we’re talking eight inches. When we’re talking thirty inches, which is what most people think off when they talk about an opera necklace, that’s hardly rounding error at all. Everything depends on context.
Another factor a beginner can get hung up on is bead diameter. For example, if I counted out 72 beads for my string, and they were all the same size, I would have an 18 inch string. However, if I added a little more space between the beads by knotting or used larger rondelle sizes, it’s going to stretch that length considerably. Enter the tool. You put in how many average beads will fit on the wire, as well as the average space between them. Now you know whether or not your actual bead span will meet desired finished length. If it is too long, the bead won’t fit comfortabley on the wire. If it is too short, you have some naked wire between the beads, which looks unfinished.
What about multi-strand projects? That’s an entirely new level of complexity. It is not merely a circle but now three or four circles. The multiplier on strands go into effect. Do you want all your strands to be the same size? If you’re doing a nested necklace then no, your inner strand need to be slightly shorter than the outer. Otherwise, it’ll bunch up at the clasp rather than drape nicely.
The waste percentage slider also comes into play here. For something as simple as a single strand, maybe five percent extra is all you need in case of error. But then try adding a triple-strand project with complicated crimping. Now maybe fifteen or twenty percent. Better to have a foot of excess wire than three inches and run out!
A little bit of planning goes a long way in jewelry making. Sometimes just a few inches of wire saved for the ends make the difference between a piece that will be worn for years and one that falls apart in the shower. Measure twice, cut once. And always cut with some extra length for when you inevitably screw up. That’s not wasted material. That’s peace of mind.