Knitting Gauge Swatch Calculator
Compare unblocked and blocked gauge, convert stitches per 4 in and rows per 4 in into finished measurements, then plan cast-on count, row count, and adjustment percentage.
📌Knitting gauge presets
⚙Gauge and measurement inputs
Gauge Swatch Results
| Check | Input count | Finished measure | Difference from target |
|---|
📐Gauge behavior reference
📊Knitting gauge tables
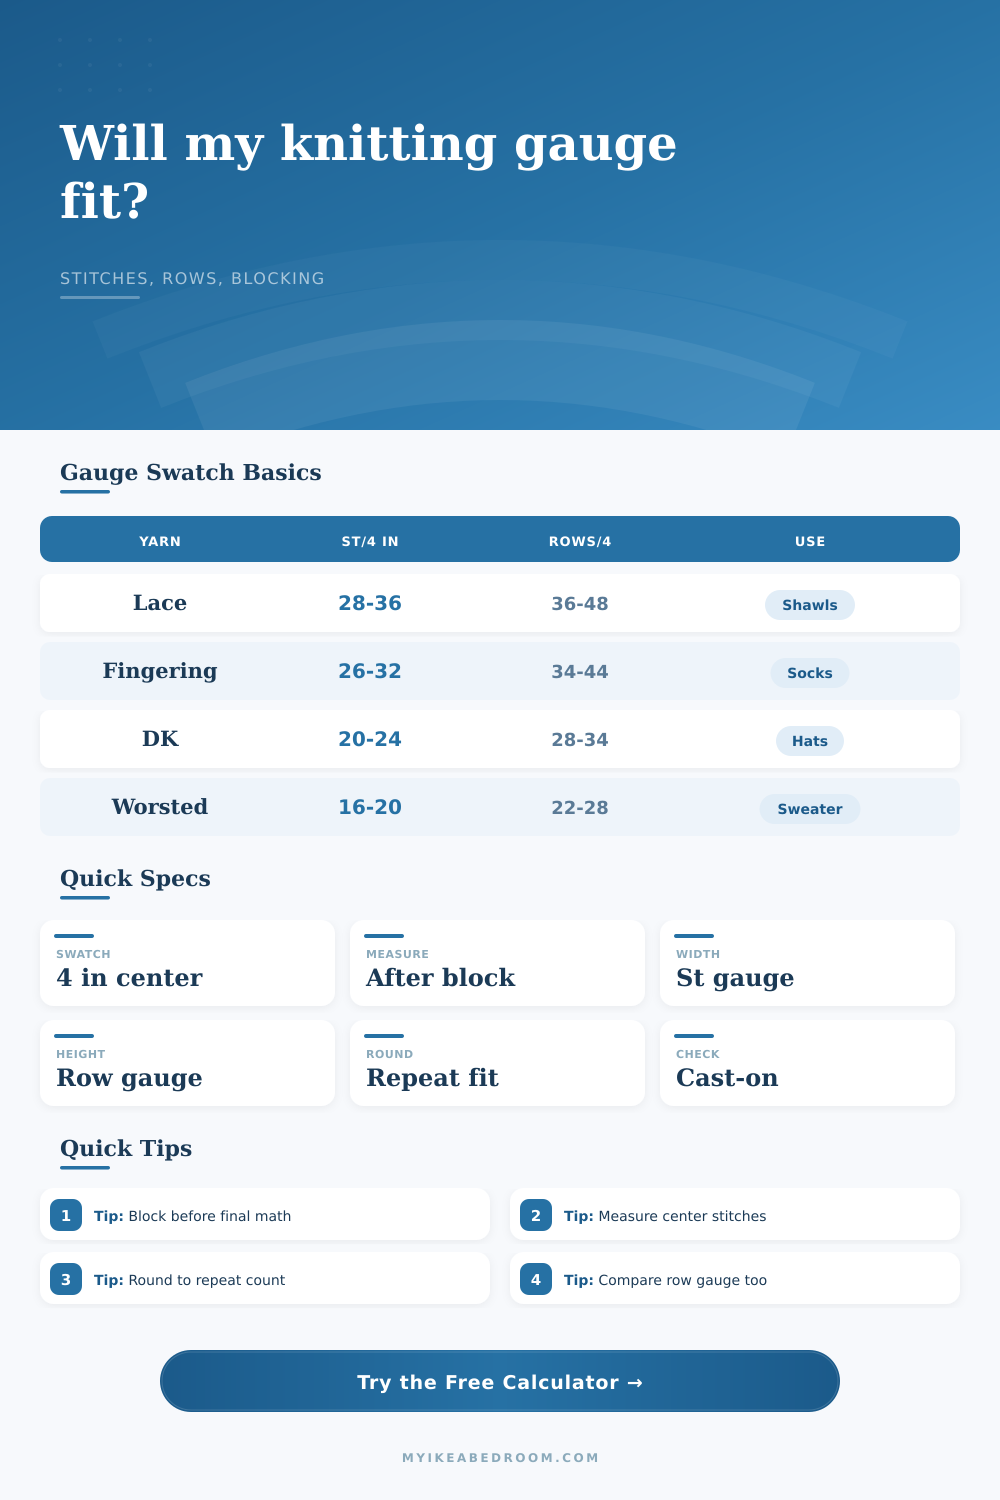
| Yarn weight | Common stitches per 4 in | Common rows per 4 in | Typical projects |
|---|---|---|---|
| Lace | 28 to 36 stitches | 36 to 48 rows | Open scarves, shawls, decorative panels |
| Fingering | 26 to 32 stitches | 34 to 44 rows | Socks, baby garments, lightweight tees |
| Sport | 23 to 26 stitches | 30 to 36 rows | Light cardigans, hats, accessories |
| DK | 20 to 24 stitches | 28 to 34 rows | Hats, children's garments, midweight layers |
| Worsted | 16 to 20 stitches | 22 to 28 rows | Sweaters, blankets, cushions, home textiles |
| Bulky | 11 to 15 stitches | 14 to 22 rows | Chunky throws, cowls, quick accessories |
| Swatch step | What to measure | Why it matters | Calculator input |
|---|---|---|---|
| Before blocking | Dry stitch and row gauge | Shows in-progress size while knitting | Unblocked stitches and rows per 4 in |
| After blocking | Relaxed stitch and row gauge | Best estimate for final finished size | Blocked stitches and rows per 4 in |
| Across center | At least 4 in of flat fabric | Edges distort counts and pull inward | Gauge per 4 in or 10 cm |
| Repeat rounding | Rib, lace, cable, or motif multiple | Prevents a correct size with a broken pattern repeat | Stitch repeat multiple |
| Gauge difference | Fabric effect | Count effect | Common fix |
|---|---|---|---|
| More stitches per 4 in than pattern | Smaller stitches, denser width | Need more stitches for same width | Go up a needle size or recalculate count |
| Fewer stitches per 4 in than pattern | Larger stitches, wider fabric | Need fewer stitches for same width | Go down a needle size or recalculate count |
| More rows per 4 in than pattern | Shorter rows, compact height | Need more rows for same length | Knit extra rows between shaping points |
| Fewer rows per 4 in than pattern | Taller rows, faster height | Need fewer rows for same length | Work shaping by measurement instead of row count |
| Preset | Blocked gauge | Target measurement | Planning note |
|---|---|---|---|
| Fingering sock | 32 st and 44 rows per 4 in | 8 in foot circumference | Round to a 4-stitch repeat for rib and leg patterns. |
| DK hat band | 22 st and 30 rows per 4 in | 19 in head band | Negative ease is often planned through adjustment percent. |
| Worsted sweater | 18 st and 26 rows per 4 in | 20 in half chest | Use blocked gauge before committing to body stitch count. |
| Bulky blanket | 12 st and 16 rows per 4 in | 48 in blanket width | Row count matters when matching panels or stripe repeats. |
🧮Formula notes
stitches needed = adjusted target width x selected stitches per inch
rows needed = adjusted target height x selected rows per inch
blocked width change = unblocked stitches per 4 in / blocked stitches per 4 in - 1
💡Gauge calculation tips
Often times, we begin a project with great intentions but end up with a cowl that doubles as a belt or a sweater that fits more like a tent. Why? Knitters tend to think of gauge as a suggestion instead of law of physics.
In knitting, gauge is the bridge between what comes out of your hands and what will become the finished object. If there is no gauge, there’s nothing but some fabric that has nowhere to go. That’s where most folks gets lost.
Why You Need a Knitting Gauge Calculator
They don’t know how much their tension differ from the designer’s. Instead, they cast on for however many stitches instructions tell them. The calculator helps you close that gap and translate your personal tension into something you can do with your hands, and knowing why math works is what prevents you from wasting all those hours.
This is why you need to take measuring both before and after blocking seriousely. When you get wool fibers wet they bloom and relax and often open up a lot. That’s why if you knit a swatch, then measure it while still dry and then block it, that’s when the gauge have changed usually. You can enter both into tool so you can compare difference.
But if you start out with a 20 stitch x 4 inch (unblocked) gauge, then block it and find that it goes down to 18, the sweater you make will be bigger than you think from your wet swatch. Not taking that adjustment into account may mean your sleeve turn out longer than expected or maybe your arm holes is too big. It is a small detail, but it has a huge impact on fit.
Before you’ve picked up needles, there’s this: the reference table on the page lays out a baseline of what each type of yarn weight generaly gauges. Bulky yarn stretches out wider; lace weight demands higher stitch counts. These are not hard and fast rules, but they is useful guides. If you’re working with fingering weight, for instance, and you’re knitting a sock that hits a gauge way outside the norm, it’s likely time to adjust your needle size.
With the calculator, however, you don’t have to guess; you can put in numbers you get instead. Enter desired height and width, and it will tell you exactly how many stitches to cast on. And since rounding to next stitch repeat is often what makes difference between a broken pattern and a clean edge, it even accounts for that pesky bit of math.
Row gauge is often overlooked when making a garment, but it is just as important as stitch gauge for getting the shape right. Row gauge refer to how long something gets and stitch gauge is how wide. So if you’re knitting a garment with a row gauge that’s smaller than the pattern, you’ll knit up before you reach the right amount of rows needed for a neckline/ armhole etc… By separating out the row count from the stitch count in the tool we take that into account.
It also means you won’t be frustrated because you are 6″ too small across and bound off and realize you can’t make it fit on your body. Most knitters will address their stitch gauge problem by switching to a different size needles, but row gauge tends to require adjustments based off how many rows you knit, not what needles you use.
Another strong point is the adjustment percent that let you tweak the fit. So if you’d like some negative ease on a fitted sweater, just reduce the measurements at which you want the piece to fit. That way it’s taking into account the fact that material will cling instead of dangle from your frame.
Different fibers like cotton, linen, or wool will shrink and hold their shapes differently. The calculator accounts for this too and allows you to manualy change the finished size after calculating. In other words, you’re reverse engineering according to what happens with your yarn.
Sewing is a craft that’s both touchy-feely and all math. Yes, you may have most skilled fingers in town, but when it comes down to it, the numbers must add up or the garment won’t. Measure, calculate, swatch, block.
Save yourself the heartbreak of finishing a garment only to discover it doesn’t fit. Make what your hands know into what the numbers say. In short, make precision out of intuition.
So the next time you grab a new pattern, don’t give in to skipping past the swatch. Block it right, get its measurement from the middle of fabric, then let the numbers be your needle’s guide. The fabric will repay you with a fit so perfectly yours that you’ll feel as though it were knit just for you. And not you wearing it in spite of it.