Outlet Spacing Calculator
Estimate receptacle outlet locations from usable wall segment lengths, door and opening exclusions, existing outlets, and optional countertop spacing checks.
Outlet Spacing Results
| Wall segment length | Rule used | Planning outlets | Placement interpretation |
|---|---|---|---|
| 0 ft usable wall | Door, fireplace, cabinet wall, or other excluded opening. | 0 outlets | No wall-line receptacle count is added for that segment. |
| More than 0 ft to 12 ft | One receptacle can keep every point within 6 ft when placed well. | 1 outlet | Centering often satisfies the reach idea for a simple segment. |
| More than 12 ft to 24 ft | Divide the segment by 12 ft and round up. | 2 outlets | Keep the first and last usable points within 6 ft of an outlet. |
| More than 24 ft to 36 ft | ceil(segment length / 12 ft) | 3 outlets | Long unbroken walls get repeated 12 ft maximum spacing checks. |
| Separate wall pieces | Openings break the wall line into separate eligible segments. | Count each segment | Measure around doors and openings rather than through them. |
| Countertop run | Counter rule used here | Planning outlets | What the result means |
|---|---|---|---|
| No countertop mode | Countertop calculation is off. | 0 outlets | Only the four wall segment inputs are counted. |
| Up to 4 ft | One receptacle can keep points within 2 ft when placed well. | 1 outlet | Use for a short continuous kitchen, hobby, or work surface. |
| More than 4 ft to 8 ft | ceil(counter length / 4 ft) | 2 outlets | Countertop outlets are counted separately from wall outlets. |
| Island or peninsula | Use the continuous run needing its own review. | Based on run | Local rules can differ by island size, location, and power method. |
| Broken counter run | Calculate each continuous counter segment separately when possible. | Sum segments | A sink, cooktop, or tall cabinet can break the spacing path. |
| Preset | Usable wall segments | Countertop run | Typical planning result |
|---|---|---|---|
| Small bedroom | 10 ft, 11 ft, 10 ft, 11 ft | Off | Four wall receptacles before existing-outlet comparison. |
| Queen bedroom | 12 ft, 14 ft, 12 ft, 14 ft | Off | Six wall receptacles because the longer sides exceed 12 ft. |
| Home office | 10 ft, 10 ft, 10 ft, 10 ft | Off | Four wall receptacles, then compare against the office layout. |
| Living room | 15 ft, 20 ft, 15 ft, 20 ft | Off | Eight wall receptacles for the longer furniture walls. |
| Kitchen counters | 8 ft, 12 ft, 6 ft, 4 ft | 14 ft | Wall count plus countertop receptacles for the counter run. |
| Measurement | Include | Exclude | Calculator use |
|---|---|---|---|
| Usable wall segment | Continuous wall line where a receptacle could serve normal floor space. | Door swings and large floor-to-ceiling openings. | Each segment is divided by 12 ft and rounded up. |
| Door or arch opening | Only the wall on either side as separate entries. | The clear opening width itself. | Openings create breaks rather than counted wall line. |
| Countertop run | Continuous counter surfaces selected for countertop spacing review. | Sinks, ranges, full-height cabinets, and broken runs when they interrupt the path. | Counter run is divided by 4 ft and rounded up. |
| Existing outlet count | Usable receptacle outlets that serve the same room or counter surface. | Blocked, dedicated, switched-only, or inaccessible receptacles. | Compared with the planning total to show additions to review. |
The sofa is six inches to the left. Pulling it there makes the power strip hanging from the outlet three feet too short. The laptop battery’s dead, the coffeemaker’s cut off. That once perfectly-placed outlet built in by builder, is now a sign of poor planning.
When you think about electrical outlets, you typically envision them as stationary objects. But they’re really just space limits. Furniture don’t determine where they go; they decide where the furnitures goes. While placing outlets may seem arbitrary, there’s some pretty solid math behind it all.
How to Count Your Wall Space for Outlets
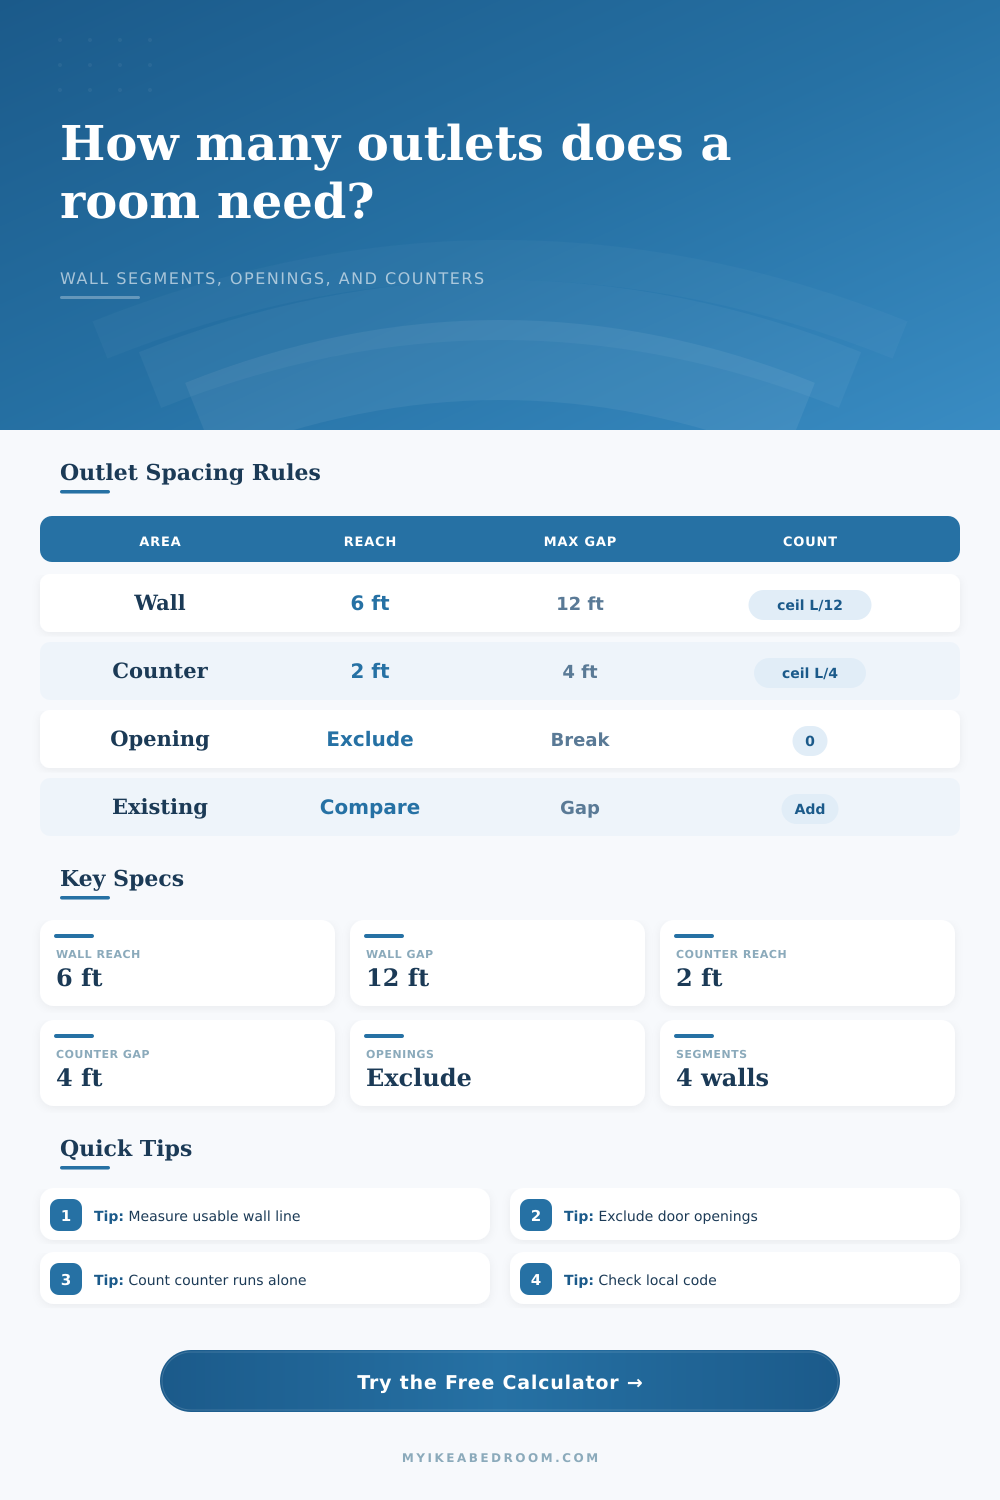
According to building codes, no part of any wall can exceed six feet from a receptacle. So in other words, no more than 12 feet between outlet. No. It isn’t a suggestion. It’s a hard-and-fast rule.
The calculator do all the hard work for you. All you do is input the amount of usable wall space (meaning the parts without windows or doors) and divide by the max distance (12 feet). And then, it tells you how many outlets you should of have at minimum to comply with code. It removes the guesswork and gives you a starting number to use.
What constitutes a “usable” wall is where things get tricky. Is a section of wall that contains a doorway considered a wall? No. What about a wall filled from floor to ceiling with cabinets? No. Or does it contain a fireplace? No. All of these elements disrupt the line of the wall. So for example if your wall is ten feet long but includes a doorway halfway along, you don’t suddenly have one ten foot length. You now have two shorter lengths, each requiring their own assessment. This forces you to think about how you are measuring. The calculator requires this: It will ask you to enter each of these sections individually.
When most people measure they simply go around the perimeter of the room and divide by 12; i.e. Under-counting. Doorways break up the flow; you need to measure around them, not through them.
Countertops bring a whole new rule book into play: Plugged-in appliances right there on the counter mean that all surfaces needs to fit into a tighter space. Instead of requiring six feet of reach, kitchens only need two. So that means no more than four feet between outlets along the counter run. When renovating a kitchen, do not think about it as if it were a regular wall. A counter is its own thing. The calculator has a toggle specifically for countertops that enforces this more restrictive four-foot distance. It maintains the distinction between counter outlets and wall outlets since they have different uses and follow different spacing guidelines. You’ll see this often where people will mix outlets, leaving some empty on the wall and crowding others out on the counter.
Then there’s your existing electrical: That can mess things up even more. Maybe you have three outlets in a room, but one is behind a dresser and another is switched off by a light toggle so they might not count toward your usable total. This tool lets you enter how many functioning outlet you have, and compare that to what the code says you need based off your usable wall lengths. Think of it as a planning aid… Not a blueprint. It points out areas where you’re shorthanded, helping you know where to plug in new boxes with a remodel.
So ultimately it boils down to this: how accessible is it? Make power easy and convenient, placing it where your hand will be, not necessarily where the electrician can easily reach the studs. If you’re remodeling, measure what’s actualy available. If you’re designing from scratch, plan based on the actual wall line rather than what’s between the studs. You need to know how much space a piece of furniture really take up. So what’s optimal? Furniture determines that. What’s the minimum? The numbers answer that question. Punch the hole after you’ve planned for the sofa.