Worktop Length Calculator
Plan straight, L-shaped, U-shaped, island, galley, and laundry worktop runs with stock panel lengths, cut gaps, trim allowance, surface area, and edge length.
| Reference item | Imperial size | Metric size | Use in this calculator |
|---|---|---|---|
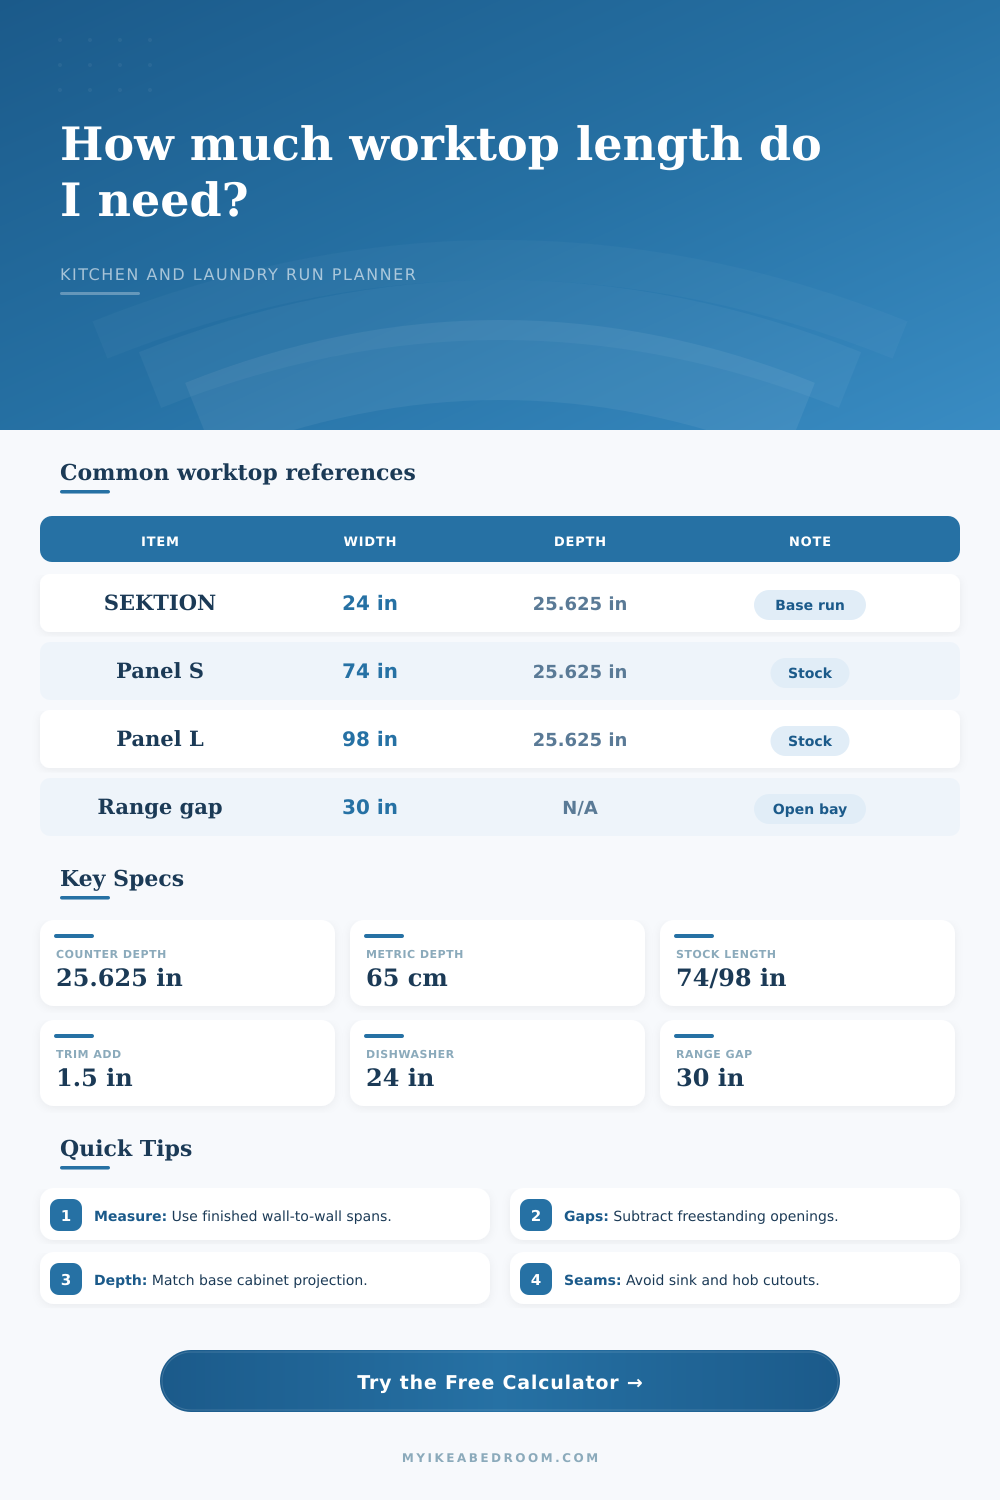
| Standard IKEA-compatible base counter depth | 25 5/8 in deep | 65.1 cm deep | Use as the worktop depth for most wall runs over 24 in deep base cabinets. |
| Common stock worktop short panel | 74 in long | 188 cm long | Useful for compact kitchens, laundry counters, small islands, and short returns. |
| Common stock worktop long panel | 98 in long | 249 cm long | Useful for longer sink walls, galley runs, and reducing seams in straight layouts. |
| Island or peninsula worktop depth | 36 to 42 in deep | 91 to 107 cm deep | Use a larger depth when a counter has seating overhang or back-to-back cabinets. |
| Laundry folding surface depth | 25 to 30 in deep | 64 to 76 cm deep | Use the appliance depth plus rear clearance if the worktop spans over machines. |
| Appliance or opening | Typical opening width | Clearance note | Calculator treatment |
|---|---|---|---|
| Built-in dishwasher bay | 24 in / 61 cm | Worktop usually continues across the bay with support at each side. | Do not subtract unless your plan leaves the bay uncovered. |
| Freestanding range or cooker | 30 in / 76 cm | Leave the manufacturer's side clearance and do not bridge with worktop. | Add this width to the appliance gap field. |
| Single laundry appliance | 27 in / 69 cm | Allow side, rear, hose, and vibration clearance from the appliance manual. | Subtract only if the worktop stops at the opening. |
| Washer and dryer pair | 54 to 60 in / 137 to 152 cm | Side-by-side machines often need more width than the appliance cases alone. | Use the measured open span if the counter does not cover it. |
| Freestanding refrigerator | 30 to 36 in / 76 to 91 cm | Many refrigerators need top, side, and rear ventilation clearance. | Subtract the full planned open alcove width. |
| Cabinet or planning reference | Common imperial module | Common metric module | Worktop planning use |
|---|---|---|---|
| Base cabinet depth without fronts | 24 in | 61 cm | Pair with about 25 5/8 in worktop depth for front overhang and wall tolerance. |
| Narrow base cabinet widths | 12, 15, 18 in | 30, 38, 46 cm | Add cabinet widths, fillers, and end panels to estimate a wall run. |
| Standard base cabinet widths | 24, 30, 36 in | 61, 76, 91 cm | Check the measured run against cabinet modules before ordering worktop. |
| Cover panel and filler allowance | 1/2 to 1 in each | 1.3 to 2.5 cm each | Include visible panels and fillers in the measured span, not just cabinets. |
| Front worktop overhang | 1 to 1 5/8 in | 2.5 to 4.1 cm | Used indirectly through depth, not added to linear wall-run length. |
| Layout example | Measured runs | Likely stock panels | Planning note |
|---|---|---|---|
| Compact kitchenette | 74 in straight run | One 74 in panel | Check sink cutout position so the trimming allowance remains available. |
| Small L-shaped kitchen | 96 in + 48 in | Two 98 in panels | One corner join is expected; avoid placing it through a sink opening. |
| Family U-shaped kitchen | 120 in + 72 in + 72 in | Three or more long panels | Corner joins and direction of grain matter when panels have a visible pattern. |
| Laundry folding counter | 60 to 84 in straight run | One 74 or 98 in panel | Confirm appliance depth, wall cleats, and end support before final cutting. |
| Galley kitchen | Two 96 in runs | Two 98 in panels | Measure each side independently because walls may not be parallel. |
Planning your worktops is the space between vision and reality. You start with a vision of a perfect kitchen, then you measure it, only to discover walls aren’t quite square. There’s a pipe here or a bulge in the wall there, and baseboard isn’t flush.
Once you’ve plugged in your measurements into the calculator, it crunch the numbers for you. This saves you from trying to guess how much offcut you’ll need and converting mentaly into different units.
How to Plan Your Kitchen Worktops
Usually, it’s cabinetry that people begin with. Next, they select a dishwasher, then a sink, and finally they asks themselves how much laminate or stone they will need. That reasoning is backwards. Why? The length of worktop determines the boundaries, not vice-versa.
The reason for this is because standard stock lengths for ikea compatible panels tend to be either 74″ or 98″. This means you must work with what is available. Joins occur in most extended kitchen runs (longer than a small galley). You can’t simply get a custom sized panel made to fit exact dimensions of your wall. One hundred and two inches). You get what’s available.
Another trick for people is how deep their counter is. Standard base cabinets are twenty-four inches deep. You have to add that overhang on the front to give you some protection from banging your shins on your counters. So, you’re talking about an additional inch and a half.
This makes all the difference when you start thinking about surface area. It also mean more (or less) edging required. If this was going to be a laundry room, maybe you could of get away with something shallower. But if this is going to be a main kitchen, then staying with the good ol’ standard of twenty-five and five-eighths inches are the safe route. Appliances are usually built to those standards anyway, which means your upper cabinets won’t block your counter when you lift them up.
Appliances are the wildcard. Underneath the counter is a dishwasher that’s built-in. That means the counter stretches across and completely covers it. Don’t deduct width for this one. Similarly, if there is a fridge or freestanding range, the counter will stop short and the appliance will sit inside an empty space. Counter + Appliance = Start again.
Enter: appliance gap input. Remember to take off the open space, or you’ll order enough material and find yourself with a perfectly good hunk of stone that is now worth only half of what the entire piece costed.
You can tell if something is a plan by looking for the seams. If you make a cut-out for a sink, and there’s a join in the centre, it will leak. If there’s a join beside the cooktop, beware of burns from end of your spatula.
How do the stock lengths works with common layout shapes? That’s what the table on the page is for. What about an L-shaped kitchen? The corner join is the logical choice, but where goes the seam, on one leg or the other? How about a long straight run? Use the longest ninety-eight inch panel to cover the join; even if that means extra offcut waste elsewhere. Waste is more affordable than a scar across your countertop.
Then there’s islands: These add another dimension of complexity. Since they typically need overhangs for seating, they often needs more depth, which changes the edge and surface area. For example, where a typical wall counter may be twenty-five inches deep, an island with bar stools will likely require thirty-six or even forty-two inches, giving space for knees and keeping them from banging into the cabinets. To accommodate that, the calculator allow you to modify the depth per run.
Keep that in mind before starting. Worktop ordering can also be something of a science. If your walls are imperfect so what? But you have to measure perfectly. Get out the tool and calculate total linear footage. Work out how many panels there are, and then take your level and tape measure to the premises. Once measured twice, cut once!
A good join is still a join. You want to make it vanish in the design. It’s worth it because kitchen will look better for it.