Two Tone Wall Split Height Calculator
Find the paint break height for a two-tone bedroom wall using ceiling height, wall width, furniture height, clearance, and the transition band thickness.
Choose a room or furniture reference, then adjust the exact measurements before marking the wall.
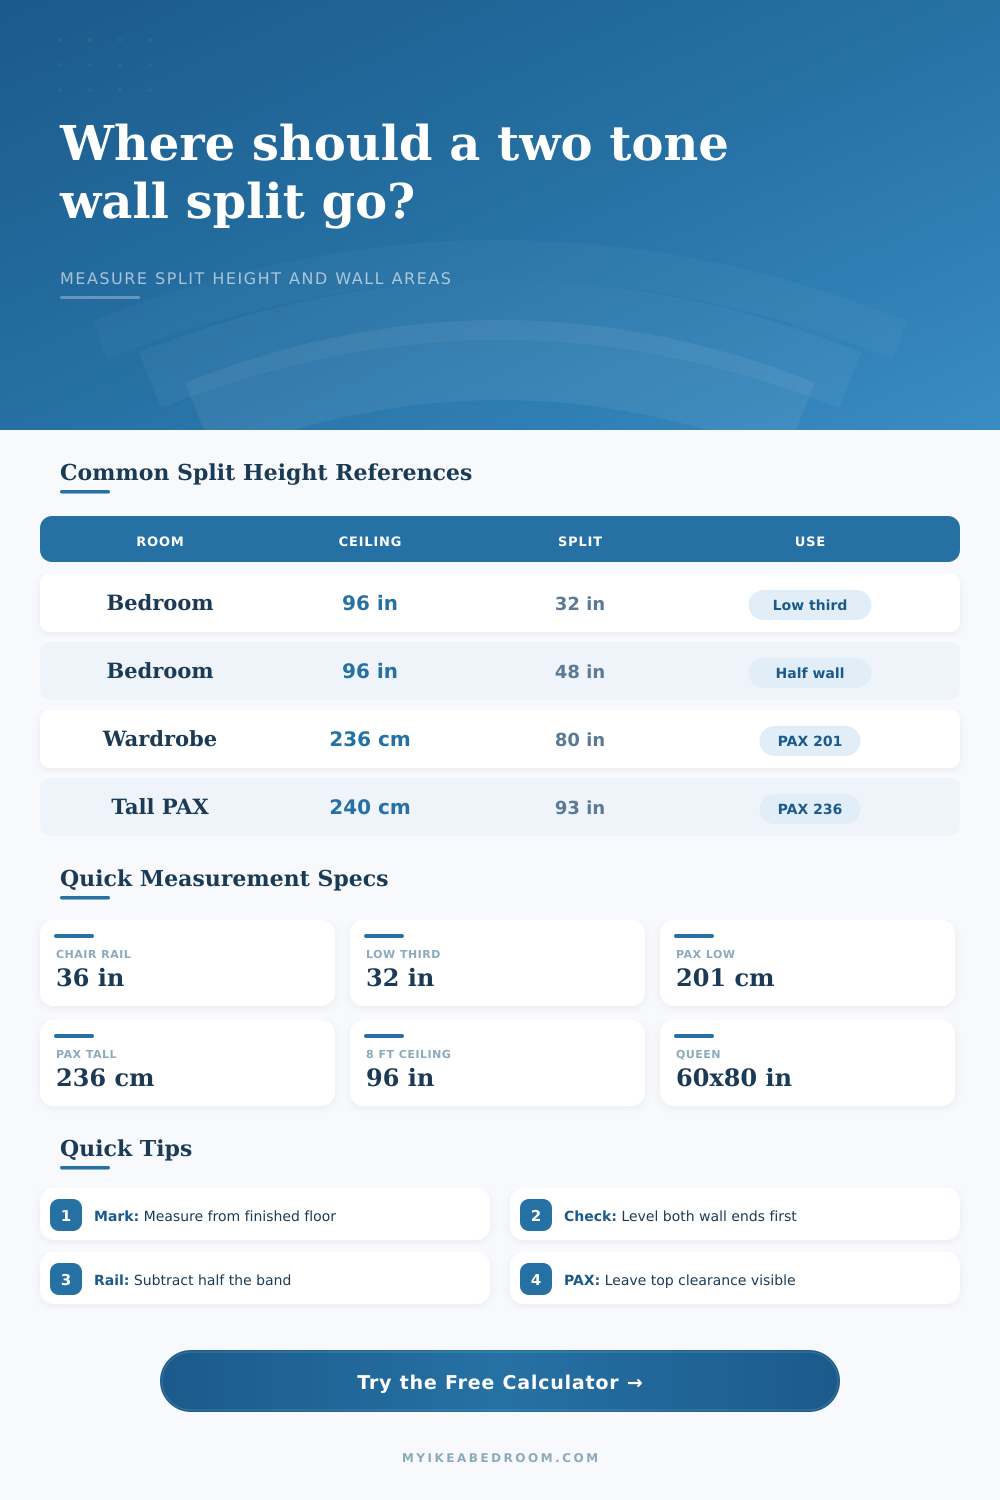
| Ceiling height | Lower third | Half wall | Two-thirds datum | 36 in / 91 cm rail check |
|---|---|---|---|---|
| 8 ft / 96 in / 244 cm | 32 in / 81 cm | 48 in / 122 cm | 64 in / 163 cm | 36 in leaves 60 in above |
| 9 ft / 108 in / 274 cm | 36 in / 91 cm | 54 in / 137 cm | 72 in / 183 cm | 36 in leaves 72 in above |
| 10 ft / 120 in / 305 cm | 40 in / 102 cm | 60 in / 152 cm | 80 in / 203 cm | 36 in leaves 84 in above |
| 240 cm / 94.5 in | 31.5 in / 80 cm | 47.2 in / 120 cm | 63 in / 160 cm | 91 cm leaves 149 cm above |
| 250 cm / 98.4 in | 32.8 in / 83 cm | 49.2 in / 125 cm | 65.6 in / 167 cm | 91 cm leaves 159 cm above |
| Furniture reference | Height | Clearance line example | Use in calculator |
|---|---|---|---|
| PAX wardrobe frame | 201 cm / 79.1 in | 207 cm with 6 cm gap | Use when the paint break should clear a shorter wardrobe top. |
| PAX tall wardrobe frame | 236 cm / 92.9 in | 238 cm with 2 cm gap | Check carefully against 240 cm ceilings before choosing an upper split. |
| MALM 6-drawer dresser | 123 cm / 48.4 in | 138 cm with 15 cm gap | Useful for dresser walls where the split should sit above the top. |
| Low dresser or chest | 78 to 96 cm / 31 to 38 in | 91 to 112 cm with gap | Compare with a 36 in / 91 cm chair rail datum. |
| Bed headboard | 90 to 140 cm / 35 to 55 in | Add 10 to 20 cm above top | Use furniture rule when the line should clear bedding and pillows. |
| Mattress size | Nominal width | Nominal length | Measurement note |
|---|---|---|---|
| US Twin | 38 in / 97 cm | 75 in / 191 cm | Center the wall width mark on the bed centerline before leveling. |
| US Full / Double | 54 in / 137 cm | 75 in / 191 cm | Check whether nightstands extend the visual furniture width. |
| US Queen | 60 in / 152 cm | 80 in / 203 cm | Common primary bedroom reference for a 10 to 14 ft feature wall. |
| US King | 76 in / 193 cm | 80 in / 203 cm | Use full wall width if nightstands and lamps share the same wall color break. |
| IKEA EU 160 x 200 | 160 cm / 63 in | 200 cm / 78.7 in | Useful metric reference for queen-like bed wall layouts. |
| IKEA EU 180 x 200 | 180 cm / 70.9 in | 200 cm / 78.7 in | Useful metric reference for king-like bed wall layouts. |
| Room condition | Measure first | Calculator input | Why it matters |
|---|---|---|---|
| Baseboard installed | Finished floor to ceiling | Ceiling height | Paint split height is normally marked from the floor, not the baseboard top. |
| Sloped or uneven ceiling | Left, center, and right ceiling height | Use the lowest measured height | Keeps the upper color band from visually pinching at the low point. |
| Wardrobe wall | Top of PAX or cabinet frame | Furniture height | Prevents the split from landing just behind the wardrobe top edge. |
| Bed wall | Headboard top and mattress centerline | Furniture height and wall width | Helps align the break above pillows without guessing the vertical mark. |
| Trim rail or molding | Actual visible rail height | Transition band thickness | The lower paint edge and upper paint edge sit on opposite sides of the band. |
Use the finished floor as the datum for every mark. Put a pencil mark at both ends of the wall, check with a level, then snap or tape the final line.
If a rail or trim strip covers the break, mark the center split line first, then measure half the band thickness up and down for the two paint edges.
Guessing makes two-tone walls a DIY-er’s weakness. Most people grab a tape measure (hold it up at chest level, yeah, that’s how you know!), and call it good. Trouble is, line usually doesn’t work out; either its too high, creating awkward slivers of leftover paint, or it’s too low, making the room seem squat. From a standing perspective, you’re terrible at measuring vertical thirds, that’s where math come in.
Enter your ceiling height, wall width, and furnitures measurements into the calculator above, and get an exact measurement. No guessing = no more head-scratching = yay.
How to Use the Calculator
Know what you’re measuring: By default, the calculator expect your starting point to be top of the finished floor. This means your lines will always remain level, regardless of how high off the ground your baseboards sits. If you start with the ceiling first, however, it establishes the universe; an eight foot ceiling is going to behave different than a nine foot one.
There are also preset options for typical scenarios such as a more moddern, lower third split or a traditional thirty-six inch chair rail. This isn’t random, these are visual anchors that have stood the test of time. The lower third provide a sense of grounding while the chair rail brings formality to the space. Ultimately you pick which one to go with based off the mood you wish to show, not the numbers.
The wild cards is furniture. On an empty wall, a split line might look perfectly placed. Then throw a dresser in front and it’s disastrous. To prepare for the possibility of this, you can enter height of your tallest piece of furniture near the wall, a wardrobe, perhaps, or even headboard of a bed. The calculator will add a gap between them. Why? Because you don’t want the paint break cutting right through the center of your lamp. And it doesn’t help if it sit precisely at the top edge of your cabinet. That creates a visual stutter. Ideally, the line should be above your furniture, with just enough breathing room. The tool will calculate that for you. It keeps the transition looking like a conscious choice, instead of an accident.
How does the width of the wall affect it? A split line on a narrow wall may be a bit confining. A very wide wall could make it appear like a horizon line. The wall run goes into the calculation and gives an idea of the amount of space covered by both the upper color section and the lower section. This is helpful because it tell you how much paint you’ll need for each zone and helps balance out the visual weight. Sometimes you might prefer to do a half-wall split if your feature wall is realy wide (to maintain some sense of proportion). And sometimes you would of preferred a lower split if the wall was narrow (since that might make it feel slightly less oppressive). The numbers inform the decision.
And then there’s that whole transition band thing. A wide tape or even a chair rail add thickness to the line. You can enter the thickness of your band into the calculator. That moves the paint edge up and down from the center mark. It is a little something that keeps the colors clean and avoids any bleeding. Without it you get touch-ups and maybe some fuzzy lines. The tool does the math for you so all you need to do is hold up your pencil to the wall, and not think.
In reality, most rooms aren’t perfect squares. Floors are not perfectly flat, nor are ceilings. Your input into the calculator gives a target; however, that doesn’t mean you should go without checking it with a level. Measure each end of the wall on the floor. Mark those marks. Draw a line between them with a level. This is what the digital math becomes in the real world. Your level maps out the space while the calculator provide the coordinates.
At the end of the day, painting a split wall is all about control. It’s your way of controlling a flat surface and creating order. The numbers come from the calculator. The confidence comes from your eye. Take out the tool, mark the spot, take a step back. Paint if it feels right. Tweak the rule (or tweak the clearance) if it doesn’t feel right. It’s mathematically sound, but ultimately it’s your taste that makes the decision. Mark the line correctly and the other parts of the room fall into place.