Toe Kick Lighting Length Calculator
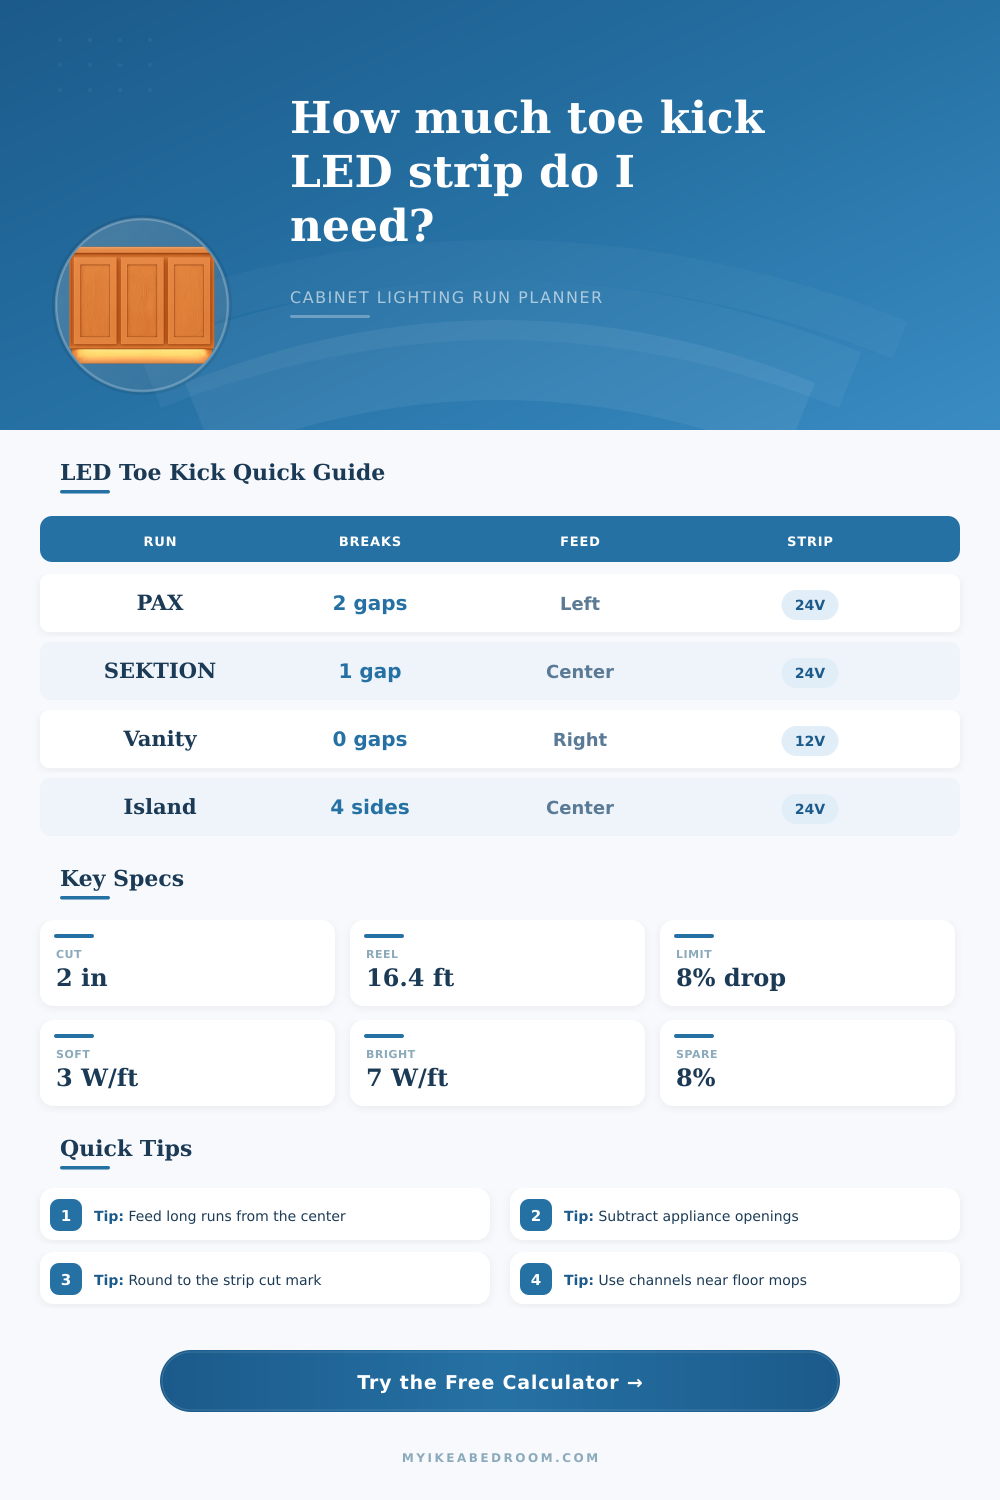
Plan cabinet base LED strip runs with appliance breaks, corner returns, cut marks, reel segments, feed zones, connector count, and watt load.
| Brightness class | Typical watts | Best cabinet use | Planning note |
|---|---|---|---|
| Soft night path | 3 W/ft | Bedrooms, closets, hallway bases | Lowest glare under shallow toe kicks |
| Standard toe glow | 4.5 W/ft | Kitchen base runs and PAX walls | Good default with 24V strips |
| Bright task edge | 7 W/ft | Laundry, workrooms, dark floors | Use aluminum channel for heat |
| High output accent | 9 W/ft | Long islands or strong reveal lines | Plan more feeds and driver capacity |
| Strip type | Common cut interval | Common reel length | Use when |
|---|---|---|---|
| 12V single color | 2 in / 50 mm | 16.4 ft / 5 m | Small cabinets and short feeds |
| 24V single color | 4 in / 100 mm | 16.4 ft / 5 m | Long straight toe kick lines |
| COB strip | 1.25 in / 31 mm | 16.4 ft / 5 m | Smooth dot-free glow below cabinets |
| RGB or tunable | 3.9 in / 100 mm | 16.4 ft / 5 m | Accent colors or adjustable white |
| Voltage | Soft 3 W/ft | Standard 4.5 W/ft | Bright 7 W/ft |
|---|---|---|---|
| 12V, end feed | 16 ft zone | 11 ft zone | 7 ft zone |
| 12V, center feed | 24 ft total | 17 ft total | 12 ft total |
| 24V, end feed | 28 ft zone | 20 ft zone | 14 ft zone |
| 24V, center feed | 42 ft total | 30 ft total | 21 ft total |
| Part | Calculator trigger | Count logic | Planning use |
|---|---|---|---|
| Solderless strip clip | Appliance break or reel join | Two per jump plus joins | Quick removable runs |
| Low-voltage jumper | Each gap or corner feed | One per break | Cross dishwashers and open spaces |
| Aluminum channel | Every lit section | Match rounded lit length | Cleaner line and heat control |
| Power injection lead | Extra feed zone | One per added zone | Reduces dim ends on long runs |
While the LED strip itself isn’t usually an issue, it’s the power distribution that trips people up. Ever see an under-cabinet light dim after ten feet? Electricity don’t like distance. Without accounting for voltage drop, half your kitchen will be bright while other half will appear dark. The calculator does this math for you.
Use it to figure out how big your drivers need to be and what feed zones should be so you don’t have to guess. First thing: How will it be fed? Will your power source split into two directions (center feed), doubling the length before voltage matters? Or must it has short runs, run at a higher voltage, or use an end feed?
How to Use the LED Lighting Calculator
The calculator can tell you if you can run one feed in the middle, or inject power on each end for longer runs such as wiring an island base or long closet. That determines how many connectors you’ll need and makes for more or less complex install.
Now onto the actualy cabinetry layout! Appliances leave gaps, so walls is seldom straight. This means you’ll need to deduct all the gaps (breaks) from overall linear footage. Don’t light behind things like fridges and dishwashers; they’re metal boxes. Enter those into the break field. Also, account for a couple of inches of additional length per corner return so the strip can wrap around nicely with no dark spots.
The tool will round up your measurement to the next cut mark on the LED reel, meaning you don’t have to buy slightly-too-short strips. Other variables includes power needs that also depend based off brightness. Bright task lighting demands more juice and require more frequent power injection points then soft night path lighting. Brighter lights need more current, so they requires regular power injection points to keep them well lit. They also have a higher wattage requirement per foot, which generates more heat and requires more power.
For example, if you light hallways or maybe a sink area by the laundry sink with bright lighting, you’ll want to size your driver appropriately. The calculator calculates total watt load and recommends a driver with enough extra capacity to handle surge when everything turns on at once.
Factor in waste when installing. When you install the light strips, there’s always going to be at least one strip that you cut wrong, some part that you won’t use, etc. You might of had to reroute around a hidden plumbing pipe. Don’t be pessimistic about adding eight percent for spares; it’s just smart planning so that you don’t have to wait weeks with unfinished cabinets as you wait for another reel of LED strips.
How it performs depends also on the material used. Strips comes in 12- and 24-volt versions. The 24-volt version provide longer run lengths without the dimming effect that can occurs with the 12-volt version. Because bathrooms and other high-moisture areas (like your mudroom) can be tricky environments, opt for a IP65 rated one to avoid any moisture damage. The page’s reference tables will guide you on matching specs to areas.
Because toe kick lighting is so precise, an improper install is glaringly obvious. Measure out the line you want to see, make allowances for spacing and keep in mind voltage restrictions. Once achieved, that narrow strip of light will make your kitchen go from useful to lovely, spreading a steady warmth everywhere.