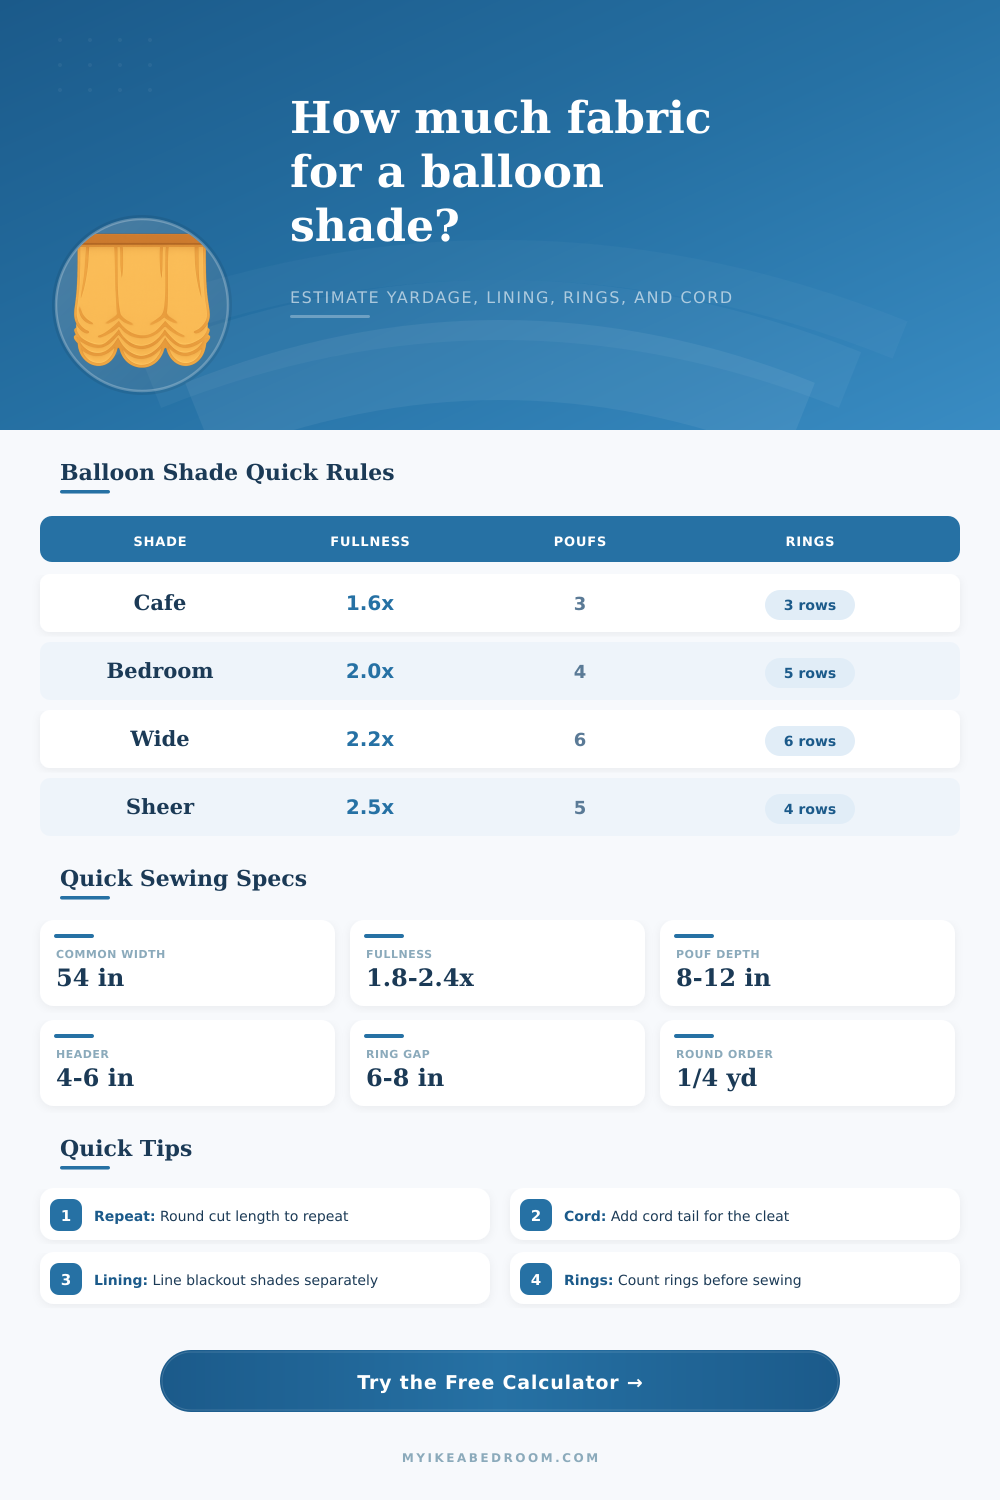
Balloon shade yardage, pouf spacing, ring rows, and cord planner
Balloon Shade Fabric Calculator
Estimate cut width, cut length, fabric yardage or meters, lining yardage, pouf spacing, lift ring rows, total ring count, and lift cord length from finished shade dimensions and construction allowances.
| Finished Width | Suggested Poufs | Approx. Pouf Spacing | Typical Look |
|---|---|---|---|
| 24-32 in | 3 poufs | 8-11 in each | Small bathroom, closet, or cafe shade |
| 33-44 in | 4 poufs | 8-11 in each | Balanced bedroom shade with classic scallops |
| 45-60 in | 5 poufs | 9-12 in each | Medium living room or wide bedroom opening |
| 61-78 in | 6-7 poufs | 9-13 in each | Wide shade with more lift columns for control |
| Ring Spacing | Best For | Rows on 48 in Drop | Rows on 72 in Drop |
|---|---|---|---|
| 5 in | Blackout or precise folding | 11 rows | 16 rows |
| 6 in | Short to medium fabric shades | 9 rows | 13 rows |
| 7 in | Most lined balloon shades | 8 rows | 12 rows |
| 8 in | Soft decorative shades | 7 rows | 10 rows |
| Fabric Width | When It Helps | Notes | Calculator Use |
|---|---|---|---|
| 44-45 in | Quilting cotton and small prints | Often needs more joined widths | Enter usable width after selvage |
| 54 in | Common decorator fabric | Good for most bedroom shades | Default fabric width |
| 60 in | Linen, canvas, some blackout cloth | Can reduce one joined width | Useful for wider shades |
| 108 in | Wide sheeting or seamless lining | Check direction and weight | Use only if fabric hangs correctly |
| Lining Option | Layer Factor | Best Use | Yardage Behavior |
|---|---|---|---|
| No lining | 0x | Sheers and decorative valances | No lining yardage added |
| Standard lining | 1x | Bedroom privacy and cleaner backs | Flat lining cut by width and drop |
| Blackout lining | 1.05x | Nursery, media room, light control | Adds a small handling allowance |
| Interlined | 2x | Formal rooms and fuller poufs | Counts lining plus interlining layers |
The calculator above will run numbers for you once you enter your dimensions.
Have you ever bought some beautiful fabric online, only to discover that after cutting out what seem like reasonable-sized pieces, your window treatment end up being a lame rectangle? That’s because you didn’t understand the volume required for the fabric. Gathered fabric creates soft rounded scallops which are so nice on balloon shades. Too little fabric make them look cheap. Way too much looks like someone overfilled the pillow.
How to Use the Balloon Shade Calculator
The secret is knowing how fabric acts under tension… and math! Once you know these measurements, put them into the calculator at the top of this page and it will do the math for you. You won’t have to wonder if that’s one yard or two. Is that a good amount for my large window across my living room?
What do you plug in to the calculator? That matters too! The most important field is the fullness factor. How much wider does the cut of your raw fabric has to be different than your completed width of shade? Fullness is the ratio of your raw fabric width to the finished width of the shade. If it’s less, then use lower fullness. If you want it to hang down a lot more, then use higher fullness.
Most people prefer 5-7x, but I like it fuller so mine are usually 8x fullness (that’s eight times the width of finished fabric versus the cut fabric). Lighter weight fabrics requires fuller cuts because they won’t “hold” their own form against gravity. Velvet and napped materials don’t look good pulled too tightly since then the raw weave shows through. It doesn’t look smooth anymore.
Spacing and depth of poufs also matters: How far apart? How deep? The spacing creates the rhythm of the shade; think of each as a vertical column of rings and lift cords. For example, with a normal bedroom window (say, a 48-inch drop) you’d balance things out with four to five pouf in their width.
The calculator will estimate how many rows of rings to use based off the spacing you select, close enough to look smooth when it goes up, yet spaced so there are no weird lumps where the rings meet the bottom hem. Typically, seven inches is an average separation, especially for lined shades, since that distance lets the fabric roll up nicely without making any ugly bumps.
Most projects come undone because of pattern repeats. So you can’t just cut a single long piece of fabric, then split it up (if you’ve got a vertical motif on your fabric). Instead, you need to figure out how far down the fabric will go and add up all the lengths. Make sure to round up to the next complete repeat point. Otherwise, the pattern won’t line up at the same point on each panel.
The tool will do that rounding for you, but you have to be careful to enter the repeat accurately if you’re not using a solid fabric. Otherwise, you’ll end up with motifs that don’t match, and when you hang those curtains up, they’ll stand out like sore thumbs.
Then there is the added issue of lining. Standard cotton lining provides privacy and makes the shades drape straight. Using blackout lining (for example, in a nursery) can change the shape of the pouf because it’s stiffer. Interlining goes in-between the back fabric and the face fabric. It creates insulation and body but requires double yardage on the back pieces. When you’re sewing a decorative shade, you’ll have to consider this additional piece for your overall decorating fabric.
Don’t forget hardware. To get from the bottom ring at the window to the top of the head rail where the control lock sits, the lift cord pass through the head rail. Make sure you allow enough length to sew it into place and then tie the tail off so that there’s no chance of raising/ lowering the shade all the way! A long tail lets you tie off snugly and also provides a generous amount to hook onto a lock or cleat (or even just loop around one). It is always best to have more than less. So…a little more fabric and a bit of extra cord, but not too much.
Finally, there are selvages. Those tight sides on each bolt of fabric need to be cut away before you measure out what’s usable width. Don’t count every inch of a 54-inch wide fabric as usable. For example, there may only be 52 inches to use, which means you’ll be one panel short. You can change the width variable in the calculator so that it doesn’t come as a surprise to your wallet next time you’re running back to the store.
Taking these factors into account during planning will make your sewing projects more predictable rather than a stress fest. The fabric will go where you want it to go.