Pattern floor material planner
Herringbone Flooring Calculator
Estimate herringbone flooring area, plank pieces, cartons, pattern waste, border strips, adhesive, underlayment, and metric equivalents from room dimensions and real plank formats.
Full Herringbone Flooring Breakdown
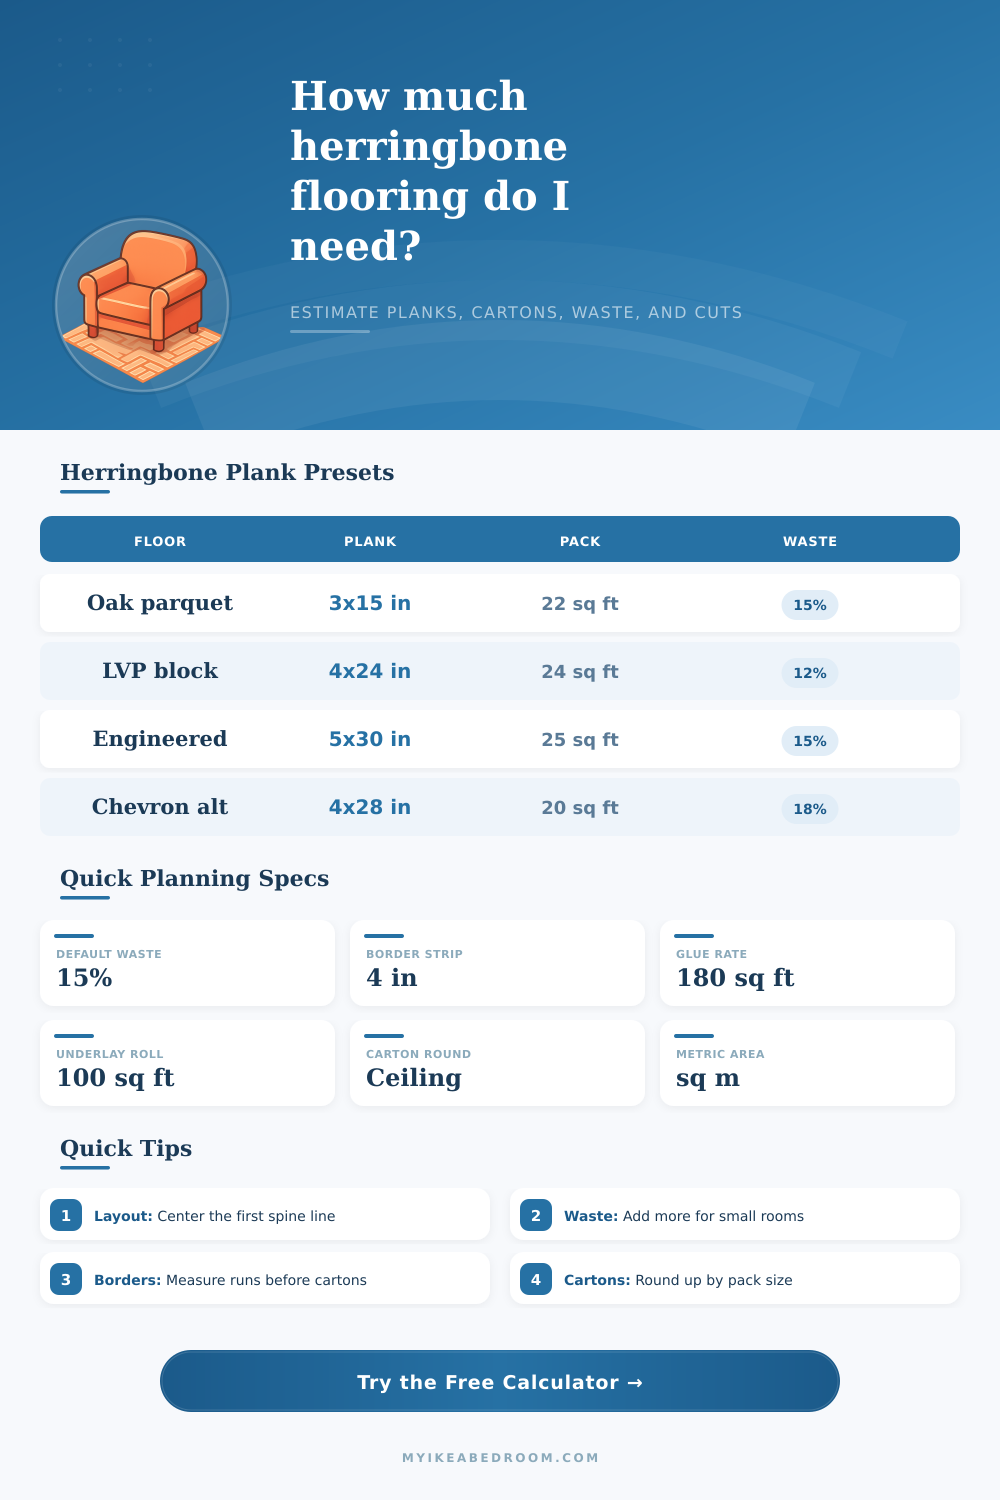
| Flooring profile | Typical plank | Typical carton | Starting waste |
|---|---|---|---|
| Solid oak parquet block | 3 in x 15 in | 22 sq ft | 15% |
| Engineered oak herringbone | 5 in x 30 in | 25 sq ft | 15% |
| Rigid core LVP herringbone | 4 in x 24 in | 24 sq ft | 12% |
| Laminate herringbone plank | 4 in x 24 in | 21 sq ft | 12% |
| Waterproof SPC block | 4 in x 16 in | 18 sq ft | 15% |
| Pattern situation | Suggested cut factor | Use when | Calculator option |
|---|---|---|---|
| Straight herringbone field | 8% | Large simple rectangle | Straight field |
| 45 degree room herringbone | 12% | Diagonal spine across walls | 45 degree room |
| Bordered herringbone field | 15% | Picture-frame perimeter | With border |
| Door-heavy small spaces | 18% | Hallways, closets, alcoves | Small rooms |
| Double herringbone | 20% | Paired boards per V shape | Double pattern |
| Carton coverage | Area after waste | Cartons needed | Use case |
|---|---|---|---|
| 18 sq ft | 120 sq ft | 7 cartons | Small bath or foyer |
| 22 sq ft | 180 sq ft | 9 cartons | Bedroom parquet |
| 24 sq ft | 260 sq ft | 11 cartons | Living room LVP |
| 25 sq ft | 315 sq ft | 13 cartons | Engineered oak room |
| Project size | Net floor area | Order area at 22% | Typical cartons |
|---|---|---|---|
| Home office 10 ft x 10 ft | 100 sq ft | 122 sq ft | 6 at 22 sq ft |
| Bedroom 12 ft x 14 ft | 168 sq ft | 205 sq ft | 9 at 24 sq ft |
| Living room 15 ft x 20 ft | 300 sq ft | 366 sq ft | 15 at 25 sq ft |
| Hallway 4 ft x 22 ft | 88 sq ft | 107 sq ft | 6 at 18 sq ft |
Once in place, the herringbone almost becomes part of the space. It’s just so smooth if you have measured correcty to start with.
So many people think they need less wood then they actualy do for this project. Guess wrong on how much you’ll lose and you’ll have too many unused cartons or not enough wood halfway through job. That calculator on this page does those calculation for you. No more guessing and wasted money.
How to Calculate Your Materials
The waste factor is higher due to the way herringbone works. Since each plank has an angle, you don’t get a whole board down one side: every board abuts the wall at some angle rather than straight up and down. Most boards is trimmed on both sides instead of just one. This results in twice as much waste, creating two short off-cuts of wood per plank.
That geometric difference matter a lot. Straight floors can go with 10% waste. But that’s not enough for herringbone. Your room layout might be complex. If so, I suggest adding 12-22% above that number. See table below.
For example: a basic rectangular room may require only 8% additional material. Adding even a closet doorway will increase the waste to 18%. If there’s a border? Or maybe the room has lots of odd corners, then expect a high waste factor.
A common mistake made by homeowners is assuming that smaller rooms require fewer cuts and therefore less waste. In fact: smaller rooms has more edges, which makes them generate proportionately MORE scrap compared to their size.
Be aware that the dimension of the planks also affect the number you’ll need. Shorter blocks will create tighter V shapes (and take more boards per square foot). Narrow boards make it necessary to purchase more individual board. More boards mean more cuts and more opportunities to mess things up unless you’re paying attention!
Instead of giving you an estimate of total amount of square feet of boards you need to buy, this tool allows you to enter the width and length of each board individually. And then it tells you exactly how many separate board its estimating you’ll need.
Unlike square footage, flooring is sold by the box. There aren’t partial boxes. So if it calculates that you’ll need twelve and a half boxes, you’ll end up buying thirteen. The good news is that it automatically rounds up so you won’t be left short on any board for finishing off those last corner.
Adhesive and underlayment get overlooked when no one sees the subfloor. If you’re floating your herringbone floor, it needs to be covered in a single underlayment roll that spans the whole space with no gap. For glue down installs, ensure that all of the subfloor are covered with the appropriate adhesive. Don’t account for just what’s seen at the end, only account for the actual net floor area (plus waste) for both.
Not doing so results in delays as someone runs out to pick up additional tubes/rolls. You should of accounted for this earlier.
If you’re framing around the field, be sure to calculate the additional board (or 4 inches) along the edges (the border strip). That’s an additional linear footage (not square footage like inside the field) and need to be cut separately. This is done automatically by the tool so that you know how much of each plank will contribute to the frame vs. The center.
Always keep your layout line straight. There’s no forgiving a crooked start to a herringbone pattern. Each row will make the error of starting a quarter inch away from where it should even worse. By the time you get across the room, the whole thing will be askew. Use a true chalk line before you lay down the first piece.
Half the battle is taking care to get the prep work right; after that everything just falls into place as a nice little puzzle instead of a mad dash to finish before running out of wood.