Limewash Coverage Calculator
Estimate limewash concentrate, diluted wash, coats, mineral primer, and touch-up reserve for real wall, plaster, brick, stone, and stucco surfaces.
1. Surface presets
2. Project inputs
Your limewash estimate
3. Surface coverage reference
4. Limewash surface table
| Surface | Typical coverage | Coats | Prep note |
|---|---|---|---|
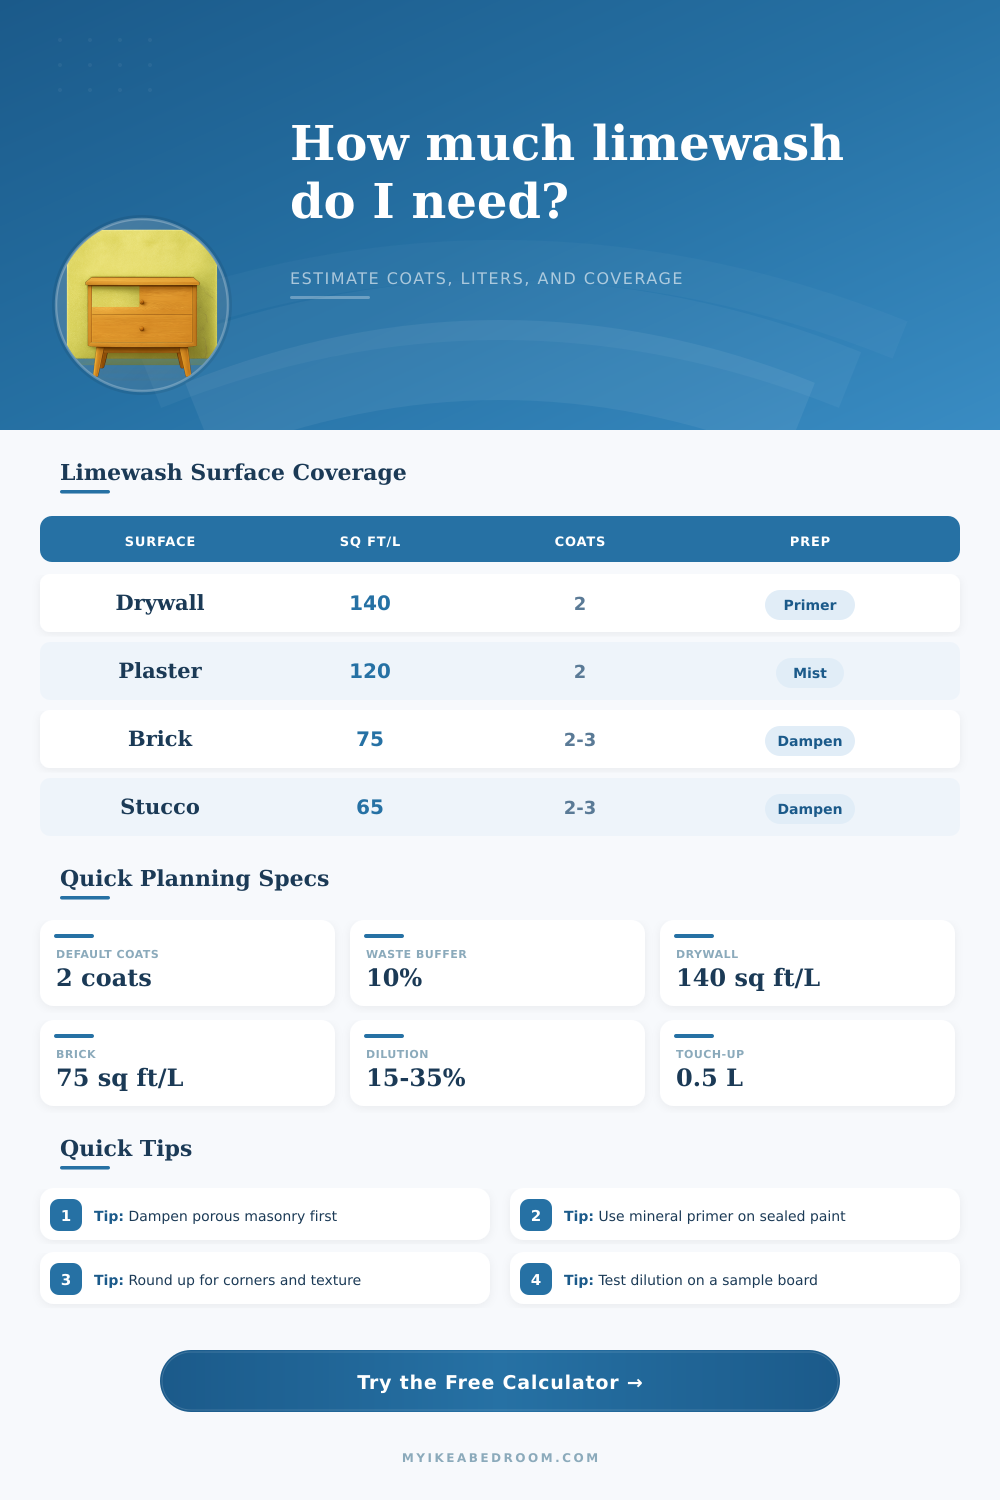
| Smooth primed drywall | 130-150 sq ft/L | 2 | Mineral primer over non-mineral paint |
| New mineral plaster | 110-130 sq ft/L | 2 | Light mist before first coat |
| Matte painted wall | 110-125 sq ft/L | 2 | Test bond and prime if sealed |
| Interior brick | 65-85 sq ft/L | 2-3 | Dampen until darkened, not dripping |
| Natural stone | 60-80 sq ft/L | 2-3 | Brush into joints and rough faces |
| Stucco or render | 55-75 sq ft/L | 2-3 | Use extra buffer for texture |
| Existing lime plaster | 115-135 sq ft/L | 1-2 | Clean powder and lightly dampen |
| Concrete block | 50-70 sq ft/L | 3-4 | High absorption and joint loss |
5. Dilution and coat planning
| Dilution | Best use | Finish effect | Planning note |
|---|---|---|---|
| 10% water | First coat on stable walls | Fuller body | Use when coverage is predictable |
| 20% water | General interiors | Balanced mineral movement | Good default for bedrooms |
| 30% water | Soft cloud finish | More translucent | May need an extra coat |
| 40% water | Glaze-like top coat | Very soft variation | Use after color is established |
| 50% water | Final veil or toning pass | Thin mineral haze | Not ideal as the only coat |
6. Common room size table
| Project | Typical net area | Surface | Estimate at 2 coats |
|---|---|---|---|
| Small bedroom accent wall | 95 sq ft | Drywall | 1.5-2 L concentrate |
| 12 x 14 bedroom walls | 380 sq ft | Drywall | 6-7 L concentrate |
| 10 x 10 home office | 285 sq ft | Matte paint | 5-6 L concentrate |
| Brick fireplace face | 65 sq ft | Brick | 2-3 L concentrate |
| 12 x 16 patio wall | 192 sq ft | Stucco | 6-7 L concentrate |
7. Primer and finish comparison grid
Mineral wall
Best bond. Usually needs only dampening, normal dilution, and a modest buffer.
Painted drywall
Use mineral primer when existing paint is sealed, glossy, or unknown.
Brick and stone
Expect lower coverage because pores, joints, and texture hold more wash.
Stucco texture
Plan extra coats and a larger reserve for rough peaks and uneven suction.
8. Practical planning tips
Before you crack open that can of limewash you should of do some math. The initial coat usually resembles a puddle of milk on parchment paper when it go on. It’s transparent and thin. That means it does not forgive any mistakes in math. Most DIYers just grab a gallon bucket with no thought in mind and wonder where all their material went as it sinks into the porous surface of unsealed drywall or brick. Knowing the exact amount of product required will give a beautiful mottled finish.
As you can see from the calculator, it turns your wall measurements into the liters of limewash required. But what are those liter numbers based off? More importantly, how do they vary and why? Limewash is not like plastic paint which go ON top of your wall. It’s a mineral deposit that literally bonds with the wall chemically. The cost to coat your walls depends more on their current condition different than on actual square footage.
How to Calculate How Much Limewash You Need
If your wall is smooth, like primed drywall, one liter could easily cover more than a hundred sq ft. If your wall is rougher, like stucco, you can expect to use three times as much or more for the exact same space. Why? Because lime require something to grab hold of. A rougher texture provides more holding power but it also uses up more of your supply.
Most folks gets into trouble with dilution. They think of limewash as conventional latex paint. That’s not the case. Think about transparency and pigment settling in pores. More dilute means less dense; lower opacity. A ten percent dilution creates a more solid, opaque initial coat that build thickness quickly. At forty or fifty percent, you’re getting a softer, veiling cloud. It is great for adding texture without adding much coverage on each pass. The tool helps with this choice by figuring out how much concentrate you need. So you don’t run out mid-depth. This difference are subtle but significant if you’re standing in an empty room with only half a liter remaining.
The only variable that can screw up a budget is your prep. Lime won’t bond well to glossy enamel or sealed latex paint unless it’s helped along. For these surfaces, mineral primer becomes a must. When you choose these types of surface on the calculator, it estimates how much primer is needed. Avoid having to fail the peel test later.
Interior natural stone or porous materials require wetting before applying. Applying to a dry brick wall will suck the moisture out of the wash too rapidly. The lime doesn’t carbonate correcty. Instead of creating a hard, durable finish, it just dries too fast and leaves a chalky residue. Dampening the surface reduces the rate of evaporation. This gives the chemistry time to do what it was designed to do.
You should also account for waste and touchups. Limewash varies with each batch that is mixed. Surrounding humidity or slight variation on mixing ratio will cause batches to differ in tone. Not only do you need to order a buffer because of spills, but because you need it to match what you’re using. You’ll make mistakes, so having some left over after your first mix allows you to repair those without adding another batch. Which could be a different color by now depending on which direction the light hits things. The calculator accounts for this margin in the total. It feels wasteful up front but saves you from scrambling to find a matching pigment later down the road.
This approach takes the guess work out of an expensive experiment. Stop relying on rough estimates. Instead, you can get out your calculator, look at the chemistry and physics, and plan for what you need for real materials. This means finishing up with something that looks like it was meant to be that color rather than actualy so. And you will have enough in hand to complete the job from the first brush stroke to the last coat.