Shutter Tier Split Height Calculator
Calculate lower and upper shutter tier heights, split rail centerlines, panel blanks, louver bay clearances, and sightline alignment for tier-on-tier or cafe-style shutters.
Pick a real shutter layout, then tune the finished frame height, rail sizes, gaps, and split priority.
Tier split result
| Method | Calculation basis | Best use | Check |
|---|---|---|---|
| Lower percentage | Frame height times lower percent | Balanced or privacy planning | Confirm rail clears sash lock |
| Exact lower tier | Entered lower panel height | Matching another shutter | Upper bay still needs enough height |
| Sash alignment | Split follows measured sash mark | Double-hung or transom windows | Round only after measuring |
| Equal louver bays | Upper and lower clear bays match | Custom shop drawings | Rails may look uneven at sightline |
| Opening type | Typical split | Lower tier purpose | Planning note |
|---|---|---|---|
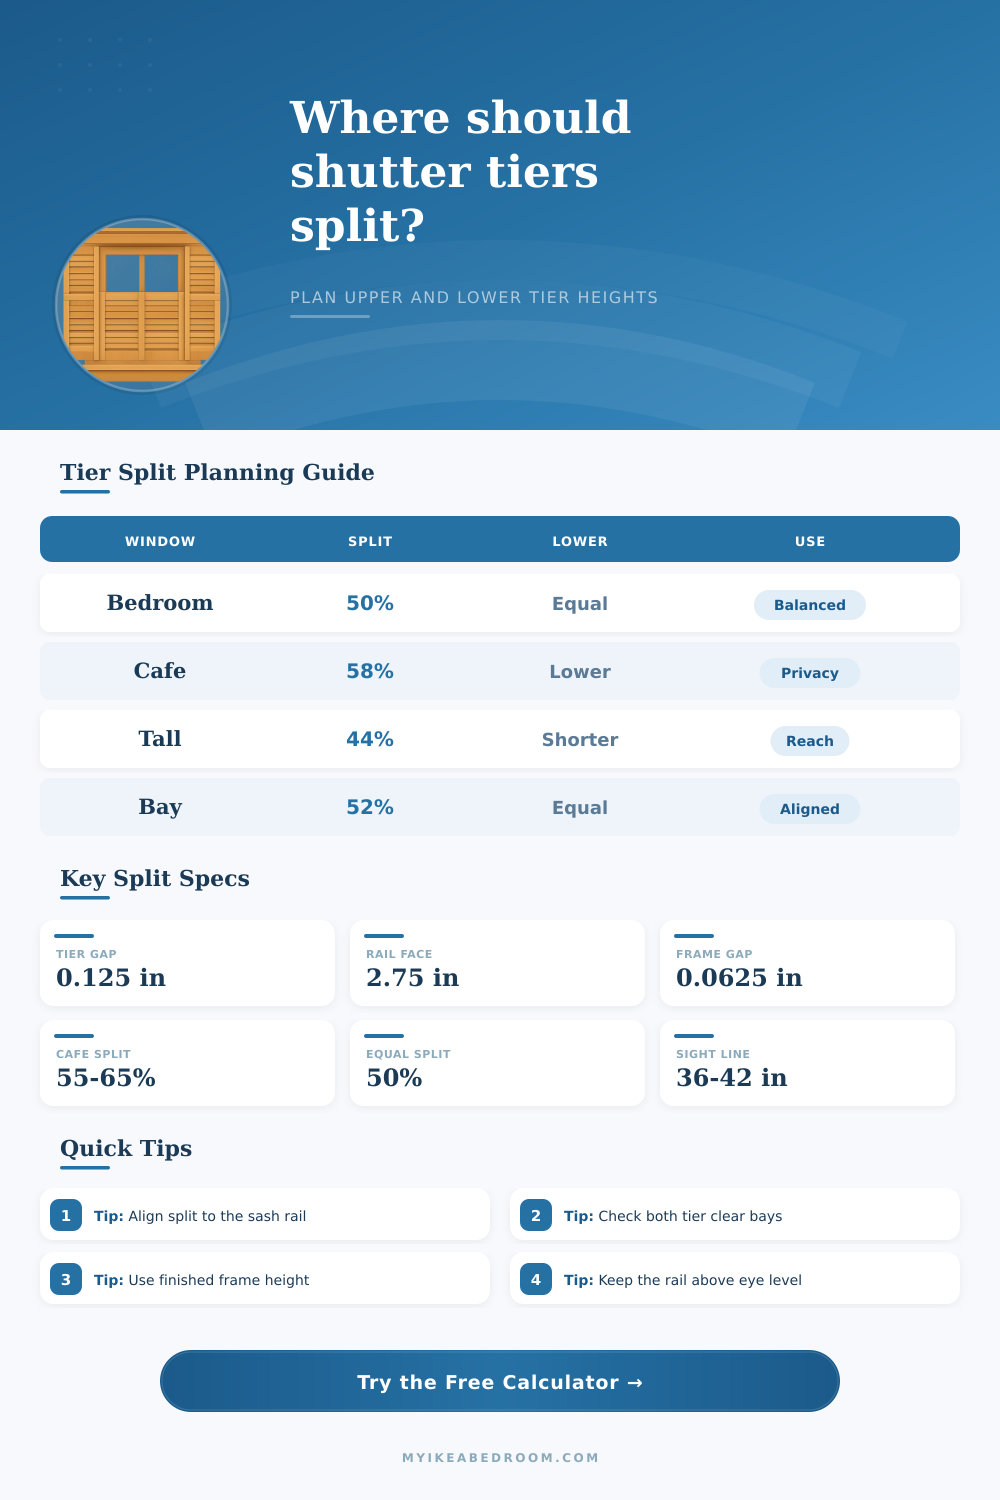
| Bedroom double-hung | 48% to 52% | Equal light and privacy | Align to the existing meeting rail if visible |
| Kitchen cafe shutter | 55% to 65% | Privacy while upper glass stays open | Use lower-tier-only style or removable upper tier |
| Tall door shutter | 40% to 48% | Reachable lower controls | Keep split below handle hardware where needed |
| Bay window segment | Match neighbor | Continuous horizontal line | Use the same floor reference across segments |
| Bathroom window | 60% to 70% | Higher privacy screen | Check that the upper tier is still usable |
| Part | Included in calculator | Why it matters | Typical range |
|---|---|---|---|
| Top rail | Upper tier top deduction | Sets the clear upper louver bay | 2.5 to 3.5 in |
| Bottom rail | Lower tier bottom deduction | Supports lower panel and hinge side | 2.75 to 4 in |
| Meeting rails | One per tier at the split | Creates the visual horizontal split band | 2.25 to 3.25 in |
| Tier gap | Gap between upper and lower panels | Prevents binding when tiers swing | 1/16 to 3/16 in |
| Divider rail | Optional louver bay deduction | Breaks tall panels into smaller louver sections | 2 to 3 in |
| Piece | Count formula | Length basis | Check before cutting |
|---|---|---|---|
| Upper tier stiles | Panels across times 2 | Upper tier height | Hinge side and tilt rod location |
| Lower tier stiles | Panels across times 2 | Lower tier height | Bottom rail orientation |
| Top and bottom rails | One per panel tier edge | Panel width | Joinery deductions by shop method |
| Meeting rails | Two per vertical panel stack | Panel width | Split rail faces line up across panels |
| Divider rails | Entered count per tier panel | Panel width | Do not crowd short clear bays |
Measure your window: Use a tape measure to get the window’s dimensions (height and width). Getting these right is key to getting accurate geometry and even an inch off will cause shutters to appear amateur-ish.
Splitting up the tiers matter most; it dictates at what rail heights your shutter panels will land. This affects paint color different than it seems! The calculator takes care of this for you… No guessing required.
How to Measure Your Window for Shutters
Shutters aren’t just a screen; they’re a frame with parts that take up space. When you split the window in half, that doesn’t factor in meeting rails. Those rails exist and take away space where louvers would go. Without considering this your louvers might be too snug or have unsightly gaps. It’s one less thing you need to calculate by hand. Once you input your dimensions, the tool do all the deductions for you.
Typically, homeowners will opt for some sort of split first. Fifty percent down the middle is nice and even. That’s good for a bedroom when you’d want the same amount of light control. For living rooms, it’s typically better to have a cafe set up; lower pane higher (to obscure any view) but top glass open (for air flow). So that shifts the ratio to say sixty percent/thirty percent or even to seventy percent/twenty. As you can see from the reference table, it all depends on how the room is used; it must be functional, not just looks nice.
If your window has a visible meeting rail running down the center (double-hung windows), then the sash line are important. You want your split in the shutters to match that rail. This makes everything look nice. That way the hardware won’t be fighting the frame but hiding behind it. Otherwise the shutters won’t seem like they are part of the window at all. It is a small detail, but it makes a big difference in how professional the shutter installation look.
There’s also a sneaky variable called louver bay height: how much clear space is there between the panel for slats to pivot? Pushing the split up could make your top tier so short you won’t fit regular size louver. The calculator catches that for you; it ensures whatever dividers you count, with whatever rail widths you choose, leaves enough space to control light. It avoids the problem of building something that looks correct on paper but doesn’t work in real life.
Incorrect measurements will also result in more material waste. When cutting wood, there’s no do-overs (except for the first cut). If your measurements is off, you’ll end up with a shorter-than-planned-for stile or even waste some of your stock. By knowing exactly how tall your panels need to be prior to purchasing materials, not only does it save money but it can prevents your frustration at the workbench. Instead of adjusting for guesswork, aim for clean cuts.
It’s both patience and precision that goes into installing shutters. Those numbers on this calculator represent real-world details like wood, hinges, and sightlines. Line up the split right, and it all comes together, the shutters no longer feel like an afterthought to the rest of the architecture; they’re part of it. Everything fits just right; it looks tailored, clean. And it helps make a house feel like a home, even through small details. You should of measured twice!