Drapery Lining Yardage Calculator
Estimate lining yardage, cut widths, shorter lining drop, shrinkage, seam loss, overage, interlining layers, and finished coverage for lined drapery panels.
Start with a real drapery scenario, then adjust lining width, drop allowance, fullness, shrinkage, and layer choice to match the fabric on hand.
Full lining yardage breakdown
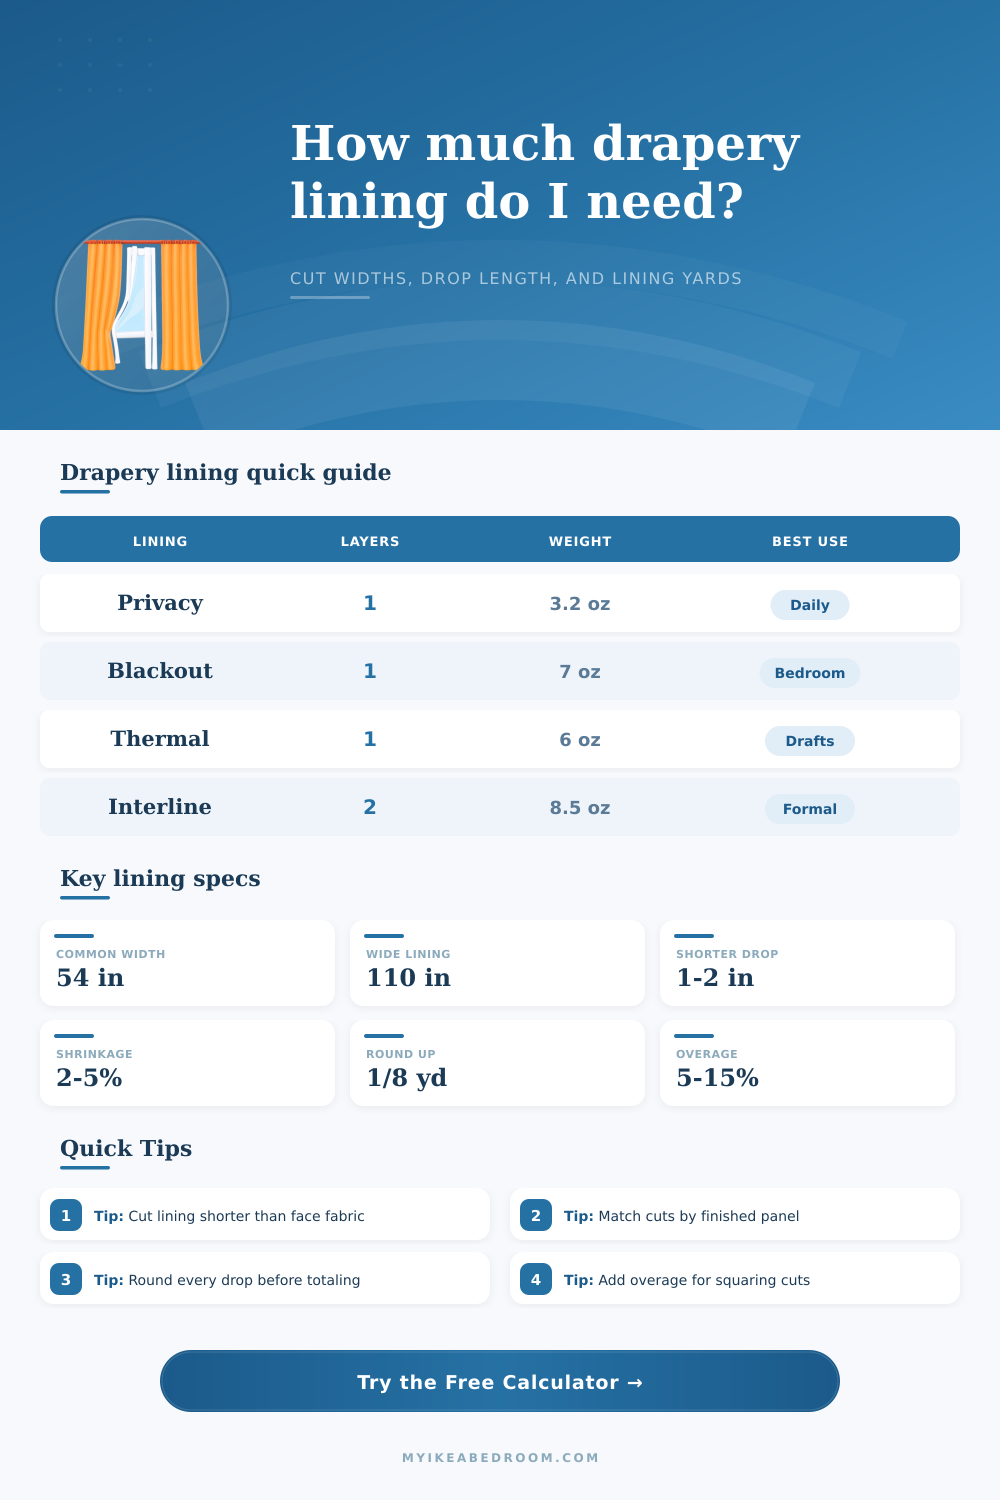
| Lining type | Calculator layer count | Typical fabric weight | Planning note |
|---|---|---|---|
| Privacy cotton sateen | 1 layer | About 3.2 oz per square yard | Use for ordinary lined panels where privacy and a cleaner back are the goal. |
| Blackout lining | 1 layer | About 7.0 oz per square yard | Returns, overlaps, and side coverage affect light gaps as much as yardage. |
| Thermal lining | 1 layer | About 6.0 oz per square yard | Allow more handling margin on wide drops because the cloth is bulkier. |
| Dim-out lining | 1 layer | About 5.5 oz per square yard | A middle-weight option when full blackout is not required. |
| Interlining only | 1 layer | About 4.8 oz per square yard | Use when calculating the inner layer separately from the visible lining. |
| Lining plus interlining | 2 layers | About 8.5 oz per square yard combined | The calculator multiplies yardage for both textile layers in the same cut plan. |
| Lining width | Usable after 2% shrink | One 90 in cut | One 100 in cut |
|---|---|---|---|
| 45 in lining | 44.1 in usable | 2.50 yd before overage | 2.78 yd before overage |
| 54 in lining | 52.9 in usable | 2.50 yd before overage | 2.78 yd before overage |
| 60 in lining | 58.8 in usable | 2.50 yd before overage | 2.78 yd before overage |
| 72 in wide lining | 70.6 in usable | 2.50 yd before overage | 2.78 yd before overage |
| 110 in railroad lining | 107.8 in usable | 2.50 yd before overage | 2.78 yd before overage |
| Allowance | Common range | Calculator field | How it changes yardage |
|---|---|---|---|
| Lining shorter than face | 1 in to 2 in | Finished lining shorter than face | Subtracts from the finished lining drop before top and bottom allowances are added. |
| Top allowance | 3 in to 6 in | Lining top allowance | Adds cut length for turning into buckram, tape, or heading construction. |
| Bottom hem | 3 in to 5 in | Lining bottom hem allowance | Adds cut length and keeps the lining finished above the face fabric hem. |
| Shrinkage and squaring | 2% to 5% | Lining shrinkage allowance | Inflates width and length so washed or squared cloth still reaches the plan. |
| Vertical repeat | 0 in for plain lining | Vertical repeat or drop matching | Rounds each cut drop upward before multiplying by the number of cuts. |
| Seam allowance | 1/2 in to 1 in | Seam allowance per join | Reduces usable joined width and can trigger one more cut width. |
| Project | Typical span and drop | Likely lining choice | Planning focus |
|---|---|---|---|
| Bedroom pair | 96 in span, 90 in drop | Blackout or dim-out | Use return and center overlap to reduce edge light. |
| Living room pinch pleat | 120 in span, 96 in drop | Privacy lining | Balance fullness with lining seams across both panels. |
| Patio door draw | 156 in span, 96 in drop | Thermal or privacy | One-way panels may need more cuts assigned to one side. |
| Formal dining panels | 132 in span, 108 in drop | Interlined set | Double layers increase yardage, weight, and heading bulk. |
| Cafe curtain pair | 42 in span, 36 in drop | Light sateen | Small drops may still round up because of hems and repeat. |
Privacy lining
Single-layer planning keeps yardage straightforward.
Useful when the face fabric needs a cleaner back and modest opacity.
Blackout lining
Coverage details matter because returns and overlap reduce light gaps.
Heavier cloth can benefit from a slightly larger overage allowance.
Thermal lining
Bulk is part of the plan when lining draft-control draperies.
Check rod and ring capacity after reviewing the estimated lining weight.
Interlined panels
Two textile layers multiply yardage and seam handling.
Use the same drop logic so lining and interlining finish evenly.
Until half-way into your sewing project do you realize that you need a lining for your drapes? Oops, I mean drapery fabric, oh wait you never thought about it at all until now! Problem is, you love how the main fabric looks but there’s no body to it and it shows everything. Lining fix this problem.
However figuring out just how much you actualy need seems like such an involved process when really it shouldn’t be. How many seam are you having? What direction will the cuts fall? Should the lining be slightly shorter than face cloth? What is the width of the fabric? The above calculator does all of this math for you so you don’t have to guesstimate.
How to Calculate Lining Fabric for Your Curtains
Your main drapery fabric drop (finished) is the key variable here. To ensure that no lining shows through when the curtains are closed, the lining must be a bit shorter, perhaps an inch or two less. Enter this shortened number into the tool, along with allowances for any headings/tops and for hems. For example, if you’re using pinch pleats, there needs to be added length at the top to insert either buckram or tape. Once you set your parameters, these lengths will be automatically add by the tool.
Another cause of mistakes involves the width of the fabric. Lining is available in standard widths of fifty-four inches up to one hundred ten inches wide. If you need something wider than the fabric is then you have to piece the cuts together side by side which means adding seam allowance at each seam (and possibly cutting longer pieces as well if there’s a vertical repeat pattern). Wider fabric usually costs more per yard but because of this may actualy save you money in labor. Seams determines how much fabric width you can use. The chart on the page explain it all.
Finally, there’s the matter of layering: Privacy lining, just one layer of cotton sateen with some added opacity to make the drapery drape well. Then there is blackout lining, a thicker version meant to totally block out light in a bedroom. Finally, if you want your project to be realy fancy-schmancy, opt for something called interlining: a flannel in between the lining and the face fabric that sandwiches the layers together. Since it requires doubling up (two cuts, both needing to be perfect matches), interlining will double your yardage needs. The calculator takes into account whether you’re getting one layer or an interlined pair of layers.
Natural fabrics (cotton, etc.) shrinks when wet, especially if they’re squared off to be cut. If you don’t account for that, your prepared lining could be narrower or shorter than you need it to be. By making an allowance of two to five percent, you will have room to create the finished pieces without stretching. This is also a proper tailoring procedure to square out the fabric better on the bias. You can plug in that allowance as a percent into the tool so it compensate by inflating the cut slightly for the shrinkage.
It’s easy to cut your lining too narrow. You want an overage that allows you to trim as needed (and also to adjust the ends if one isn’t quite square). For a basic project, it’s good practice to allow 10 percent extra. If there is a large pattern repeat or other tricky panels, you may need up to 20 percent. It would of been better to leave some extra lining behind rather than go back to the store and hope they still have your dye lot.
The fabric affects how the window treatments feel. Heavier thermal linings increases insulation value, blocking out air leaks around windows, but they also make treatments heavier (and necessitate stronger hanging hardware). Lighter privacy linings is better suited to more relaxed spaces where absolute darkness isn’t needed. Knowing this trade-off will guide your decision about whether paying a higher price for heavier lining is worthwhile. The tool estimates roughly how much the fabric weigh so you can decide if it is too heavy for your curtain rods.
The key to good drapery is balancing the face fabric with the lining. The lining give the drapes their shape and makes them look tailored and expensive. It also allows the attention to be on the fabric itself. Take time to measure correctly and plan your hem and seam placement. This prevents you from running out of fabric halfway through and making your panels all different sizes.
Now, using the calculator takes the guess work out and lets you get creative with the details. You begin imagining clean lines and how you want them to fall softly. Then at the end you have just enough fabric to make it happen.