Cushion Piping Length Calculator
Estimate welt cord, bias strip count, seam joins, and cushion-by-cushion piping length before cutting fabric.
| Cushion seam choice | Length basis | Best use | Planning note |
|---|---|---|---|
| Top seam only | 1 perimeter | Knife-edge pillows, simple pads | Deduct a closure gap only if piping stops before the zipper. |
| Top and bottom seams | 2 perimeters | Boxed seat cushions and bench pads | The most common boxed-cover welt layout. |
| Top, bottom, and boxed corners | 2 perimeters plus corner height runs | Thick cushions with vertical accent piping | Corner height runs are added as four thickness lines on rectangular cushions. |
| Bolster ends only | 1 or 2 circular end seams | Cylinder pillows with piped caps | Uses circumference from the round end diameter. |
| Bolster ends plus long seam | End circumferences plus body length | Bolsters with a decorative long seam | The long seam is one lengthwise run along the cylinder. |
| Welt cord size | Typical cushion use | Estimated strip width with 1/2 in seams | Handling note |
|---|---|---|---|
| 1/8 in | Small pillows, subtle detail | 1 3/8 in | Easy to curve around tight round cushions. |
| 3/16 in | Dining pads and light covers | 1 1/2 in | Good balance for thin cushions. |
| 1/4 in | Standard sofa and bench cushions | 1 5/8 in | Common choice for washable cushion covers. |
| 5/16 in | Structured upholstery edges | 1 3/4 in | Needs smooth clipping around corners. |
| 3/8 in | Large floor cushions | 1 7/8 in | Leave extra buffer for bulky joins. |
| Fabric width | Usable strip length | Approx strips for 8 yd piping | Approx strips for 12 yd piping |
|---|---|---|---|
| 42 in | 41 in after join loss | 8 strips | 11 strips |
| 45 in | 44 in after join loss | 7 strips | 10 strips |
| 54 in | 53 in after join loss | 6 strips | 9 strips |
| 60 in | 59 in after join loss | 5 strips | 8 strips |
| Common cushion project | Dimensions | Piping route | Approx length before buffer |
|---|---|---|---|
| Single sofa seat | 24 x 24 x 4 in | Top and bottom boxed seams | 16 ft per cushion |
| Window bench pad | 60 x 18 x 3 in | Top seam only | 13 ft per cushion |
| Round stool pad | 18 in diameter | Top and bottom round seams | 9.4 ft per cushion |
| Bolster pillow | 8 in diameter, 28 in long | Two ends plus long seam | 6.9 ft per pillow |
| Floor cushion | 30 x 30 x 5 in | Top, bottom, and corners | 23.3 ft per cushion |
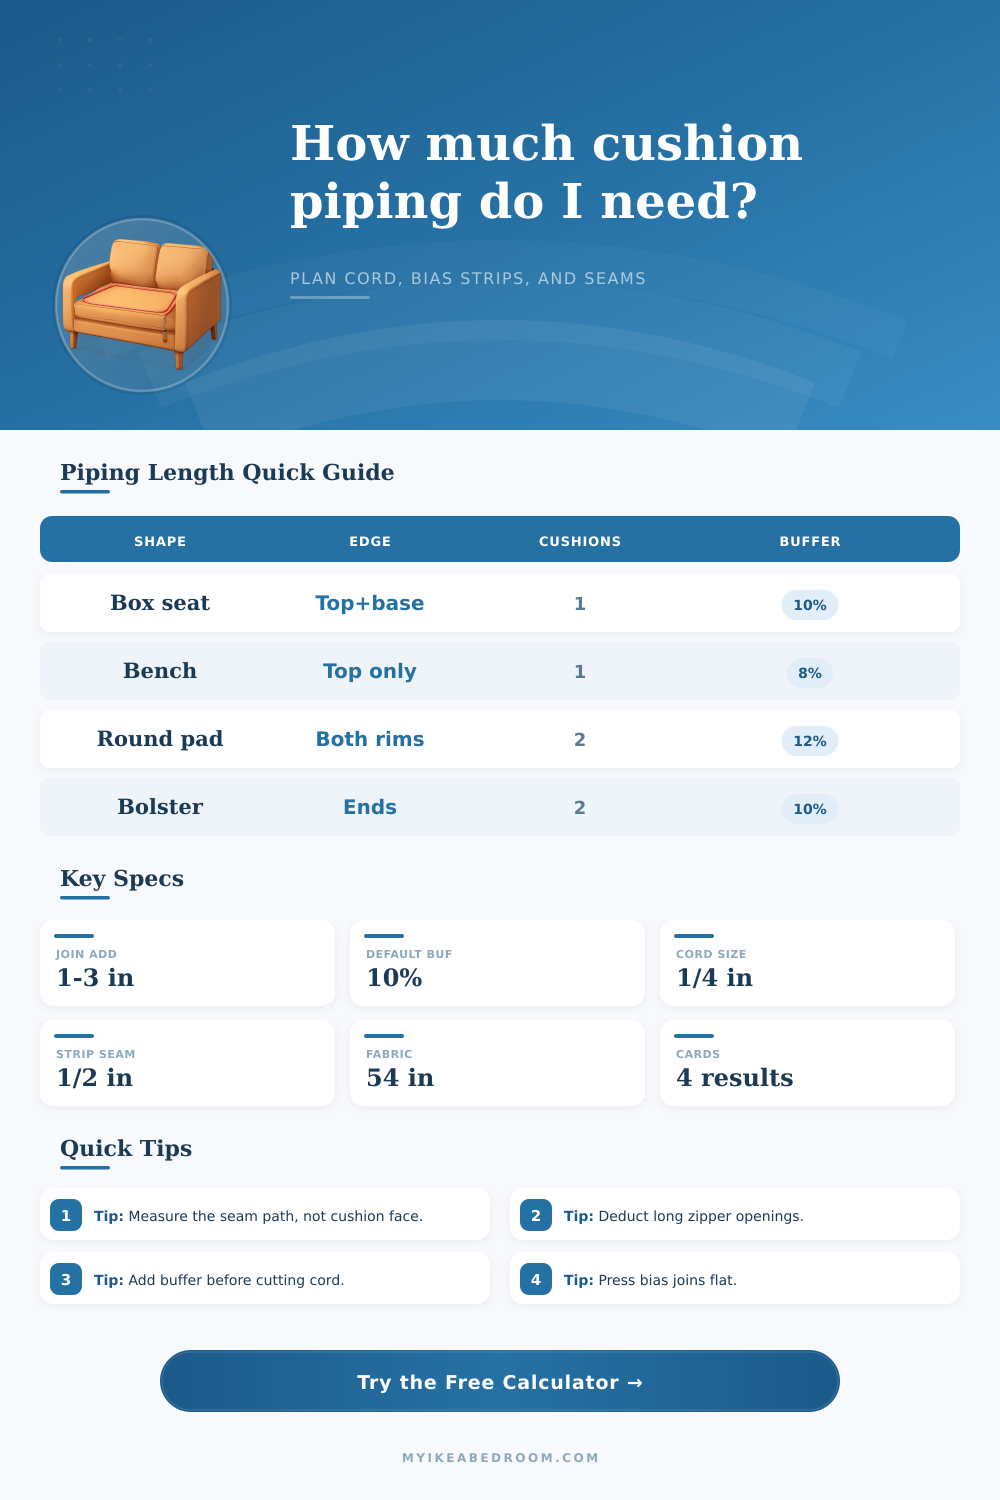
Cushion piping is a finishing detail for the cushion cover. The cushion piping will determine whether the cushion cover has a crisp look or whether it look adequate. You must determine the correct lengths for the cushion piping.
The length of the cushion piping will affect how smooth the welt will sit around the corners of the cushion cover and will determine how many fabric will be needed for the cushion piping. The measurement for the cushion piping will not be the outer face of the cushion. Instead, the cushion piping will measure the stitched path that the cushion piping will follow when the cushion cover is assembled.
How to Measure and Calculate Cushion Piping for Covers
This stitched path may include the top edges of the cushion cover, the bottom edges of the cushion cover, the vertical boxing corners of the cushion, or the circular end of the bolster. The seam route for the cushion cover will change according to the shape of the cushion and the design decision that are made for that cushion cover. For instance, a knife-edge pillow will only have one perimeter for the cushion piping.
A boxed cushion will have two perimeters for the cushion piping, unless the cushion include a zipper along one of the edges of the cushion cover. In this case, the cushion piping will have two perimeters for the cushion piping and an allowance for the gap for the zipper. For round cushions, the seam will use circumference rather than perimeters to measure the length of cushion piping that will be used.
For bolsters, the cushion piping will have a long body seam in addition to the two end circles for the bolster. Once the cushion cover designer has determined the seam route for the cushion cover, the tool will account for any extra sewing requirement for the project. For instance, if the cushion cover will have any joins, the calculator will account for them.
The calculator will take into account the number of cushions that will be made using the pattern. The calculator will account for the overlap in length needed for each join. The calculator will account for the gap in length that will be left open in the cushion cover for a closure.
This buffer percentage will account for the way that the fabric may behave when cut on the bias and when press around the cord. For instance, a cotton fabric may only require an eight percent buffer. For an acrylic fabric or any fabric with nap, the buffer may need to be fifteen percent or more.
The calculator allows the designer to set this variable to any percentage rather than guess at the proper percentage for each project. The width of the strips of fabric that will be used for the cushion cover follows the same guidelines as the buffer percentage. The calculator will add the length of twice the seam allowance to the diameter of the cord that will be used to top the cushion cover with the piping.
The calculator will also add a very small width of fabric to account for the way that the piping will maintain its round shape once the cushion cover is turned right side out. If the width of the strips is too narrow, the cord may flatten once the cushion cover is assembled. If too wide, the seams will create lumps at the corners of the cushion cover.
The calculator will also provide information as to how many strips will be needed from the available width of the fabric. The calculator will subtract the length that will be lost due to the diagonal joins of the strips of fabric. Each join consumes some of the length of the fabric strips and each join adds to the bulk of the project.
Therefore, the calculator will subtract this value before it provides the count of how many strips will be needed for the project. When people begin to sew the cushion covers according to the calculations provided by these cushions calculators, they often find value in these calculations when they reach the first join or the first corner of the cushion cover. If the designer uses bias strips cut from 54-inch upholstery fabric, they will have longer strips that will result in fewer seam.
If the designer chooses to use narrower fabric, such as 42-inch fabric, they will have to make more joins at the corners of the cushion covers. More joins mean that there are potentially more place for the piping to begin to twist along the edges of the cushion. The choices for fabric width will be reflected in the sewing room where the designer sews the cushion covers.
The joins will be made at the corners of the cushion cover where the curve of the cushion is the tightest. A less tight curve will allow for more ease in the sewing of the join. The same principle applies to the gap that will be left open for a closure.
For instance, if a zipper will be sewn along the back of a bench cushion, the designer will have to make an allowance for that gap. This gap will be subtracted from the length of the cushion piping before it is multiplied by the number of cushion that will be sewn according to this pattern. Otherwise, the designer may end up with too much cord for the cushions.
The gap will be accounted for in the sewing room. The designer will have to measure the length of the seam that will receive the piping rather than the length of the seam that is desire to be piped. The diameter of the cord that will be used for the cushion cover may be 1/4 inch.
This diameter is standard for most sofa and bench cushions. A 1/4 inch cord will be even with the edges of the cushion cover without requiring too much clipping of the corners of the cushion cover. A smaller diameter of cord will be easier to use on round cushions around the tightest curves.
A larger diameter of cord will add to the bolder look that the cushion cover will have. However, there will be an extra buffer in the length of the strips for the 1/4 inch cord because the join will be bulgy. The calculator will allow the designer to test each of the different size of cord to see how many strips of fabric will be needed according to the width of the fabric.
The design of the fabric and the design of the cushions may change the percentage of buffer that is used for the cushion cover. For instance, using a striped fabric may require that the cord join into the fabric at a point that allows the stripe of the fabric to continue in their course on the cushion cover. Velvets will require that the nap of the fabric is aligned a certain way when the bias strips are being cut.
Leatherette and vinyl will be stiff in certain areas and may require the designer to make the joins with care around the tightest curves. In these cases, the buffer percentage will be more than just the safety margin to allow for the designer to complete the project in a timely manner. Another practical habit for the designer is to measure the seam path on a completed cushion cover.
A 24-by-24 inch cushion cover with 5-inch boxing will not have a seam path of 24 inches for each side of the cushion cover. The seam path will travel the length of the cushion cover’s top edge, down the boxing, along the bottom edge of the cushion, and then back to where it began. This distance will be measured and entered into the calculator to determine the length of cord and strip of fabric that will be needed to make the cushion cover.
These small decisions for the designer will have an impact on the final product of the cushion cover. Each choice for the buffer percentage, where the joins will be made on the cushion cover, the size of the cord that is used, and the allowance for gaps for closures will add up to the final look of the cushion. The calculator allows the designer to make these decisions prior to placing any fabric on the table.
When the last seam has been made and the cushion piping is even along all the edges of the cushion cover, the time that the designer spent entering these values into the calculator will have saved the designer fabric and frustation during the sewing of the project.