Quilt Binding Calculator
Calculate binding length, strip count, cut width, yardage, bias-square size, join allowance, corner ease, and fabric yield for straight-grain, cross-grain, bias, single-fold, and double-fold quilt binding.
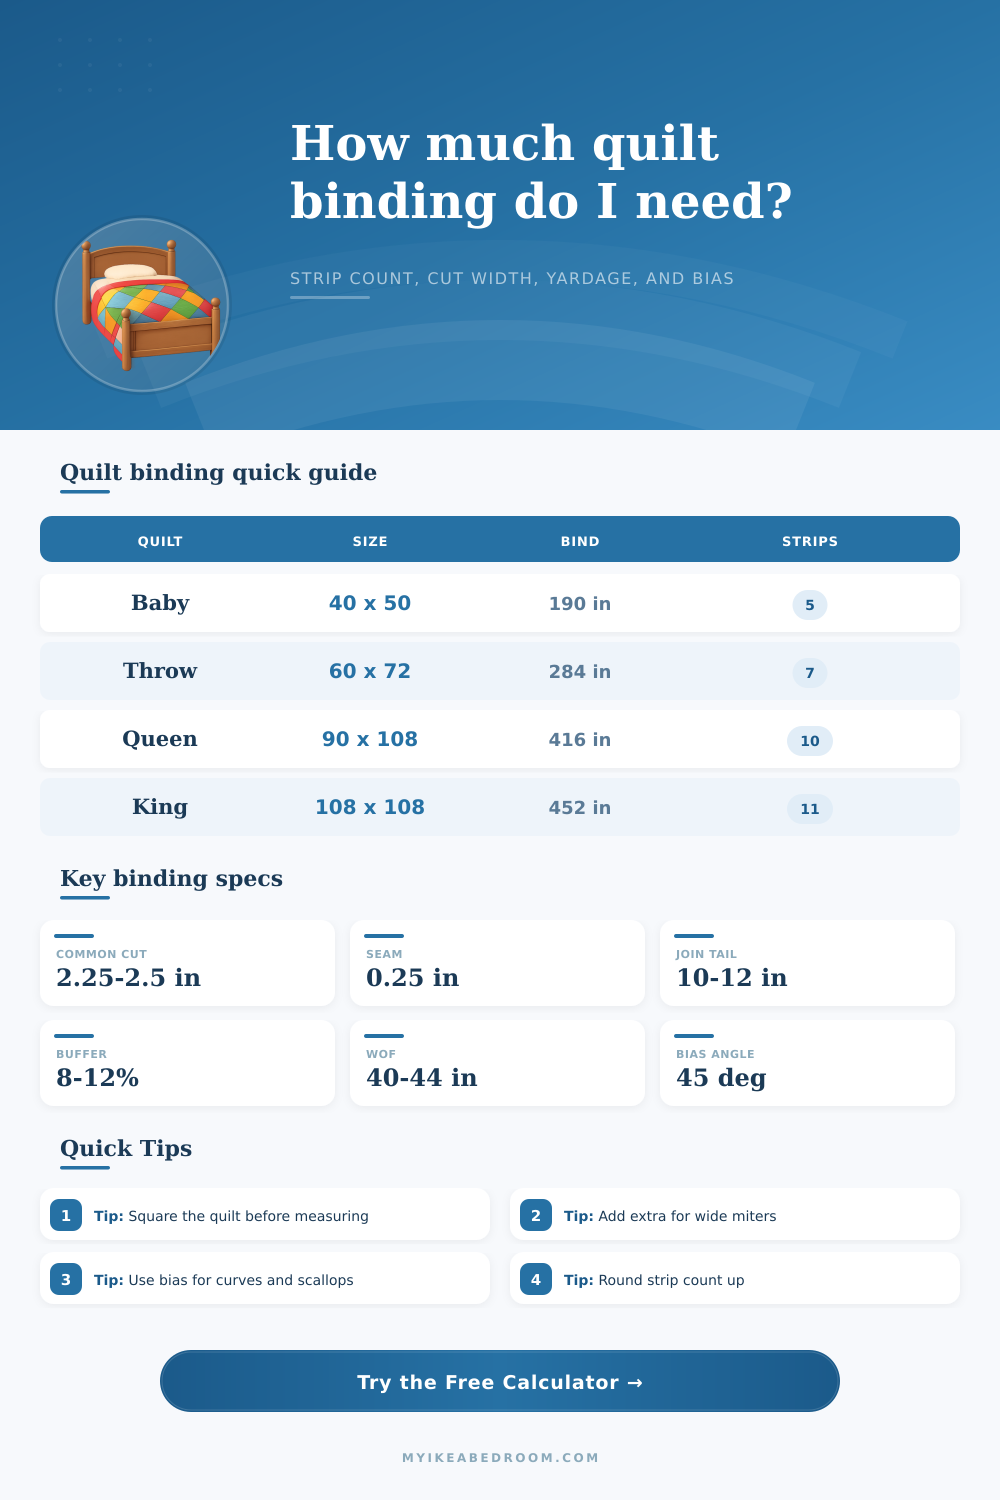
Choose a common quilt format, then adjust the finished binding width, seam allowance, fabric width, fold style, grain direction, and overage.
| Quilt type | Trimmed size | Approx binding length | WOF strips |
|---|---|---|---|
| Wall mini | 24 x 24 in | 117 in | 3 strips |
| Baby quilt | 40 x 50 in | 207 in | 6 strips |
| Lap quilt | 50 x 60 in | 251 in | 7 strips |
| Throw quilt | 60 x 72 in | 302 in | 8 strips |
| Twin quilt | 70 x 90 in | 363 in | 10 strips |
| Queen quilt | 90 x 108 in | 446 in | 12 strips |
| King quilt | 108 x 108 in | 485 in | 13 strips |
| Finished front width | Double-fold cut | Single-fold cut | Best use |
|---|---|---|---|
| 1/4 in | 2.1 to 2.25 in | 1.15 to 1.35 in | Mini quilts, crisp edges |
| 3/8 in | 2.35 to 2.5 in | 1.35 to 1.6 in | Everyday bed quilts |
| 1/2 in | 2.65 to 2.85 in | 1.6 to 1.85 in | Thick batting, bold edge |
| 5/8 in | 2.95 to 3.25 in | 1.85 to 2.15 in | Utility quilts, hand finish |
| Method | Yield behavior | Stretch | Best edge shape |
|---|---|---|---|
| Cross-grain WOF | Fast strip count | Light give | Square quilts and throws |
| Lengthwise grain | Fewer joins with yardage | Very stable | Straight bed quilt edges |
| Continuous bias | Square-size estimate | Strong stretch | Curves, scallops, circles |
| Scrappy strips | Uses varied lengths | Depends on grain | Patchwork-style finishes |
| WOF strips | 2.25 in cut | 2.5 in cut | 3 in cut |
|---|---|---|---|
| 5 strips | 11.25 in, 1/3 yd | 12.5 in, 3/8 yd | 15 in, 1/2 yd |
| 7 strips | 15.75 in, 1/2 yd | 17.5 in, 1/2 yd | 21 in, 5/8 yd |
| 9 strips | 20.25 in, 5/8 yd | 22.5 in, 2/3 yd | 27 in, 3/4 yd |
| 11 strips | 24.75 in, 3/4 yd | 27.5 in, 7/8 yd | 33 in, 1 yd |
| 13 strips | 29.25 in, 7/8 yd | 32.5 in, 1 yd | 39 in, 1 1/8 yd |
Best for: durable everyday quilts.
Two fabric layers wrap the edge, so the calculated cut width is wider.
Best for: mini quilts and flat wall pieces.
Uses less fabric, but the outer edge has one fabric layer.
Best for: curved or scalloped edges.
The calculator estimates the square size needed for continuous bias.
Best for: accent edges.
Plan the main strip plus a narrow accent strip before joining.
Measure after quilting: Quilting can pull in the top. Trim and square the quilt first so perimeter and corner allowances match the real edge.
Round strips upward: A partial strip still requires a full cut across the fabric width when using WOF binding, so cut the next whole strip.
Use bias intentionally: Straight quilts usually do not need bias. Curves, scallops, circles, and rounded table runners benefit from the extra stretch.
Check the fold: Before cutting all strips, test one short binding sample around the trimmed quilt edge to confirm the back catch and front width.
Binding is the last step in the quilt completing process. Binding is the process of covering the edges of a quilt. In order to bind a quilt, a person must make careful plan for the length, the width, and the stretch of the binding to avoid any error in the quilting process.
If a person decide on incorrect length and widths for the binding strips, it is possible that the binding will end up gapping at the corners of the quilt or that it may end up short on the final join of the quilt. Using the strips of fabric that a person has, it is easy for an individual to end up guessing at how many strip of fabric are needed to bind the quilt. Guessing at the number of strips of fabric, however, often ends up causing a shortage of fabric for the binding process due to the loft that the batting will add to the quilt.
How to Use the Quilt Binding Calculator
The binding calculator will help a person to calculate the requirement for the binding of a quilt. All that the individual is required to enter is the trimmed size of the quilt into the calculator. The calculator will provide the cut width for the binding strips, the tail allowance for the final join, and apply a buffer to account for any losses at the corners.
Using the binding calculator will help ensure that a person dont run out of fabric during the binding process. The grain of the strips of fabric will impact the binding process. Cross grain strips is easy to cut and are stable for quilts with straight edges.
Bias strips require more preparation time but are better forquilts that contain curves and scallops. The binding calculator can adjust the number of strips and the bias square estimate according to the choice of the grain of the binding strips. The fold of the binding will change the width of the binding strips.
Double fold binding will have to cover both sides of the quilt so it will need to be wide enough for that feature. Single fold binding will require less fabric but will leave only one layer of binding visible on the quilt. Lastly, wide or flange binding will require still more fabric than the double fold binding.
The binding calculator will determine the width of the binding strips required according to the finished binding width and the fold style of the binding. The setting for overage will allow for extra fabric to be added to the length of the binding strips. If a person sets the overage to zero, there will be no allowances for potential cutting or placement mistake.
An eight or twelve percent overage will provide extra fabric for the diagonal joins, the mitered corners, and trimming. Curves and scallops require more overage than straight edges. The binding calculator will apply the allowance for overage to the total length of the binding strips, ensuring that the person will have enough fabric to bind the quilt according to the calculation of the calculator.
The reference tables will provide examples of the size of binding strips for various sizes of quilts. The tables will illustrate the length of binding strips according to the size of the quilt. The tables will also show how the strip count may change according to the change in the cut width of the strips.
The reference tables will allow a person to verify that the numbers that the binding calculator calculates are correct. Additionally, the tables can be used to compare two different plans for binding the same quilt. By running the number through the binding calculator, a person can change the finished width of the binding strips.
Additionally, the person can change the corner style of the quilt and see how that changes the yardage of binding strips that is required for the quilt. It is difficult for a person to change these feature and still have an idea of how many strips are required. The binding calculator makes these changes visible to the person creating the quilt.
Due to the way that the strips of fabric may be too narrow once the batting is added to the quilt, it is better for a person to increase the width of the binding strips before the binding process of cutting the fabric. Additionally, a thicker binding strip will require more width for the binding strips. The twelve inch tail at the end of the binding strips will provide the extra fabric needed for the other join of the quilt.
By applying the tail allowance of twelve inches from the start of the binding process, a person can avoid one of the variable of the sewing of the quilt. Thus, the binding calculator will ensure that the last strip of fabric to be sewn is the same as the first strip of the quilt to be sewn together, without any gap between the two strips.