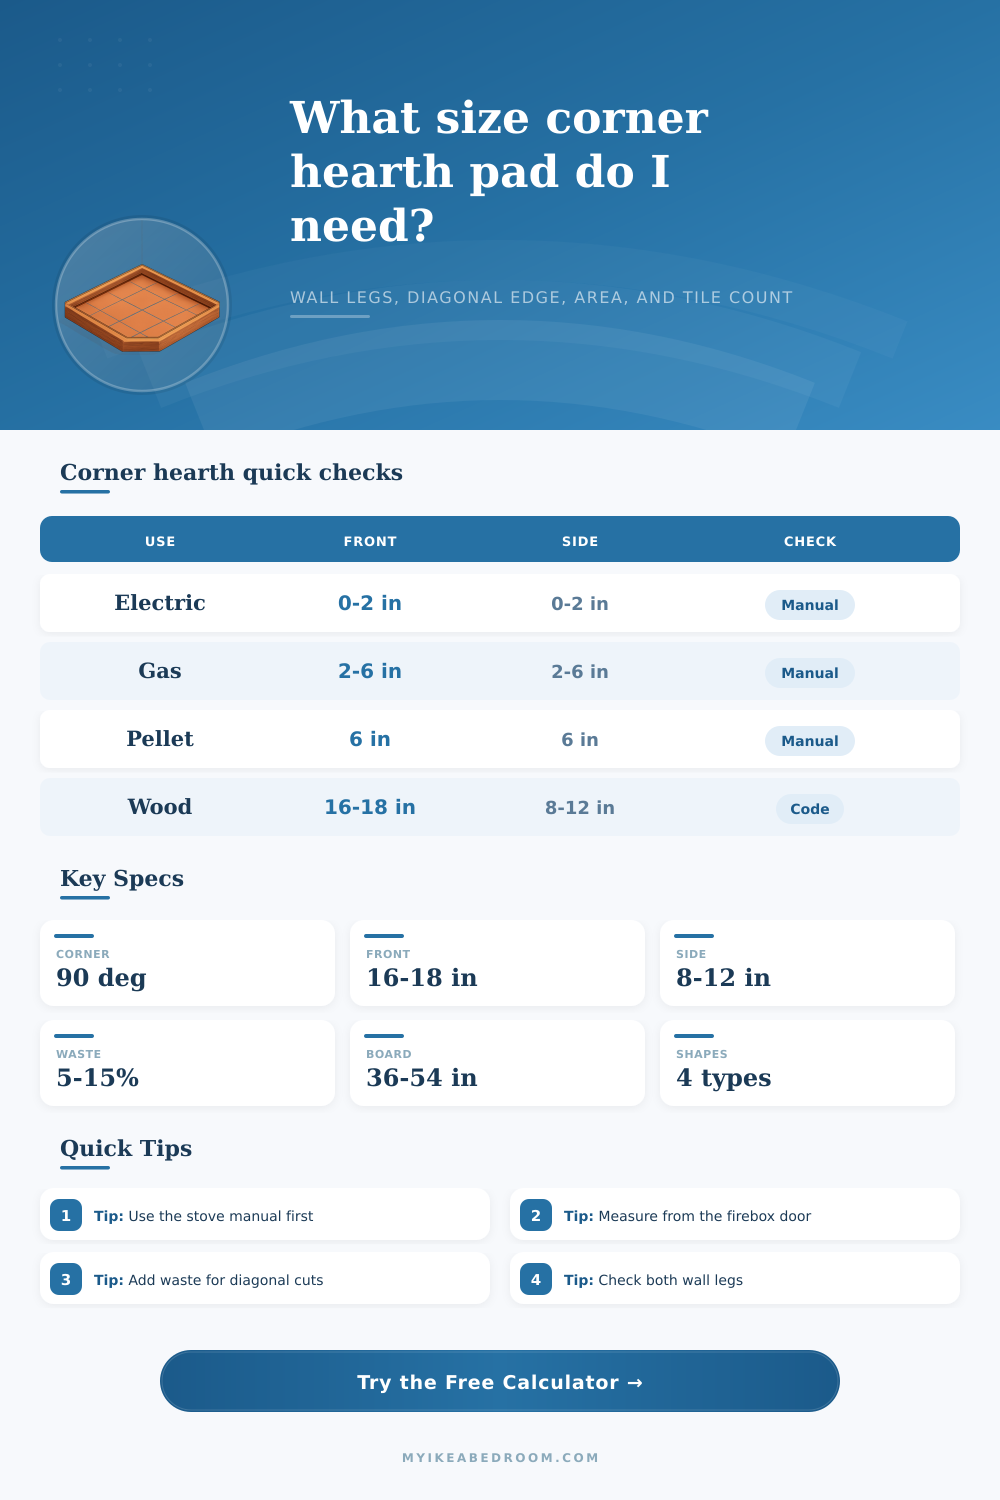
Corner Hearth Pad Calculator
Size a corner hearth pad from stove footprint, room angle, front protection, side protection, pad shape, tile module, panel size, and finished assembly weight.
Start with a common corner appliance layout, then adjust the exact appliance manual clearances and your planned pad dimensions.
| Pad shape | Area formula | Front edge formula | Best use |
|---|---|---|---|
| Diagonal-front triangular pad | 0.5 × left leg × right leg × sin(angle) | Law of cosines between wall-leg endpoints | Compact room corners and simple diagonal tile cuts |
| Square or rectangular corner pad | Left leg × right leg × sin(angle) | Outer left plus outer right exposed edges | Prefabricated panels or rectangular stone slabs |
| Wide chamfered five-sided pad | 0.75 × rectangular corner area | Half legs plus chamfer edge estimate | Extra side room with a softened front corner |
| Quarter-round curved-front pad | Room angle / 360 × pi × radius squared | Arc length from room angle and radius | Curved glass, stone, or custom template layouts |
| Profile | Front extension | Side extension | Calculator use |
|---|---|---|---|
| Electric decorative appliance | 0 to 2 in when manual allows | 0 to 2 in when manual allows | Floor finish protection and visual sizing |
| Listed gas stove | 2 to 6 in typical manual range | 2 to 6 in typical manual range | Use listed manual clearances as final values |
| Pellet stove ember protection | Often 6 in or manual value | Often 6 in or manual value | Checks ash-door and service-area coverage |
| Wood stove ember pad | Often 16 to 18 in at loading door | Often 8 to 12 in at sides | Compare manual, listing, and local code |
| Module | Area each | Diagonal-cut behavior | Good fit |
|---|---|---|---|
| 12 x 12 tile | 1.00 sq ft | Many pieces, easy to replace | Tight triangular hearth pads |
| 12 x 24 tile | 2.00 sq ft | Fewer joints, more layout planning | Long diagonal-front pads |
| 24 x 24 tile | 4.00 sq ft | Large offcuts at corner angle | Wide rectangular corner pads |
| 36 x 60 backer panel | 15.00 sq ft | Usually needs a seam on large pads | Noncombustible substrate planning |
| Scenario | Wall legs | Shape | Approximate area |
|---|---|---|---|
| Small gas or electric corner appliance | 36 x 36 in | Triangle | 4.5 sq ft |
| Pellet stove in a bedroom corner | 48 x 48 in | Triangle | 8.0 sq ft |
| Standard wood stove corner pad | 54 x 54 in | Triangle | 10.1 sq ft |
| Wide stone corner hearth | 60 x 60 in | Pentagon | 18.8 sq ft |
Fit focus: equal wall legs, diagonal front edge, and side clearance from the appliance corners.
Efficient for small rooms, but diagonal tile cuts usually drive the waste allowance.
Fit focus: panel size, outer exposed edges, and a clear appliance service area.
Often easiest for prefabricated pads, large backer panels, and square stone pieces.
Fit focus: balanced wall legs with a chamfered room-facing edge.
Uses more area than a triangle while avoiding a deep square corner projection.
Fit focus: radius, arc length, and a clean template for glass or stone.
Good for softened furniture paths near bedrooms, seating, or narrow walkways.
Base the front extension on the actual loading door. A corner stove can look centered while the firebox door sits forward, so measure from the operating door plane, not only the back of the appliance.
Template the diagonal before cutting finish material. Walls, trim, and hearth edges are rarely perfectly square, and a cardboard pattern helps confirm both wall legs before tile, glass, or stone is ordered.
When you place a stove in the corner of the room, the importance of the floor protection placed beneath the stove become essential. The two walls that meet in the corner of the room feature the stove offset from the corner. The stove’s floor protection must covers each of these walls.
With the stove corner placement, the floor protection has a slightly different geometry since the two legs of the floor protection must cover the same front edge of the stove. The calculator will show the measurements necessary for the stove’s floor protection once you input the stoves footprint, the clearances required from the stove manual, the length of the wall legs of the floor protection, and the desired shape of the floor protection. Floor protection is a necessity to catch sparks and ash from the stove.
How to Measure Floor Protection for a Corner Stove
Additionally, the floor protection must take up enough space for the stoves listing to remain valid. The floor protection ensure that the area remains safe in the event that something rolls out of the firebox. Because the corner placement of the stove makes the floor protection a little more challenging, there is a tighter limit on the floor protection geometry.
If the wall leg of the floor protection is too short on one side, the other side cannot be lengthened to make up the difference. Both legs needs to have the correct length. The calculator will tell you the length of the floor protection leg that is required before you buy any tile or stone.
The three main measurements required for the floor protection are the front extension, the side extension, and the rear setback of the stove. The front extension measurement should be taken from the loading door of the stove. The side extension must take into consideration the width of the stove and the amount required by the manual.
The rear setback tells the calculator the distance the stove will be from the corner of the room. These three main measurements will allow you to set the length of the wall legs of the floor protection. Once you have set the dimensions for the floor protection, you can determine how much additional material you want for any trim or uneven walls.
The floor protection can take the shape of a triangle, a rectangle, a pentagon, or a quarter-round. The triangular shape has a diagonal front edge and takes up the least amount of floor space. The rectangular shape requires straight cuts and is easier to install for the stoves installer but takes up more square footage.
The pentagon and quarter-round shapes softens the corner for individuals to walk on but require more allowance for the tile to be laid. Each shape has its own area requirements which the calculator can determine. The weight of the floor protection materials that you will order is another consideration.
The weight of the cement board and tile is relatively light. If slate or stone is used for the floor protection, it will add to the weight of the floor protection. The same is true for concrete pavers and brick.
The weight of the floor protection must be considered if the stove is to be placed on an upper level of the home. The calculator determine the weight of each material and thickness once you have selected the materials. The placement and number of tiles and backer panels requires careful consideration.
If you use 12 by 24 tiles, you will require fewer tiles than using 12 by 12 tiles. Large sheets of backer board come in different sizes. You must decide if any seams will be along the walls or if the front edge of the floor protection should be one large sheet of backer board.
The percentage of waste that you will cut from the floor protection tiles must reflect the number of tiles that will be cut from each batch of floor protection material. When determining the size of the floor protection for the stove, many individuals will make some mistakes. One of the most common is to measure the wrong reference points for the stove.
For example, the most common mistake is to measure from the back of the stove rather than from the loading door. Additionally, the side extension is often forgotten to include the width of the stove. The size and placement of the stove may be required before it is placed in the room so that mistakes can be avoided in the ordering of the floor protection.
Using the manual and the calculator will catch these mistakes before they are made. The two tables that are included as reference tables will provide you with context for the information that you enter into the calculator. These two tables lists the front and side extensions for electric, gas, pellet, and wood stove appliances.
Additionally, each of the shapes for the floor protection have formulas listed in these reference tables. While you do not need to memorize these reference tables, they do help you understand why, for example, a wood stove will require larger legs for the floor protection than will a gas stove. Once you have determined the size of the floor protection and purchased the necessary material, you should still use a template for the placement of that material.
The walls that will be used for the stove floor protection may not be perfectly square. By cutting a piece of cardboard to the length of the floor protection legs, you can reveal any issues prior to cutting your floor protection tiles or stone. While the calculator will determine the dimensions for the floor protection, a template will allow you to adjust these dimensions on the job if the stove walls are not perfectly square.
By using the numbers that the calculator determines to order the stove floor protection, you can ensure that the floor protection satisfies the requirements of the stove manual while also ensuring that it will fit into the corner of the room without being too large. Additionally, the straightforward nature of the floor protections geometry allows the calculator to ensure that your floor protection is accurate to what is required of the stove.