Window Trim Calculator
Estimate window casing linear footage, sill or stool length, apron length, miter cut count, stock boards, and total cut pieces for one window or a repeated set.
Pick a common window trim layout, then adjust width, height, casing profile, reveal, stool, apron, corner method, count, waste, and stock length.
| Style | Casing pieces | Sill or stool | Apron | Best use |
|---|---|---|---|---|
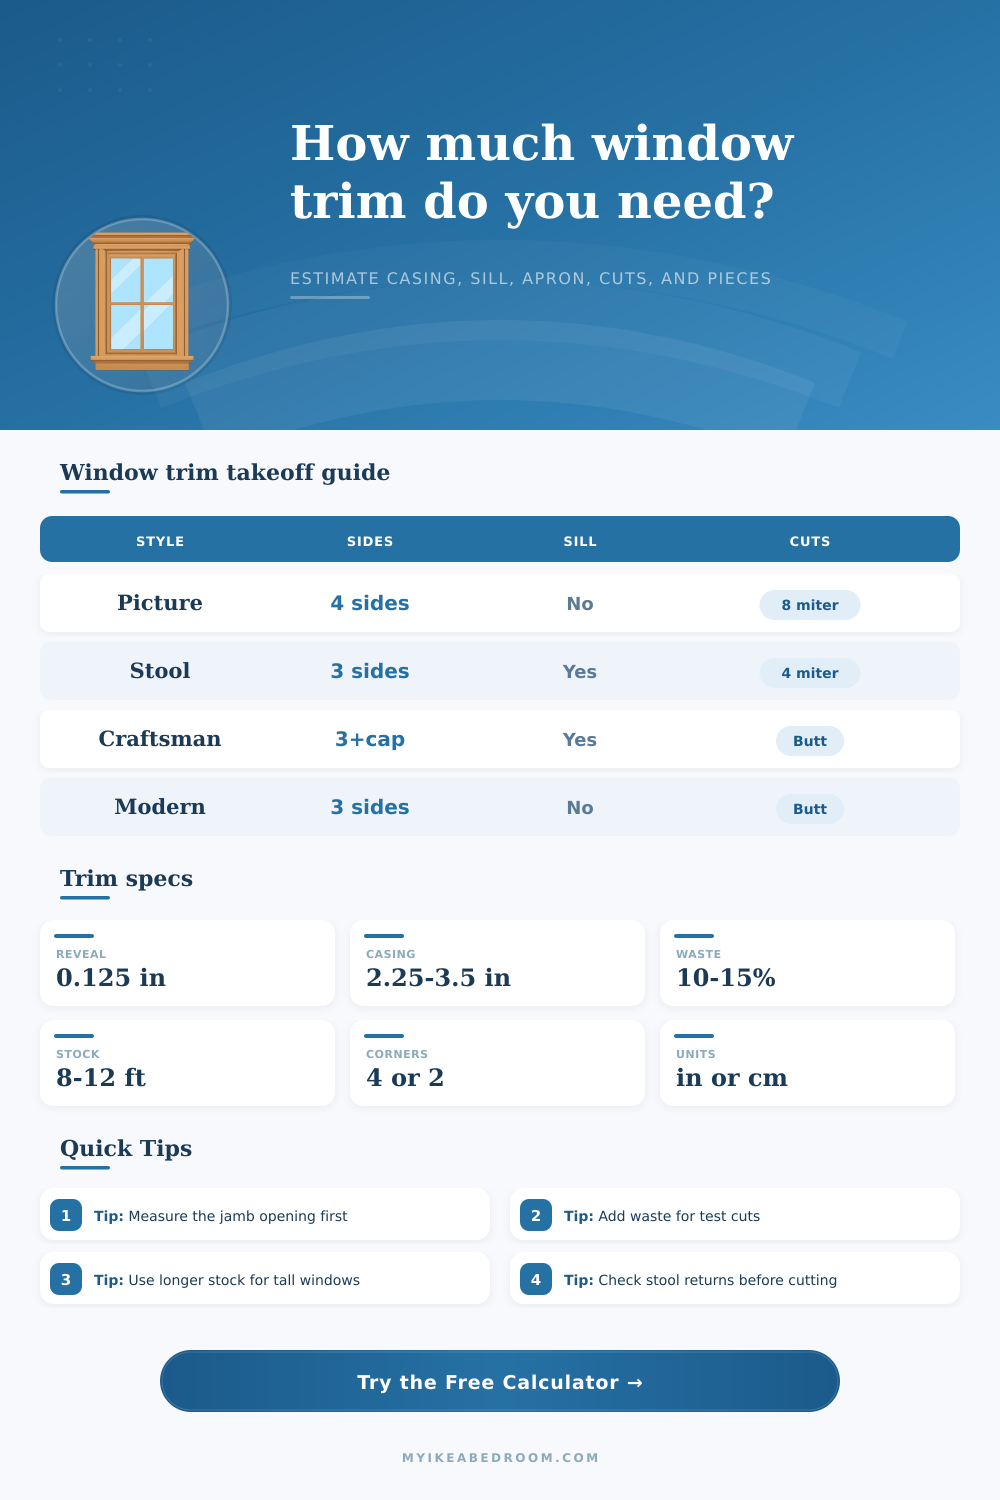
| Picture-frame casing | Top, bottom, two sides | No separate stool | No apron | Fast takeoff for four-sided trim around bedrooms and offices |
| Stool-and-apron casing | Top and two sides | Separate stool piece | Separate apron piece | Traditional interior windows with a projected bottom stool |
| Craftsman casing | Top, two sides, head cap | Separate stool piece | Separate apron piece | Square-cut casing where the head cap adds one extra horizontal piece |
| Modern three-sided casing | Top and two sides | No bottom casing | No apron | Clean trim for windows that meet a counter, tile, or deep jamb |
| Corner method | Cut count | Length allowance | Layout note |
|---|---|---|---|
| Mitered four-sided casing | 8 mitered ends per window | Long points include two casing widths | Mark short points at the reveal line, then cut long points outward |
| Mitered three-sided casing | 4 mitered ends per window | Head long point includes both side casings | Bottom of each side usually lands at the stool or trim stop |
| Butt four-sided casing | 0 mitered ends | Horizontal pieces span over side casings | Good for flat stock, simple square corners, and easier repeat cuts |
| Craftsman butt casing | 0 mitered ends | Head cap overhang is estimated from profile width | Check cap projection and stool horns before cutting final stock |
| Item | Common range | Calculator use | Field to adjust |
|---|---|---|---|
| Reveal | 0.125 in to 0.25 in | Adds to the inside casing rectangle around the window | Reveal around window |
| Casing profile width | 2.25 in to 3.5 in | Sets miter long points and butt-corner overhangs | Trim profile width |
| Stool projection and horns | Window width plus casing and returns | Uses entered stool length or estimates one from profile width | Sill or stool length |
| Stock board length | 7 ft, 8 ft, 10 ft, 12 ft, 16 ft | Divides all trim length with waste into board count | Typical stock board length |
| Preset | Window size | Style | Corner | Waste |
|---|---|---|---|---|
| Single bedroom window | 36 in by 48 in | Picture-frame casing | Miter | 10% |
| Pair of office windows | 32 in by 54 in, two windows | Stool-and-apron casing | Miter | 12% |
| Large picture window | 72 in by 48 in | Flat-stock square casing | Butt | 15% |
| Craftsman casing | 40 in by 56 in | Craftsman casing | Butt | 12% |
0
Current casing, sill, apron, cuts, and waste.
0
Four casing pieces per window and the most miter cuts.
0
Three casing pieces plus a separate stool and apron.
0
Square-corner takeoff with one additional head cap piece.
Measure the reveal rectangle first: Use the window opening plus the reveal on both sides, then add casing width only where the selected corner method needs the outside long point.
Separate long trim from short trim: Tall side casing can force longer stock even when the total linear footage looks low, so confirm board lengths before final cutting.
Window trim can be a system of multiple piece that must be planned before cutting the trim. Window trim may consist of side trim pieces that is to be installed vertically on each side of the window and a head piece that spans the top of the window opening. Some styles of window trim also include a stool trim piece that projects forward from the bottom of the window and an apron trim piece that is installed beneath the stool.
The pieces of trim have to fit together when installed, so understanding the way that the trim pieces join at the corners of the window and the amount of trim that is needed for waste must be understood prior to cutting the trim pieces. The calculator will help you to determine the total amount of trim is needed based off the dimensions of the windows that you intend to trim, the width of the casing profile, the size of a reveal between the window jamb and casing trim, and the corner style. The reveal is the narrow gap between the window jamb and the casing trim.
Plan and Measure Window Trim
Reveals are typicaly 1/8 inch in size. The size of the reveal impacts the length of each individual piece of trim that is needed; increasing the size of the reveal will increase the size of the interior rectangle within the window, which will require the individual trim pieces to be longer to cover that area of the window. Thus, an increase in reveal size may require the purchase of an additional board of trim; trim comes in standard lengths of 8-foot or 10-foot boards.
The width of the casing profile will impact the length of each trim piece because increasing the width of the casing trim will increase the length of the long point of each miter cut required for the trim. The width of the casing trim will also impact the visual appearance of the casings; wider casings will provide more of an accent trim appearance to the window than narrower trim casings. Thus, before purchasing the trim, its a good idea to test different widths in the calculator.
Many individuals purchase trim based upon the trim available in the stores, but using the trim calculator will allow individuals to see how each width of casing trim will impact the amount of trim that is purchased. The corner style that is chosen for the trim will impact the number of cuts that are required of the trim, as well as the amount of trim that will be wasted during the cutting process. Corners that are cut to mitered corners will require eight miter cuts for a four-sided frame layout; any gap created in these corners will be visible against the wall.
Butt joints can be used instead of mitered corners, but the horizontal trim must be placed upon the vertical trim, or the vertical trim must extend past the horizontal trim pieces. Using butt joints will reduce the amount of trim waste during the cutting of the trim; waste is created in mitered corners in the length of the long point of each miter cut. However, styles like Craftsman style trim use square cuts instead of mitered cuts; this type of trim removes the need to calculate the length of each miter cut.
Stool and apron trim styles requires two additional horizontal trim pieces to be installed along the bottom of the window. These two trim pieces are typically of a different width than the casing trim for the window, which may require the purchase of a different type of trim board for those pieces. The calculator will separate the length of the stool and apron trim from the casing trim; this allows individuals to determine if the stool, apron trim pieces will be purchased in addition to the casing trim pieces.
An allowance for waste in the cutting of the trim pieces is required. The trim calculator includes a ten percent waste allowance; however, additional waste allowance may be required if test cuts of the trim pieces are to be made prior to cutting the trim for the windows, or if errors in cutting will result in the purchase of an additional board of trim. Tall windows will require individual side trim pieces of trim of twelve-foot lengths.
The trim calculator allows individuals to select the length of trim stock that is to be purchased; the calculator will calculate the number of full boards that are required for the project. Before calculating the amount of trim that will be required for the project, individuals should first review the reference tables that are included within the calculator. These tables indicate how different trim styles will impact the number of trim pieces that is required, as well as the number of cuts that is required for the trim project.
For instance, a picture frame trim layout will require four pieces of trim and eight miter cuts for each trim piece. A stool and apron trim layout will omit the bottom trim piece and will require the additional stool and apron trim pieces. If the project to be performed is for a room that includes multiple windows, the trim calculator will include a feature that allows individuals to input the number of windows that are to be trimmed.
Many rooms include multiple windows of varying sizes. Thus, using the window count feature will allow the trim purchase calculations to be performed without having to re-enter the dimensions of each window. However, care must be taken when purchasing the trim to ensure that the individual windows are not ordered with insufficient boards of trim; individual windows require trim pieces of specific lengths, and the total number of trim boards that are ordered may be higher than the total number of trim boards for each window if the trim pieces are to be cut from standard lengths of stock boards of trim.
Some older houses may have windows that are not square in there openings. For these instances, the calculations of the trim calculator should be utilized as a point of beginning the trim purchase process only. Each individual window should be measured for trim requirements; additional trim is required for any differences in the size of individual windows.
The waste allowance for the trim purchases is an allowance for the trim needed for these variations in window sizes, but the waste allowance cannot account for all of the trim that may be required for each individual window. The comparison between mitered corners and butt joints can have an impact upon the amount of work that will be required for the project. Mitered corners will require the cutting of the trim to each miter corner; any gap in these trim corners will be visible against the wall.
Butt joints will require the horizontal trim pieces to be placed upon the vertical trim pieces, or the vertical trim pieces will extend past the horizontal trim pieces; any gaps in these trim joints will not be visible against the wall. Thus, individual trim can be used to calculate the differences between the number of cuts that are required for each type of corner, which will allow for each individual to decide how much cutting will be required for the project. The length of the trim stock that is to be purchased can impact the project.
Using longer trim stock will reduce the number of joints that are required to be created in the trim; however, the longer the trim, the more difficult it may be to transport and handle the trim. Shorter trim stock may be easier to transport and handle, but more end cuts will be created in the trim pieces. Each length of trim stock can be tested in the trim purchase calculator; individuals can determine the total amount of trim boards of each length will be required for the project.
Running the numbers for the trim will allow individuals to determine the total amount of trim that will be required for the project. By entering each dimension of the window and the trim into the calculator, the individual can have a strategy for cutting the trim. By having a strategy for cutting the trim, the individual will have to make fewer mistakes in cutting the trim for the windows.