Finger joint layout planner
Box Joint Calculator
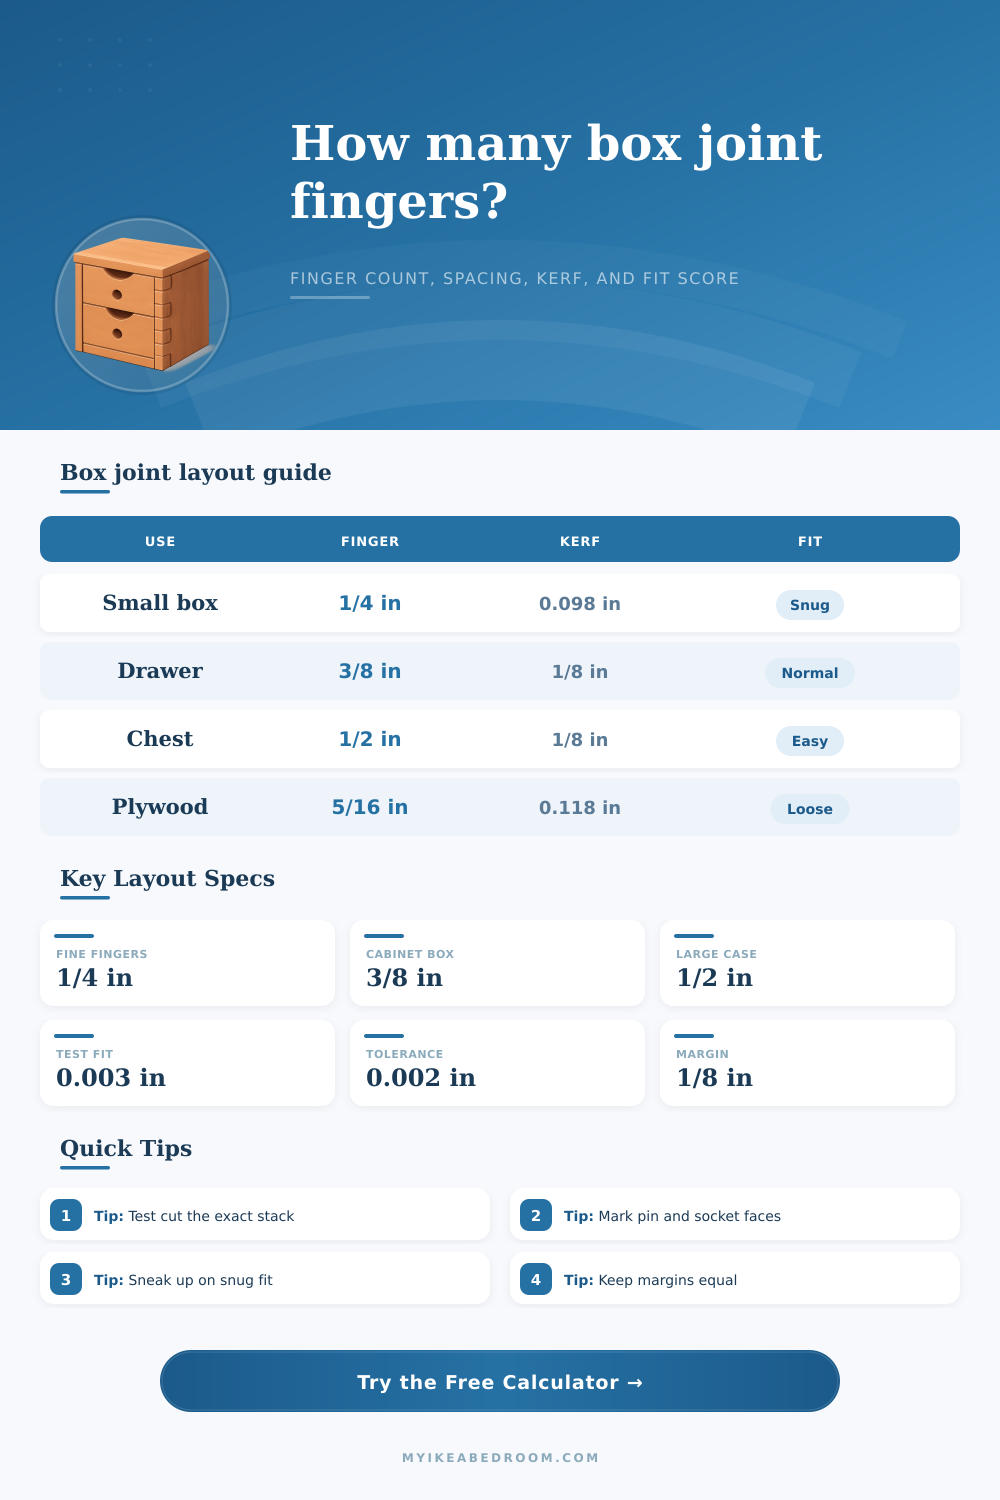
Plan finger-joint spacing for drawers, keepsake boxes, storage bins, and chests with board width, thickness, kerf, clearance, margin, indexing tolerance, material behavior, and alternating pin or socket starts.
Pick a common box, drawer, or case layout, then tune the finger width and fit allowance to match your actual blade stack or router bit.
Layout breakdown
Cut list and index positions
| Finger width | Typical stock | Best use | Layout character | Fit note |
|---|---|---|---|---|
| 1/8 in | 1/8 to 1/4 in | Tiny trays and craft boxes | Very fine, many cuts | Needs a precise jig and light cleanup. |
| 1/4 in | 1/4 to 1/2 in | Small drawers and keepsake boxes | Fine furniture scale | Good for thin hardwood and Baltic birch. |
| 3/8 in | 3/8 to 5/8 in | Drawer boxes and organizers | Balanced and efficient | Common dado stack setup for shop work. |
| 1/2 in | 1/2 to 3/4 in | Storage bins and wide case sides | Bold, fewer cuts | Easier to keep square on wide panels. |
| 3/4 in | 3/4 in and thicker | Chests, crates, and tool tills | Strong visual rhythm | Check that end fingers are not skinny. |
| Cutter setup | Typical kerf | Clearance range | Best material | Indexing note |
|---|---|---|---|---|
| Thin-kerf blade passes | 0.090 to 0.102 in | 0.002 to 0.006 in | Hardwood test pieces | Multiple passes need a locked fence stop. |
| 1/4 in dado stack | 0.245 to 0.255 in | 0.002 to 0.005 in | Drawers and boxes | Key should match the real test socket. |
| 3/8 in router bit | 0.375 in | 0.003 to 0.008 in | Plywood and hardwood | Feed consistently to avoid socket taper. |
| 1/2 in dado stack | 0.495 to 0.505 in | 0.004 to 0.010 in | Large panels | Watch cumulative error over wide boards. |
| Box-joint blade set | 1/4 or 3/8 in | 0.001 to 0.004 in | Repeatable cabinet work | Best when the key and cutter are paired. |
| Material | Clearance bias | Depth bias | Risk to watch | Practical target |
|---|---|---|---|---|
| Furniture hardwood | Light | Thickness plus 0.005 in | Bruised end grain | Snug hand pressure after a test cut. |
| Dense maple, oak, ash | Medium | Thickness plus 0.006 in | Splitting at outside pins | Slightly looser sockets and sharp cutters. |
| Softwood or poplar | Low | Thickness plus 0.004 in | Compressed fibers spring back | Fit by feel, not force. |
| Cabinet plywood | Medium | Thickness plus 0.003 in | Veneer chipout | Backer board and modest clearance. |
| MDF or fiberboard | High | Thickness flush to 0.002 in | Weak edge fibers | Use wider fingers and avoid press fits. |
| Project | Board width | Thickness | Finger target | Start pattern |
|---|---|---|---|---|
| Small drawer box | 4 to 6 in | 1/4 to 1/2 in | 1/4 in | Pin on show side, socket on mate. |
| Jewelry box | 2-1/2 to 4 in | 1/4 to 3/8 in | 3/16 to 1/4 in | Fine pins with equal margins. |
| Plywood storage bin | 6 to 10 in | 1/2 to 3/4 in | 3/8 to 1/2 in | Socket first hides thin outside plies. |
| Tool tray | 3 to 5 in | 3/8 to 1/2 in | 1/4 to 3/8 in | Pin first for durable corners. |
| Blanket chest | 10 to 16 in | 3/4 in | 1/2 to 3/4 in | Wider fingers reduce indexing drift. |
Box joints
Best for: drawers, trays, shop boxes, and repeatable square corners.
They give lots of long-grain glue area and are easy to repeat with a tuned indexing jig.
Rabbeted corners
Best for: quick utility boxes and panels hidden by a face frame.
Fewer cuts, less visible rhythm, and less mechanical interlock than a full finger joint.
Dovetails
Best for: show drawers where pull resistance and hand-cut character matter.
They resist withdrawal better, but take more layout time and more transfer accuracy.
Splined miters
Best for: clean picture-frame corners and decorative small boxes.
They hide end grain and add strength, but do not expose the repeating finger pattern.
Use the test socket as the truth: cut a sample socket, plane or shim the indexing key until the matching finger slides in with light hand pressure, then enter that measured width as the target finger width.
Alternate faces before cutting: mark every outside face and every top edge, then flip mating sides so one starts with a pin and the other starts with a socket. That prevents two identical edges from meeting.
Box joint are a method of joining two flat boards together. Box joint are useful because box joint resists racking. The joint provides long-grain glue surface between the two boards, and those long-grain glue surfaces will increase the strength of the joint.
To create a box joint, a series of pins are cut into one board, and a series of matching socket are cut into the second board. These pins and sockets lock together like a series of square fingers. The joint will look crisp and feel solid when the fit of the joint is correct.
How to make a strong box joint
The width of the board will determine the number of finger that can be cut into the board. If the board is narrow, there may only be five or six fingers that can be cut into the board. However, if the board is wide, there may twelve or more fingers.
A calculator is available to determine the number of fingers that will fit into a board. To use the calculator, you enter the width of the board and the width of the fingers. The calculator will tell you the number of fingers that will fit into the board.
Additionally, the calculator will tell you the amount of usable space within the board after accounting for the space that will be required to leave a margin on both ends of the board. Finally, the calculator will show you whether or not the ratio of the width of the fingers to the thickness of the board are balanced. The width of the fingers is a decision that you must make when creating a box joint.
If you choose narrow fingers, the box joint will look more refined, especially if it is to be used on a smaller object. However, narrow fingers require that you set up your jig very accurate because errors in the jig will be easily seen on the joint with narrow fingers. Alternatively, if the fingers are wide, it will be easier to cut the fingers into your boards, and there will be more long-grain glue area available on thicker boards.
A reference table is available to help you decide the proper size of the fingers to use on boards of a certain thickness. The kerf of the cutter that you use to cut the sockets will impact the width of the sockets. If the opening that is cut into the boards is not the same than the width of the fingers, then the box joint will either bind or rattle.
The calculator takes into account the kerf of the cutter by comparing the kerf to the width of the fingers. A positive clearance can be chosen to allow the joint to rattle slightly which may be helpful in easing the glue between the boards. A negative clearance can be chosen to create a press fit for the fingers into the sockets.
However, if a press fit is chosen, the process may bruise the end grain of dense hardwood. Therefore, many maker will test one socket first to ensure that the fit of the joint is correct before cutting the other three corners of the boards. The behavior of the material can change the way in which the joint fit into the boards.
For example, hard maple and white oak will compress less than poplar. Therefore, the same clearance will feel different in maple than in poplar. Additionally, if the ply wood is cut with a dull cutter, it can chip at the ends of the fingers.
Finally, if the material is MDF, the fingers will need to be wider because the edges of MDF boards will crush when force is applied during the assembly of the joint. Margins must be left along the ends of the boards to protect the fingers. If a margin is too small along one end, the fingers may appear weak on that end, and they may break when the joint is assembled.
The calculator will show the size of the margins, so they can be adjusted before the joint is cut. The margins should be equal on both ends of the board. The indexing tolerance of the jig that is used to cut the fingers can lead to errors.
If the key that is used to move the fence of the jig has a tolerance of 0.001, then every time the key is moved, it may not line up with its previous position; the further it is moved, the more greater the error. This error will be shown as a percentage of the usable width of the board. If the percentage is too high, for example, if it is above two percent, it may be necessary to slow down the jig or reduce the number of fingers.
The fit score is a number that is calculated based on the risk of each of the components of the box joint. For example, each factor that makes the box joint less likely to fit will be given a higher number than the factors that make it likely that it will fit. The score will subtract points from the total for each factor that indicates a potential problem with the joint.
A score in the low nineties is within normal shop practice. A score in the sixties indicates that the box joint should be tested on one corner of a board before cutting the other boards that will use that joint. A common mistake is to create one test corner of the joint and assume that when it fits perfectly, that it will be perfect on the other corners and boards of the project.
However, wood will move due to humidity and temperature changes. One joint may be perfect in the shop, but it may not be after it is moved into another environment that has a different humidity or temperature level. Another common mistake is to make the fingers too close in width to the thickness of the board.
If the fingers are too wide for the thickness of the board, there will be very little long grain glue to the joint. Alternatively, if the fingers are too narrow for the thickness of the board, there will be a need to make many more cuts than expected. When making a decision about the joint, there is a tradeoff between the appearance of the joint, the strength of the joint, and the amount of time that may be spent fine tuning the jig to which the fingers will be cut.
Once a joint is determined from the calculator, one corner should be cut. With this first cut, plane or shims the key until the fingers will slide into the board with light hand pressure. Once the correct pressure is found and set, it will be used for the remaining corners of the boards.
The joint will look deliberate and it will hold together when under load.