LED Strip Amperage Calculator
Estimate real LED strip current, supply size, watts, channel load, feed balance, wire loss, and power injection points for shelves, closets, desks, headboards, vanities, and addressable accent lighting.
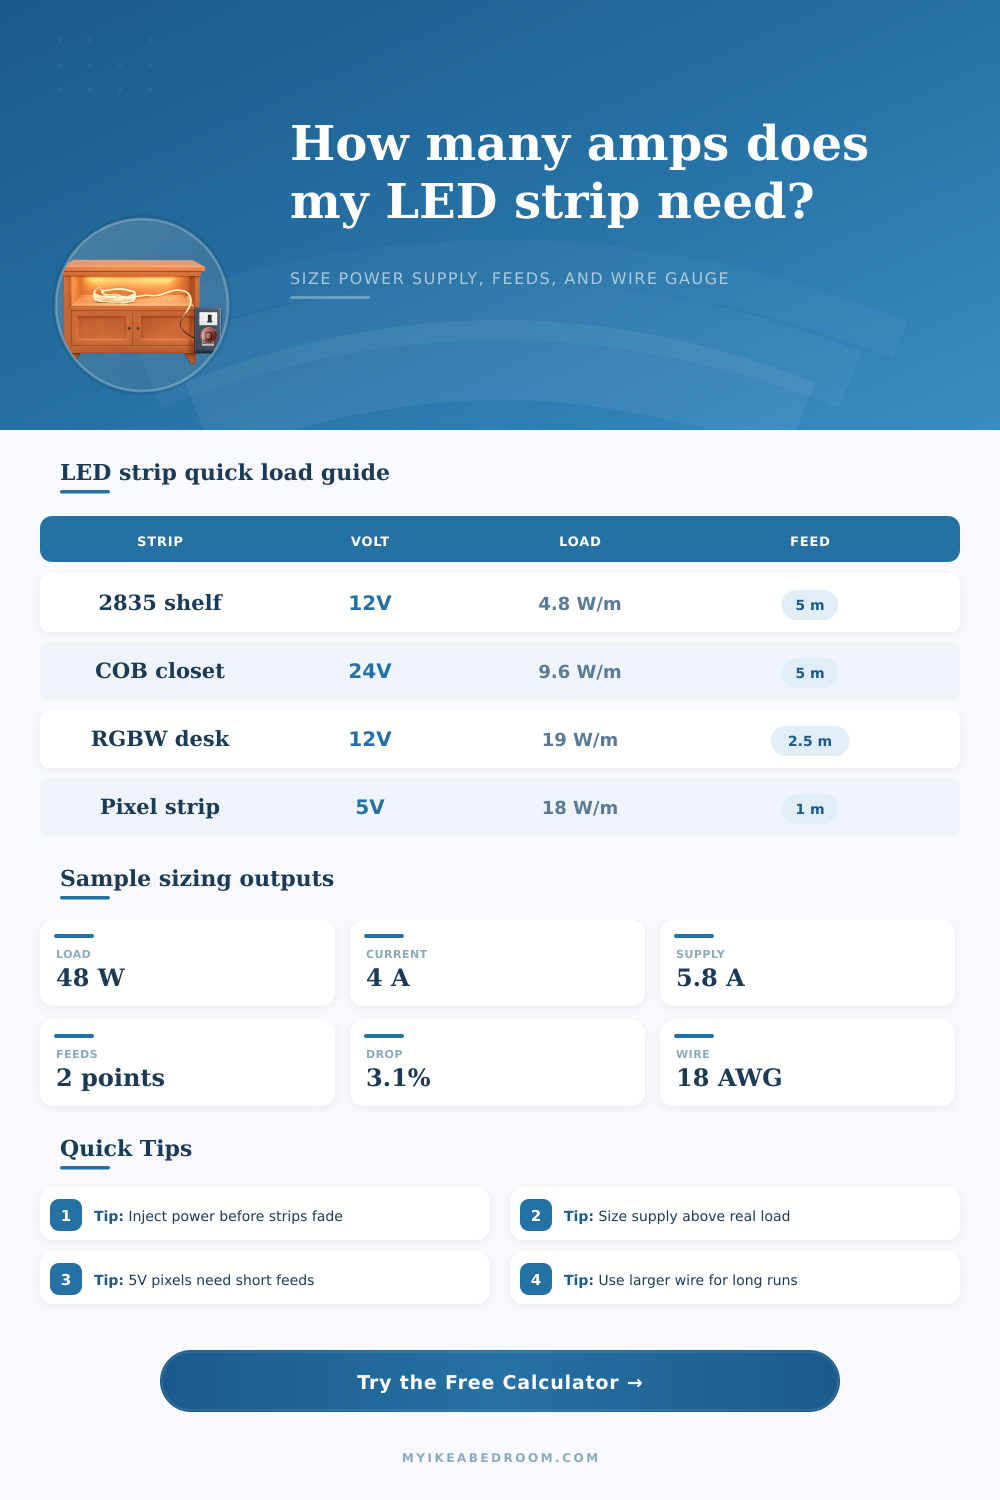
Load a realistic strip type, then adjust length, voltage, feeds, dimming headroom, wire size, and safety margin for your exact room layout.
Detailed breakdown
| Strip type | Common load | 12V current | 24V current |
|---|---|---|---|
| Low-output shelf or toe-kick strip | 4.8 W/m | 0.40 A/m | 0.20 A/m |
| Medium COB closet strip | 9.6 W/m | 0.80 A/m | 0.40 A/m |
| High-CRI vanity or task strip | 14.4 W/m | 1.20 A/m | 0.60 A/m |
| RGBW or dense accent strip | 19.2 W/m | 1.60 A/m | 0.80 A/m |
| Wire gauge | Ohms per 1000 ft | Best use | Planning note |
|---|---|---|---|
| 22 AWG | 16.14 ohm | Short low-current cabinet jumpers | Use only for small loads or short links |
| 20 AWG | 10.15 ohm | Small shelf feeds and sensor leads | Watch voltage drop above a few amps |
| 18 AWG | 6.385 ohm | Common bedroom strip feed wire | Good default for moderate 12V or 24V runs |
| 16 AWG | 4.016 ohm | Longer feeds or higher output strips | Useful when the power supply is across the room |
| 14 AWG | 2.525 ohm | High-current trunk wiring | Helps reduce drop on multi-feed layouts |
| 12 AWG | 1.588 ohm | Heavy low-voltage distribution | Often larger than needed but very low loss |
| Voltage and strip style | Typical feed spacing | Why it matters | Warning sign |
|---|---|---|---|
| 5V addressable pixels | Every 1 to 2 m | Current is high and color data scenes can hit white peaks | White turns pink or amber near the far end |
| 12V RGBW or dense COB | Every 2 to 3 m | All-channel scenes draw more current than warm accent scenes | Brightness fades after corners or long shelf runs |
| 12V low-output single color | Every 4 to 5 m | Lower wattage allows longer runs before visible drop | The final section looks dimmer than the start |
| 24V medium output strip | Every 5 to 8 m | Higher voltage cuts current for the same wattage | Large rooms still show end loss on one feed |
| Channel type | Use 100% when | Use lower load when | Typical calculator setting |
|---|---|---|---|
| Single color white | The strip may run at full brightness | Dimming is capped in the controller | 75% to 100% |
| CCT tunable white | Both warm and cool channels can blend at peak | Controller limits total white output | 50% to 75% |
| RGB | Full white uses red, green, and blue together | Scenes are saturated color accents | 60% to 100% |
| RGBW or RGB+CCT | White plus color may run together | White and color are not mixed at full output | 50% to 75% |
Best fit: addressable effects, short segments, data-driven lighting.
Electrical trait: high amps for the same watts.
Plan: frequent injection and careful common ground routing.
Best fit: shelves, desks, headboards, and short closet runs.
Electrical trait: moderate current with common controllers.
Plan: inject on dense strips or long furniture routes.
Best fit: wardrobes, room coves, and continuous COB lines.
Electrical trait: half the amps of 12V at equal watts.
Plan: still size wire for the feed distance.
Best fit: any strip that dims near the far end.
Electrical trait: shares current across shorter paths.
Plan: fuse or protect branches where required by the system.
When you installs LED strips, the LED strips may be bright at the beginning of the installation but might appear dim at the end of the installation. This is due to voltage drop and amperage limits of the LED strips. Voltage drop occur because the electricity loses some of its pressure as it moves through the wires and LED strip chip.
Each inch of the LED strip and each LED chip consume some of the energy of the LED strip. Therefore, the energy that reaches the end of the LED strip will always be less then that supplied to the beginning of the strip. It is important to understand how amperage and voltage relates to LED strips to ensure that the light at the beginning of the strip is the same as that at the end of the strip.
Keep LED Strips Bright From Start to End
You must consider the relationship between voltage and current when installing LED strips. For instance, low voltages require higher amp rating to move the same amount of power through the wires as higher voltages. For example, to move the same amount of light, a 24-volt system will require half the amperage of a 12-volt system.
Higher voltages are better for LED strips that is longer distance apart. Higher voltages allow for less stress on the wires and cause less drop in the voltage that are supplied to the LED strip. The power supply for the LED strip must be sized appropriately so that it will not fail during its operation.
Many person purchase a power supply based off the wattage of the LED strip. However, power supplies should not be running at 100% of their capacity. If the power supply is running at 100% capacity, it will begin to overheating, and the voltage will drop.
A power supply should have some margin of error to ensure that the internal component of the power supply dont degrade too quickly. The number of color channel must be accounted for when installing LED strips. For example, single color LED strips will have a different power requirement than the RGBW and CCT LED strips.
It is true that only one color channel will be used at a time with the RGBW and CCT LED strips. However, it is also possible for all color channels to be used at the same time to create bright white lights. The power supply should be sized according to how much power all color channels will draw at the same time.
The gauge of the wire that will supply the electricity to the LED strip is also important. Thin wires will allow the electricity to drop in voltage and create heat as it pass through the LED strip. Using a wire gauge that is thicker than 16 AWG will allow the voltage to be maintain along the length of the LED strip.
If the power supply for the LED strip is far from the strip itself, the wire may become a bottleneck in the supply of electricity to the LED strip. Power injection can be used to solve the problem of voltage drop along long runs of LED strips. Power injection involve running separate wires that contain the power to the middle or end of the LED strip.
By injecting the power into the LED strip, the voltage drop is reset. If the color of the LEDs changes to pink or amber light at the end of the LED strip, that mean that the power supply has reached the limit of the current that is being feed into the LED strip. In this case, power injection will resolve the problem.
By balancing the voltage, the gauge of the wire, and the power supply for the LED strip, you can ensure that each LED light along the strip emits the same amount of light. You can choose the voltage based on the length of the LED strip. The gauge of the wire can be chosen based on the distance between the power supply and the LED strip.
Finally, you can choose the power supply based on the peak load of each color channel of the LED strip with some margin of error. By considering voltage drop and amperage when installing LED strips, each LED strip will provide a uniform glow of light from the beginning of the strip to the end of the strip.