Room fit, tile format, and box planning
Tile Size Calculator
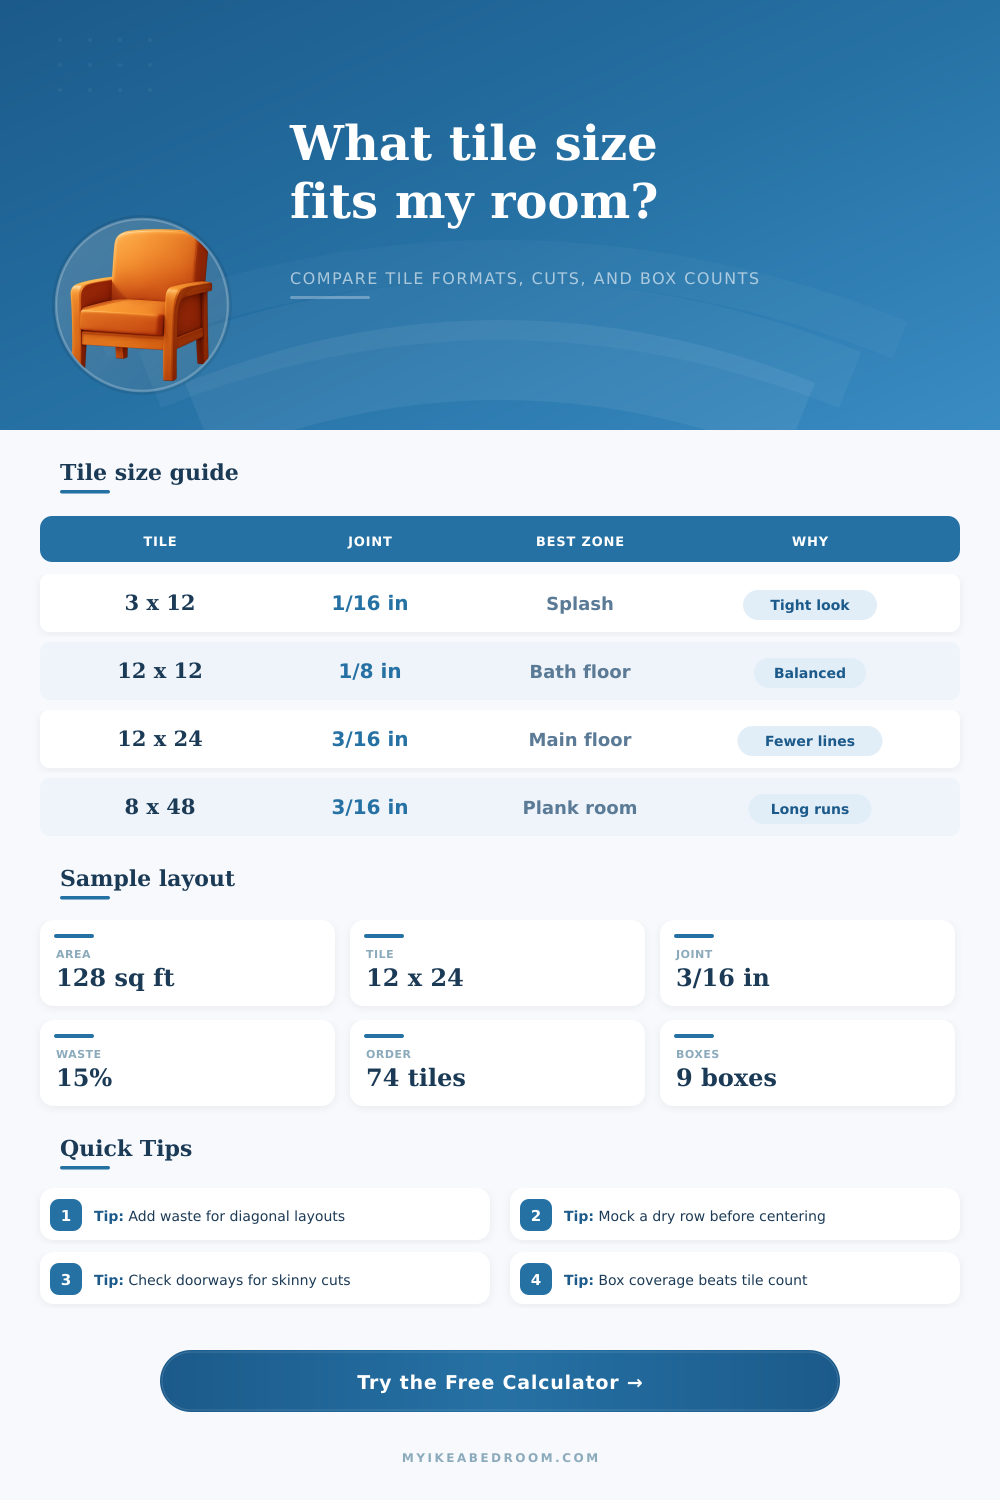
Compare room shape, tile dimensions, grout joints, perimeter gaps, waste, and carton coverage so you can choose a tile size that fits the room with fewer awkward cuts.
Each preset loads a real installation so you can compare backsplash, bath, bedroom, patio, and entry layouts quickly.
| Tile size | Joint range | Best use | Why it works |
|---|---|---|---|
| 2 x 8 or 3 x 12 | 1/16 to 1/8 in | Backsplashes and shower walls | Small modules wrap outlets and corners cleanly. |
| 12 x 12 | 1/8 in | Small baths and utility rooms | Balanced layout that keeps cuts manageable. |
| 12 x 24 | 1/8 to 3/16 in | Kitchens and laundry rooms | Fewer grout lines without overwhelming the room. |
| 24 x 24 | 3/16 in | Open living rooms and patios | Wide spaces var larger modules read cleanly. |
| Tile family | Joint width | Perimeter gap | Watch for |
|---|---|---|---|
| Pressed ceramic wall tile | 1/16 in | 1/8 in | Tight joints show misalignment quickly. |
| Rectified porcelain | 1/8 in | 1/4 in | Large faces still need enough joint width. |
| Stone and handmade clay | 3/16 in or more | 1/4 in | Variation increases trim cuts and spacing checks. |
| Long plank porcelain | 3/16 in | 1/4 in | Offset and herringbone need extra waste. |
| Pattern | Typical add-on | Cut pressure | When it helps |
|---|---|---|---|
| Straight lay | 0% extra | Lowest | Best when you want fewer off-cuts. |
| Brick or offset | 5% extra | Moderate | Good with subway and plank looks. |
| Diagonal | 10% extra | High | Useful when you want to widen a room visually. |
| Herringbone | 12% extra | Highest | Best when the pattern is the focal point. |
| Box coverage | Approx tile count | Typical tile | Planning note |
|---|---|---|---|
| 10 sq ft | 40 of 6 x 6 | Accent and small bath tile | One extra box matters more on small formats. |
| 15 to 16 sq ft | 8 of 12 x 24 | Mainstream porcelain floor tile | Very common carton size for interior floors. |
| 18 to 20 sq ft | 5 of 24 x 24 | Large-format field tile | Breakage or cut loss changes carton count fast. |
| 13 to 14 sq ft | 5 of 8 x 48 | Long plank porcelain | Pattern layouts can push you into an extra box. |
When you determine the size of the tiles you will use in the room, you must consider whether the dimensions of the tiles will fit within the dimension of the specific room. The size of the tile will determine how many lines of grout will appear within the room. If you choose very large size of tile for a small room, the large size of the tiles will lead to many small cut of tiles at the edges of the walls.
However, if you choose very small size of tile for a large room, the many lines of grout that the small tiles will create can make the rooms floor appear too busily. To determine the number of tiles that you will need to purchase for your project, you must first calculate the area of the room that you intend to tile. You will also need to take the dimensions of the walls of the room, as well as the width of the grout joint that the tiles will create.
Pick Tile Size and Work Out How Many Tiles You Need
The width of the grout joints will take up some of the area of your room, so you must account for this measurement when calculating how many individual tile you will need to purchase. For example, if the size of the grout joint is three-sixteenths of an inch, each row of tile will add three-sixteenths of an inch to the area of your room. Thus, you must subtract the width of the grout joints from the total area of the measurements of the room in which you will install the tiles.
In addition to calculating the area of the room that you will tile, you will also need to account for the area that the perimeter of the room will occupy. The perimeter of the floor is an area that you must leave unoccupied by the tiles; this area is typically about a quarter of an inch in width. The perimeter gap is necessary to allow for the possibility of the tiles cracking if the building in which the tiles are being laid settle in the future.
If you do not account for the perimeter gap, you will have to make more cut of the floor tiles, which will waste more of the individual floor tiles that you purchase. The pattern that you choose for the floor will impact the amount of waste that you will create with the cutting of the floor tiles. For instance, patterns that use straight lines will use less of the individual floor tiles than offset patterns, such as brick pattern.
Offset patterns will create half pieces of tiles at the end of each row of the pattern. Diagonal floor pattern will create even more waste than patterns that use straight lines of tiles. The herringbone floor pattern is the most complex of all the different floor patterns and will require that you purchase the most individual floor tiles for the project.
If you plan to use a herringbone floor pattern, you should of purchased at least twelve percent more floor tile than the area of the floor that you need to cover. Calculate how many tiles are needed by using the square footage of the tiles that is available in each carton of floor tile. Floor tiles dont typically list the number of individual floor tiles that are contained within the carton.
Instead, the square footage of the floor that the tiles in each carton will cover is listed. For example, each carton of porcelain floor tile may cover fifteen square feet of floor. Calculate how many square feet of floor your project requires, then add the percentage of waste that will result from cutting the floor tiles.
For straight patterns, ten percent of waste is typically created. Add more percentage for more complex design patterns. Not all types of floor tiles are appropriate for all types of rooms.
For example, small subway floor tiles are typically used for walls in the room, as they can wrap around the curves and pipe in the walls. However, using small subway floor tiles in a rooms floor can cause the floor to appear too busy due to the grout lines between the individual floor tiles. Instead, using large rectangular floor tiles in a floor that is to remain open and accessible throughout the room will allow for fewer lines of grout, which is both easier to clean and visually calm to the individual who view the floor.
Finally, people commonly use long planks of floor tile in the construction of hallways, as they can make the hallway appear deeper and longer. Before placing any mortar on the floor where you will install your floor tiles, perform a dry layout of the floor tiles. A dry layout involves placing the floor tiles on the floor where the mortar will be placed, but does not involve placing mortar on each tile.
Performing a dry layout will allow you to view the floor plan that your selected floor tiles will make. Using a dry layout, you can determine whether the floor tiles at the edges of the area that you will tile are less than two inches wide. If the width is less than two inches, you will need to change the size of the floor tiles to ensure that the edge tiles are at least two inches wide.
You can also use a dry layout to determine where to begin laying the floor tiles, especially in relation to other fixed object in the room. Finally, the way that you tile the room will influence the number of floor tiles that you order. For example, L-shaped room can be more difficult to tile than rooms that have rectangular shapes.
Thus, it is important to order extra floor tiles in addition to the number that is required to cover the area of the floor that you are tiling. By ordering enough floor tiles to cover the area of the floor that you require, plus any waste or other considerations for the design of the project, you will have enough floor tile to complete your project.