🎨 Spray texture planning
Drywall Texture Calculator
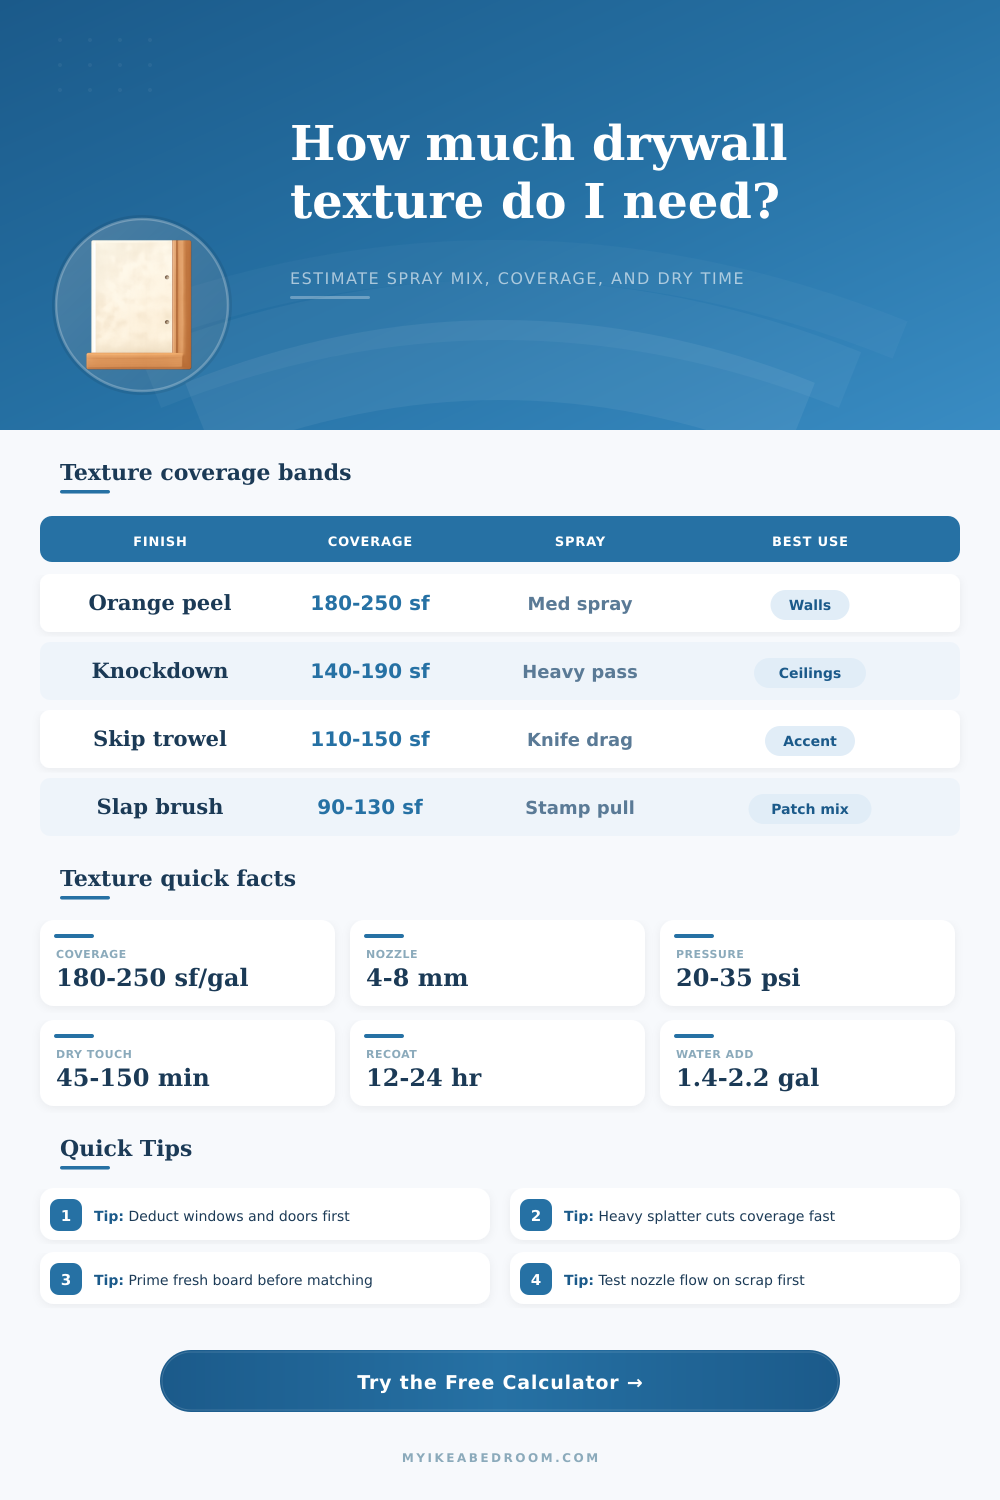
Estimate how much sprayable texture mix, dry compound, nozzle capacity, and working time you need for orange peel, knockdown, skip trowel, slap brush, and ceiling textures.
📋Preset texture setups
⚒Texture inputs
Enter the room size, deduct openings, then choose the finish style and spray intensity. The calculator adjusts for overspray, absorption, passes, and hopper efficiency.
📊Texture material and finish grid
📑Reference tables
| Texture finish | Typical coverage | Nozzle or tool | Common use |
|---|---|---|---|
| Orange peel | 180-250 sq ft/gal | 4-6 mm hopper tip | Repairs, bedrooms, hall walls |
| Knockdown | 140-190 sq ft/gal | 6-8 mm tip plus knockdown knife | Living rooms, large ceilings |
| Skip trowel | 110-150 sq ft/gal | Heavy splatter and 18 in knife | Accent walls and custom rooms |
| Slap brush / crow's foot | 90-140 sq ft/gal | Roller coat and texture brush | Ceilings, patch matching |
| Nozzle band | Pressure range | Air flow | Best match |
|---|---|---|---|
| 4-6 mm | 20-25 psi | 3-5 CFM | Light orange peel and touch-up spray |
| 6-8 mm | 25-30 psi | 5-7 CFM | Medium knockdown and medium splatter |
| 8-10 mm | 30-35 psi | 7-9 CFM | Heavy splatter, stomp prep coat |
| Roller and brush | Hand applied | Not required | Slap brush and crow's foot ceilings |
| Finish type | Water per 45 lb | Consistency cue | Application note |
|---|---|---|---|
| Orange peel | 1.8-2.2 gal | Thin pancake batter | Atomize cleanly with fine fan pattern |
| Knockdown | 1.6-2.0 gal | Thick paint body | Leave peaks standing before flattening |
| Skip trowel | 1.4-1.8 gal | Creamy knife load | Knife should skip without dragging bare |
| Brush textures | 1.5-1.9 gal | Soft yogurt pull | Compound should hold brush imprints |
| Room condition | Touch dry | Knockdown pass | Prime or paint |
|---|---|---|---|
| 70 F and 50% RH | 45-90 min | 10-20 min | 12-24 hr |
| Cool room | 90-150 min | 20-35 min | 24+ hr |
| High humidity | 120-240 min | 25-40 min | 24-36 hr |
| Ceiling overhead work | 60-120 min | 15-25 min | 16-24 hr |
🗂Finish comparison grid
💡Application tips
When an individual repair the wall of an older house with new drywall, the new drywall will produce a smooth texture. A repair of this nature will require a match of the wall texture because if there is a mismatch, there will be an evident difference between the repaired wall section and the rest of the wall. In order to match the textures, there is a few crucial factors that must be considered.
The correct amount of joint compound and the correct texture technique are two factors that must be considered to ensure there is a match between the textures of the wall. There are many different types of wall textures that a person can choose. There is orange peel textures, knockdown textures, skip trowel textures and slap brush textures, all of which create different finishes.
How to Match Drywall Texture
Each wall texture require a different amount of joint compound because each texture has a different thickness. It is also necessary to consider the surface that you will be applying the joint compound to because the surface condition can affect the compound. For instance, if you are applying the texture to new drywall, the new drywall absorbs moisture quick which will absorb part of the moisture in the joint compound and cause the joint compound to thicken as you try to spray it on.
The texture will not be ruined but the coverage of the joint compound is estimated to decrease by ten percent or more. In some cases people must apply a primer to the patched spots because the primer is designed to help the patched spot not absorb as much moisture as the rest of the drywall in order to create a match. Using a primer save you from having to re-mix all of that joint compound!
The shape of the room that you will be spraying also affects the amount of joint compound that is required to properly match the texture. For instance, many stairwells are especially tall, meaning there is likely to be a large amount of wall area. This will lead to a large amount of joint compound being required to adequately cover the area.
In addition, there will need to be sufficient joint compound to cover large garage ceilings, though as a side note, you should consider the area of the room in terms of windows and doors as these areas will not require textured walls. Along with this, keep in mind the intensity of the texture, as discussed with the different types. A heavy splatter texture is going to require more joint compound than a light spray texture.
Also keep in mind if you intend to do multiple passes on the texture to get your desired outcome, you will need more joint compound as each pass requires fresh joint compound. Another factor that is worth consideration is overspray. Many people lose twelve to fifteen percent of their joint compound to overspray.
Overspray occur when joint compound bounces off of edges and corners of walls. When using a hopper gun, many people experience this issue but if you plan on using certain hand textures like crow’s foot textures, these types of textures do not have as much overspray so you won’t have to worry about losing as much joint compound. That’s not to say that hand textures dont have their own issues; they need to be a specific consistency so they can keep their shape.
The size of the nozzle will determine the flow of the joint compound and the width of the fan pattern. For orange peel texture, a four to six-millimeter nozzle will work because the small nozzle will create a fine mist. For knockdown texture, an eight-millimeter nozzle will allow for the compound to splash out in larger splatters.
The air pressure will also affect the texture of the compound. Low air pressure will work best for light drywall work and high air pressure for heavy drywall passes. Test the texture on a scrap piece of drywall because the texture when the drywall is wet will not look the same as once the drywall has dried.
Mixing the joint compound requires the powder to be combined with a specific amount of water. For orange peel texture, two gallon of water will be needed for each forty-five-pound bag of joint compound. For knockdown texture, a creamier joint compound will be needed.
Adding too much water to the joint compound will cause the compound to spit out of the gun. Adding too little water will cause the compound not to properly enter the hopper. Joint compound will dry at different rates, depending on the temperature and the humidity in the area.
The relative humidity has a significant effect on how quickly the joint compound will dry. At fifty percent relative humidity, the joint compound will dry to the touch in ninety minutes. In cases of high humidity in the drywall area, the drying time will double.
Using cool air will also slow the drying time of the joint compound. This will affect the drying time of the next layer of joint compound in areas with low temperatures. If the knockdown texture is flattened before the joint compound is ready, the peaks of the texture will tear.
Ceiling areas will require more attention than the walls. Because of gravity, the joint compound will drip off the ceiling. The effect of gravity will also cause the joint compound to fall off the ceiling.
Coverage will decline by twenty percent on ceilings. The effect of gravity will make ceiling work more difficult, so slap brush and crow’s foot textures will be used instead of spray textures on the ceiling areas. To avoid mistakes when applying texture, follow a systematic process.
Allow time for overspray so that the joint compound does not run out of the gun. Prime the drywall so that the joint compound does not absorb into the drywall unevenly. Mix batches of joint compound so that it maintains the proper consistency.
By following these steps, the newly applied joint compound texture will match the existing texture on the drywall.